Public IP
In a cloud environment, public IP addresses are critical for enabling communication between your isolated network instances and the outside world (e.g., internet or other networks). This section guides you through the process of acquiring and managing public IP addresses using the Cloud Management Portal.
Understanding Public IP in Isolated Networks
Each isolated network in the cloud platform is assigned a private IP address range, typically allocated automatically by the system. If you prefer, you can define your own private IP range during the network creation process.
-
Instances (VMs) within the same isolated network can communicate with each other over the internal private IP range.
-
By design, no public internet connectivity is available to these VMs unless explicitly configured.
-
To facilitate external access, public IPs can be associated with the network via a virtual router, which also acts as the gateway for outbound and inbound traffic.
Important Billing Note
-
Public IP addresses are billable resources.
-
Internal network traffic (between VMs within the same isolated network) is free of charge.
-
Only egress and ingress traffic using public IP addresses is measured and billed.
Use Case
- This setup is ideal when you want to prevent direct access to VMs from outside your network. It enables controlled access while preserving internal communication.
1. Accessing the Basic Network Section :
-
Log in to your Cloud Management Portal using your authorized credentials.
-
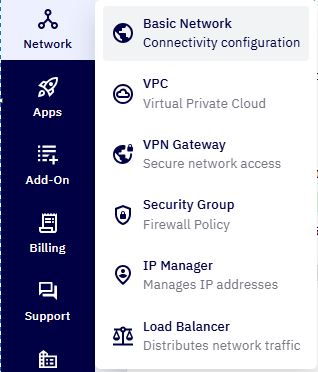
From the left navigation pane, go to:
Network → Basic Network
- You will see a list of all existing networks associated with your cloud account.
2. Select the Desired Network :
- Identify the isolated network for which you want to acquire a public IP, then click on the network name to open its configuration details.
3. Access the Public IP Tab :
-
In the network configuration view, click on the Public IP tab.
-
By default, you will see a single public IP assigned as Source NAT, which is shared across all VMs in that network for outbound traffic.
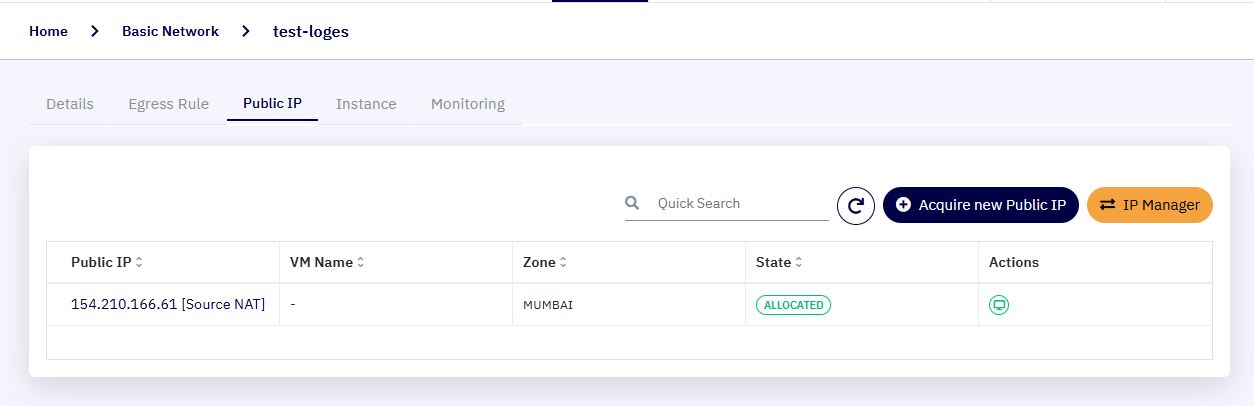
- Source NAT Use Case : Using a shared public IP can be cost-effective when you only need outbound internet access for your VMs and do not require them to be publicly accessible from the internet.
4. Acquire a New Public IP :
-
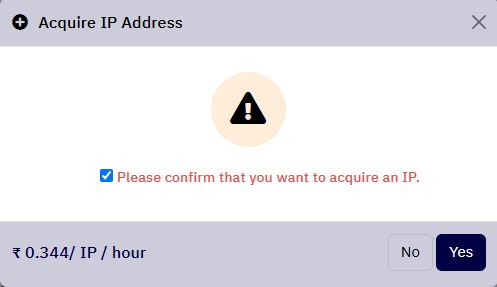
Click the "Acquire New Public IP" button.
-
A pop-up window will appear, displaying the hourly cost of assigning a public IP.
-
Confirm your choice by:
-
Selecting the checkbox to acknowledge the billing and Public IP Acquiring.
-
Clicking Yes to proceed, or Cancel to abort the process.
-
-
Once confirmed, a new public IP address will be allocated from the cloud’s IP pool and added to your network.
5. Next Action :
-
Binding to a VM for direct internet access using Static NAT
-
Using it in port forwarding or load balancer configurations.