VPN Customer Gateway
A VPN Customer Gateway represents the remote endpoint in a Site-to-Site VPN connection between your Virtual Private Cloud (VPC) and an external network such as an on-premises data center or another cloud provider.
This gateway is a critical component that defines how your cloud-based VPC communicates securely with your remote network by specifying public IP, authentication methods, encryption policies, and remote subnets.
This guide provides step-by-step instructions to create and manage a VPN Customer Gateway using the Cloud Management Portal.
Use Case
You should configure a VPN Customer Gateway when:
-
You need to establish a Site-to-Site VPN from a cloud VPC to an on-premises environment.
-
You are connecting to a third-party network or service provider via a secure tunnel.
-
You require encrypted, reliable, and scalable connectivity between your cloud environment and an external private network.
Prerequisites
Before creating a Customer Gateway, ensure you have the following information from your network/security team or the third-party VPN device provider:
-
Public IP address of the remote VPN device (gateway)
-
Remote private subnets in CIDR format
-
IKE and ESP configuration parameters (encryption, hashing, DH group)
-
Pre-shared key (PSK) for authentication
-
Lifetime values for IKE and ESP (in seconds)
-
Optional: Advanced security options (DPD, UDP encapsulation, etc.)
1. Accessing the VPC Gateway Section :
-
Log in to your Cloud Management Portal using your authorized credentials.
-
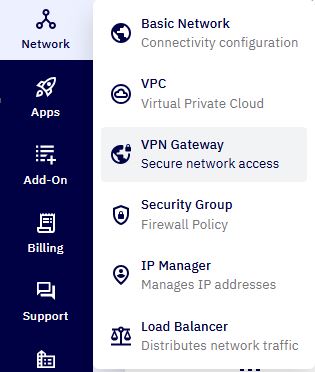
From the left navigation pane, go to:
Network → VPC Gateway
- You will see a list of existing Customer Gateways already configured in your account.
2. Add a New VPN Customer Gateway :
- Click on the Add VPN button located at the top-right of the screen.
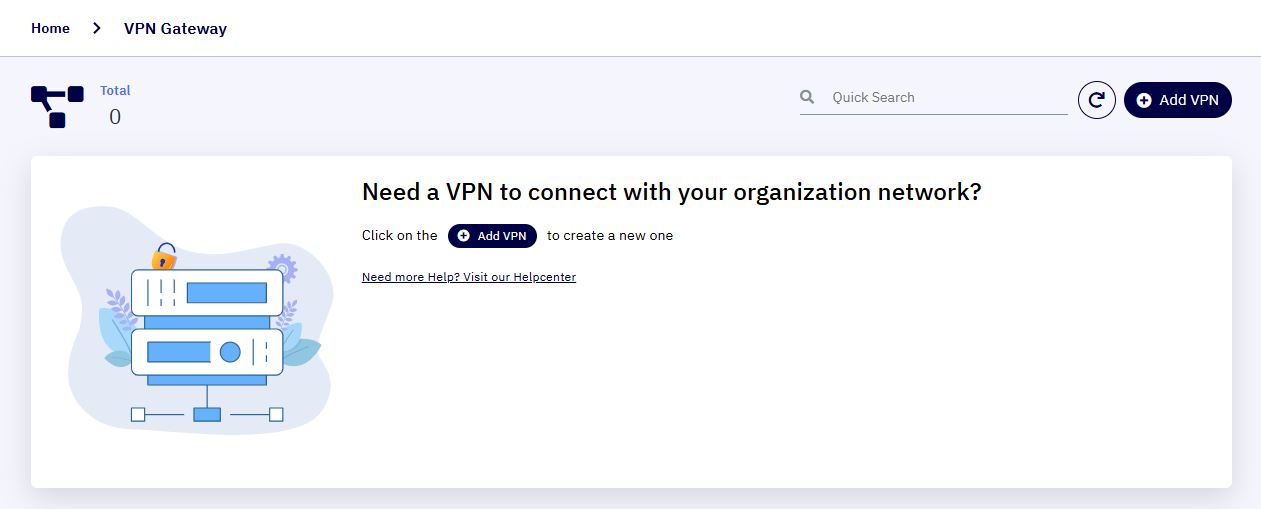
- A new form will appear in a popup window prompting you to enter configuration parameters.
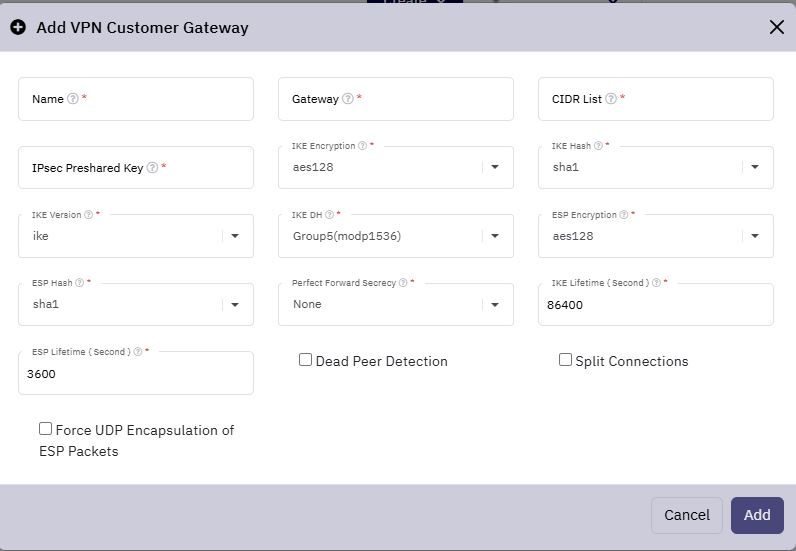
3. Enter VPN Gateway Configuration Details :
Fill in the following fields as per your network requirement:
| S. No | Field | Description |
|---|---|---|
| 1 | Name | Enter a unique name to identify this VPN Customer Gateway. |
| 2 | Gateway | The public IP address of the remote VPN device (e.g., 203.0.113.45). |
| 3 | CIDR List | A comma-separated list of remote private networks in CIDR notation (e.g., 192.168.0.0/24, 10.10.0.0/16). |
| 4 | IPSec Pre-shared Key | A shared secret used for VPN tunnel authentication. |
| 5 | IKE Encryption | Select the encryption algorithm used for IKE (e.g., AES-128, AES-256). |
| 6 | IKE Hash | Choose the hash algorithm for IKE (e.g., SHA-1, SHA-256). |
| 7 | IKE Version | Select either IKEv1 or IKEv2 based on the remote VPN configuration. |
| 8 | IKE DH Group | Choose the Diffie-Hellman group (e.g., Group 2, Group 14). |
| 9 | ESP Encryption | Select the encryption method for ESP (e.g., AES-128, AES-256). |
| 10 | ESP Hash | Select the hash method for ESP (e.g., SHA-1). |
| 11 | Perfect Forward Secrecy | Optional: Select a DH group if PFS is required. |
| 12 | IKE Lifetime | Duration (in seconds) before renegotiating the IKE tunnel (e.g., 86400). |
| 13 | ESP Lifetime | Duration (in seconds) before renegotiating the ESP tunnel (e.g., 3600). |
4. Advanced VPN Options :
Review and enable the following options based on your security policy:
| S. No | Option | Description |
|---|---|---|
| 1 | Dead Peer Detection (DPD) | Enable to automatically detect if the peer is unreachable and drop the tunnel. |
| 2 | Split Connections | Allow individual subnets to establish separate tunnels. Useful for failover or traffic isolation. |
| 3 | Force UDP Encapsulation of ESP Packets | Enable this if the remote device is behind NAT or firewall and requires UDP encapsulation of ESP packets. |
Note: These settings are typically determined by the capabilities and configurations of the remote VPN device.
5. Review and Submit :
-
Double-check all the entered values.
-
Click the Add button to save and create the VPN Customer Gateway.
-
After a few seconds, the new gateway will appear in your VPN Gateway list.
Using the VPN Customer Gateway in a Site-to-Site VPN
After creating the Customer Gateway, you can establish a Site-to-Site VPN Connection by:
- Navigating to Network > VPC > [Your VPC] > Configure.
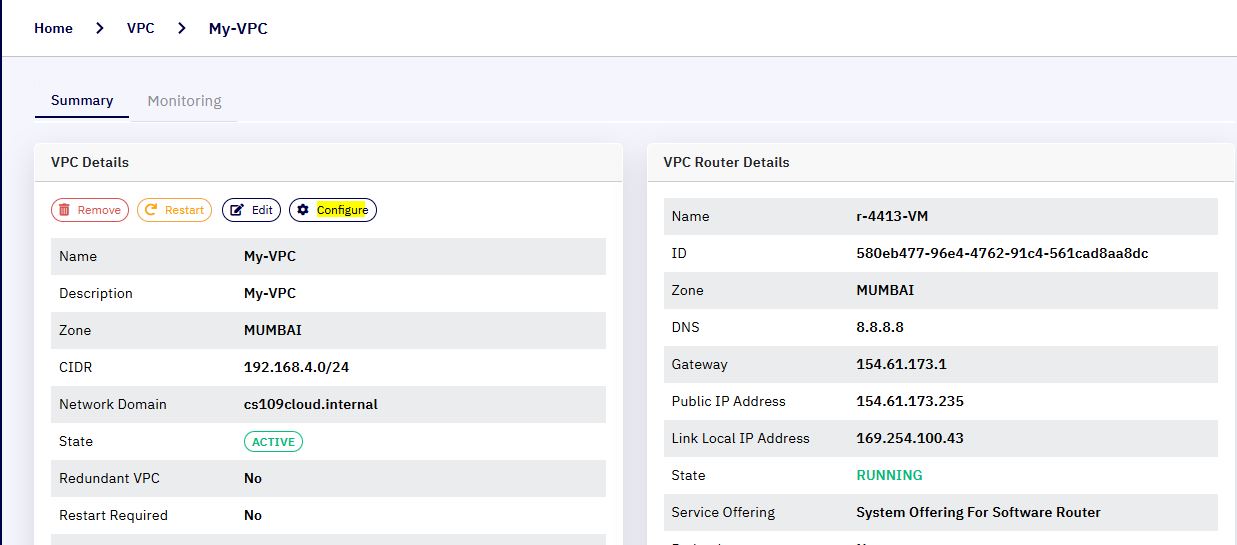
- Selecting Site-to-Site VPN Lists under router section.

- Creating a new VPN Connection and selecting the Customer Gateway you just created.
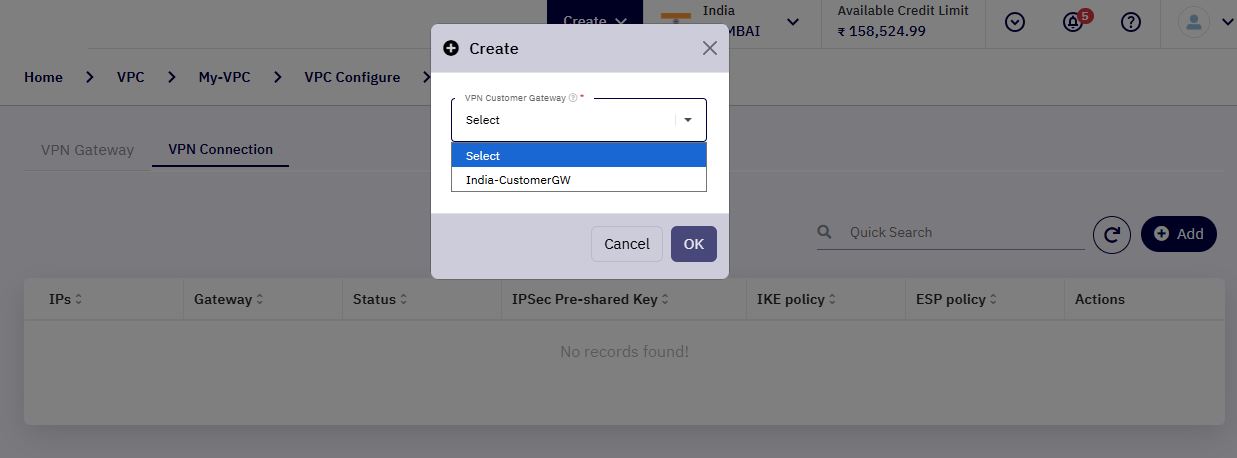
Note: The VPN Connection uses the information stored in the Customer Gateway to establish a secure IPsec tunnel.