Load Balancer
The Load Balancer feature in the Cloud Management Portal allows you to seamlessly distribute incoming traffic across multiple virtual machines (VMs) to ensure high availability, reliability, and optimized performance for your applications.
This section provides a detailed, step-by-step guide on how to create and configure a Load Balancer within your cloud environment.
1. Accessing the Load Balancer Section :
-
Log in to your Cloud Management Portal using your authorized credentials.
-
From the left navigation pane, go to:
Network → Load Balancer
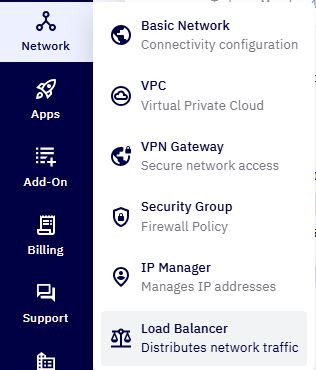
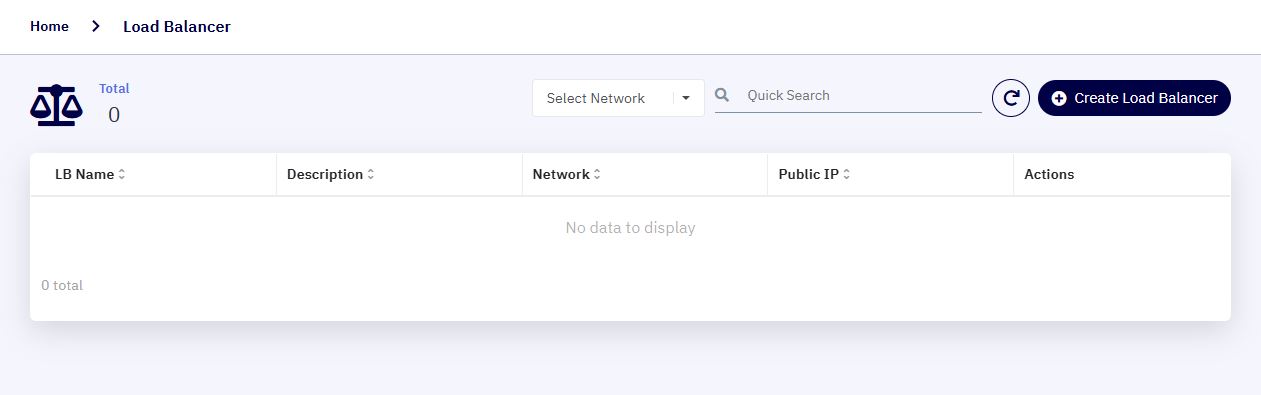
- You will see a list of existing Load Balancer already configured in your account.
2. Initiate Load Balancer Creation :
- Click the Create Load Balancer button at the top right of the screen. This will open a guided form for configuring your new Load Balancer.
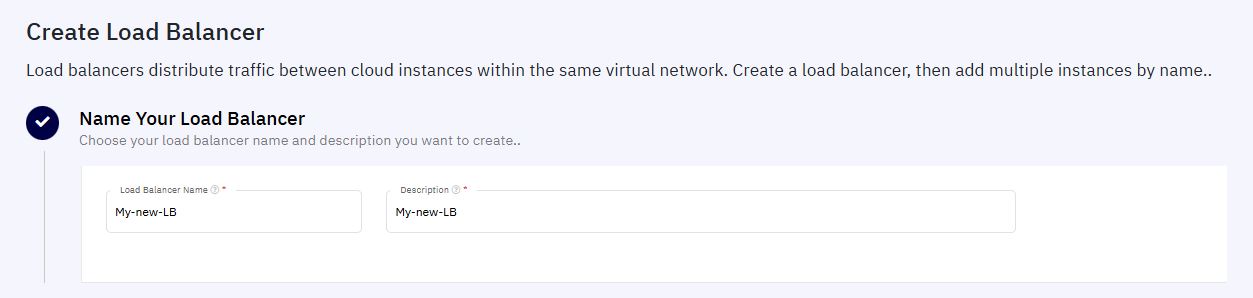
3. Name Your Load Balancer :
-
In the Name & Description section:
-
Name: Enter a unique, identifiable name for the Load Balancer.
-
Description: Optionally, provide a short description for reference.
-
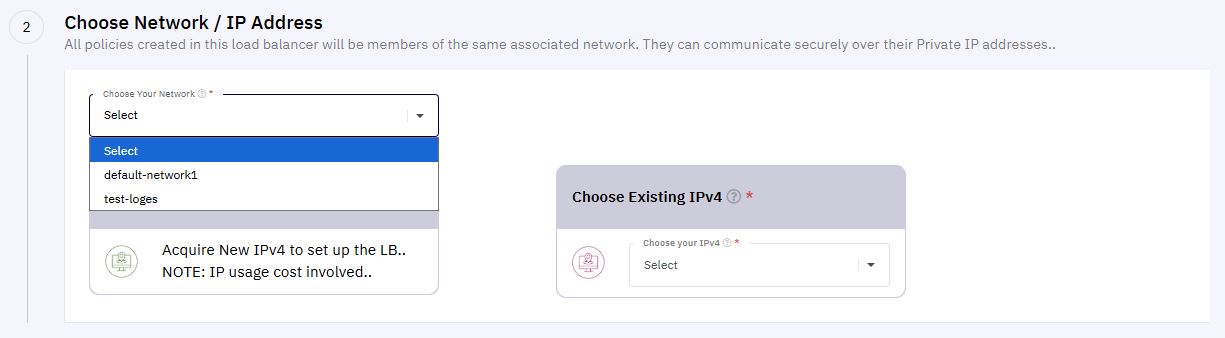
4. Choose Network / IP Address :
In the Network Configuration section:
-
Select an existing Network from the dropdown list.
-
Choose one of the following options for assigning an IP:
-
Use Existing IP Address
-
Acquire New IP Address
-
Note: Load Balancers can only be created using Source NAT IPs.
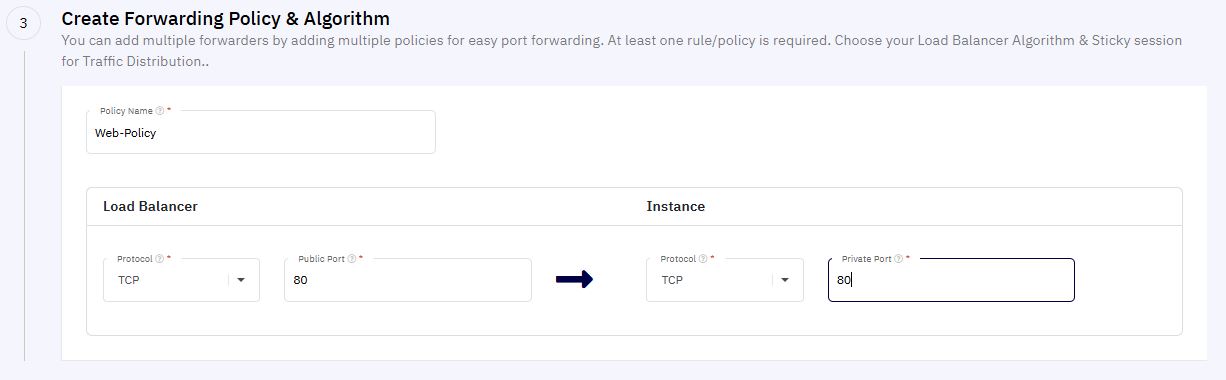
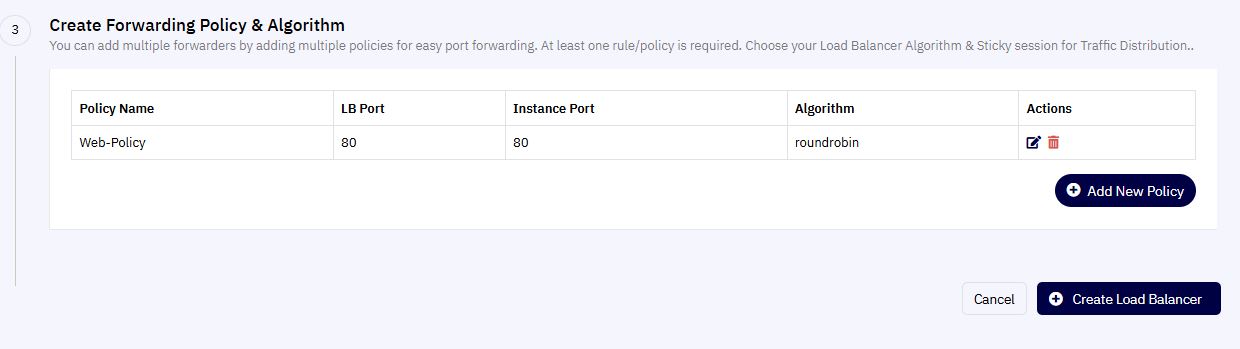
5. Create Forwarding Policy & Algorithm :
Configure how your Load Balancer handles incoming requests:
-
Policy Name: Give a name to your forwarding policy.
-
Protocol: Choose between TCP and TCP-Proxy.
-
TCP : Forwards raw TCP connections directly to backend servers without modifying them (Layer 4).
-
TCP-Proxy : TCP-PROXY protocol preserves the original client IP by adding a header when forwarding TCP connections. It allows Guest VM's to see the true source IP even when traffic passes through Guest Network.
-
-
Public Port: The port exposed by the Load Balancer (e.g., 80 for HTTP).
-
Private Port: The port on the target VMs (e.g., 8080) that receives the forwarded requests.
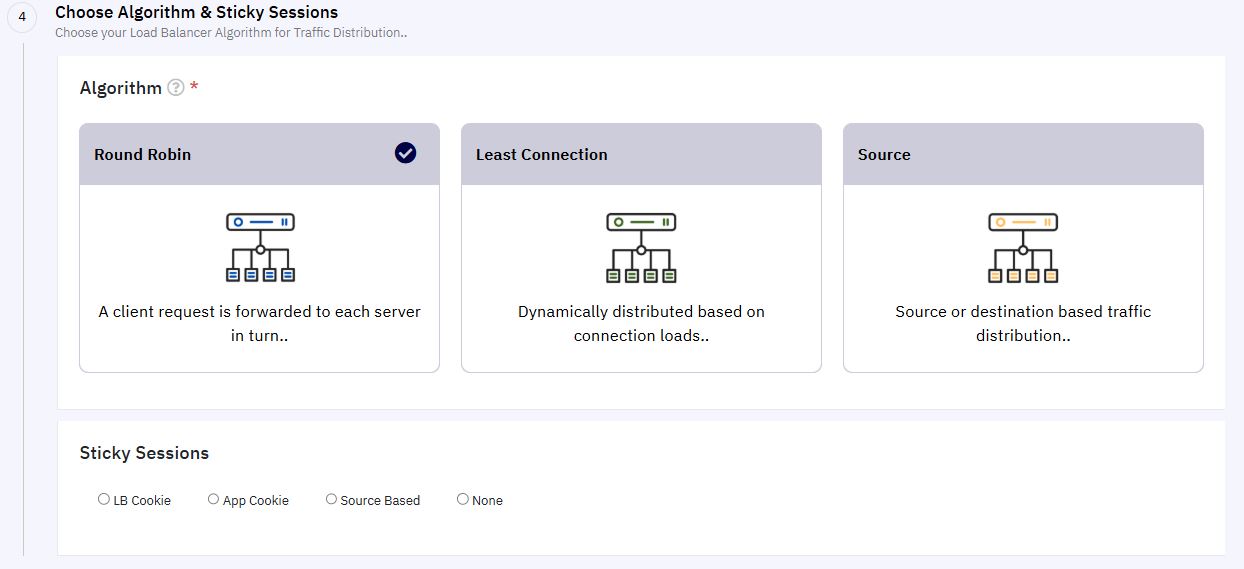
6. Choose Algorithm & Sticky Sessions :
Select how traffic will be distributed:
-
Load Balancing Algorithms:
-
Round Robin: Distributes traffic evenly across all instances.
-
Least Connection: Sends requests to the instance with the fewest active connections.
-
Source: Routes requests from the same source IP to the same VM.
-
-
Sticky Sessions (Optional):
Enable this if you want to maintain session persistence based on the source IP or cookies.
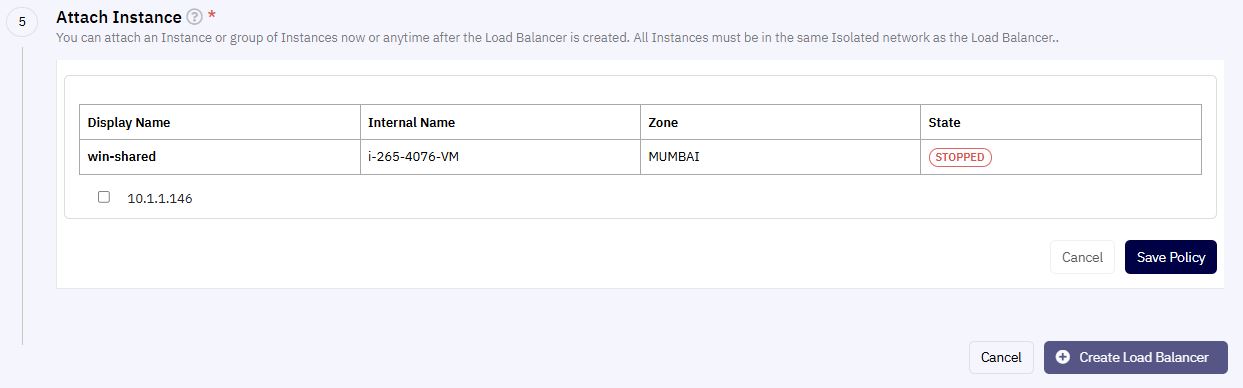
7. Attach Instances
In the Attach VM Instances section:
- Select one or more virtual machines from the list to be included in the Load Balancer pool.
Make sure that the selected instances are listening on the specified private port.

8. Save and Create :
-
Review all the provided information carefully.
-
Click Save Policy to save the forwarding rules and load balancing configuration.
-
Once the policy is saved, the Create Load Balancer button becomes active.
-
Click Create Load Balancer to finalize and launch your Load Balancer.
9. Test Your Load Balancer :
After a few minutes, your Load Balancer will be provisioned and visible in the Load Balancer list.
To verify that your application is accessible:
-
Open a web browser.
-
Enter the Load Balancer IP Address.
-
You should be directed to your application's web interface hosted on the attached VMs.