Assigning a VM to a Static NAT IP
The Static NAT feature in the Cloud Management Portal allows administrators to assign a dedicated public IP address to a specific Virtual Machine (VM). This direct one-to-one IP mapping makes the VM accessible from the internet using the assigned public IP, ideal for services requiring unrestricted external access.
This section outlines the steps to acquire a new public IP and assign it as a Static NAT IP to a VM in an Isolated Network environment.
Key Concepts
-
Static NAT IP: A public IP address mapped directly and exclusively to a single VM.
-
Source NAT IP: A shared IP used for outbound connectivity and port forwarding for multiple VMs.
-
Firewall Rules: Must be configured to permit specific traffic to the VM when using Static NAT.
Note: Static NAT does not support Port Forwarding or Load Balancer configurations. It only supports firewall rules.
1. Accessing the Basic Network Section :
-
Log in to your Cloud Management Portal using your authorized credentials.
-
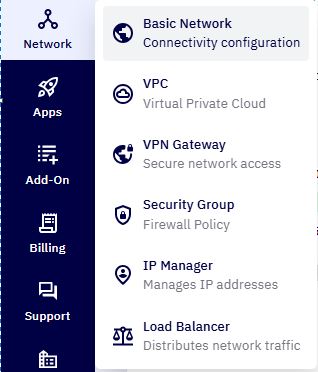
From the left navigation pane, go to:
Network → Basic Network
- You will see a list of all existing networks associated with your cloud account.
2. Select the Target Network :
-
Identify the network where the VM is deployed.
-
Click the network name to open the Network Configuration Page.
3. Acquire a New Public IP :
-
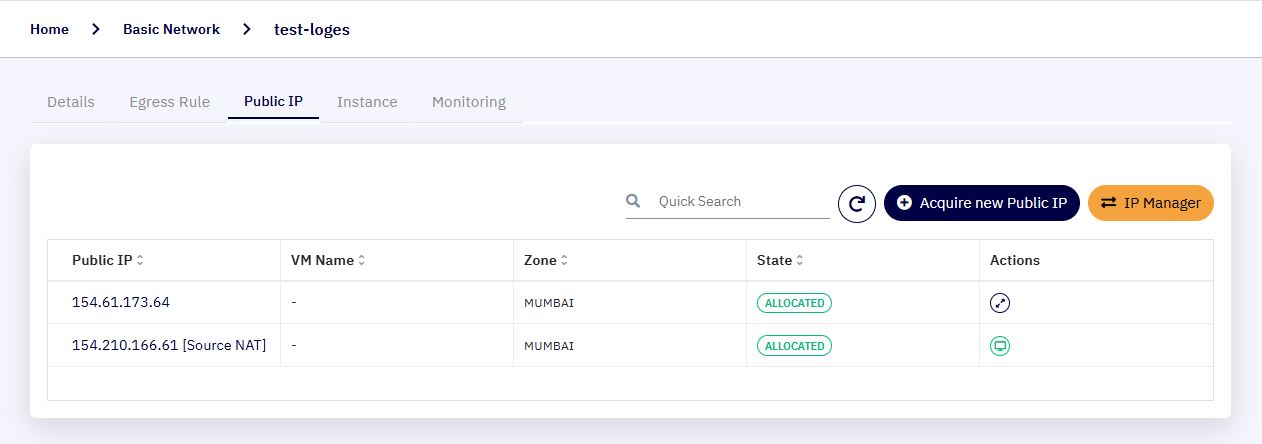
Navigate to the Public IP tab.
-
Here, you will see a list of existing public IP's linked to this network.
Important Note: The default public IP assigned during network creation is always a Source NAT IP and cannot be converted to Static NAT. You must acquire a new IP to configure Static NAT.
-
Click "Acquire New Public IP".
-
Confirm the acquisition and pricing (usually billed per hour).
-
A new public IP will be assigned and listed under the selected network.
4. Enable Static NAT on the New IP :
-
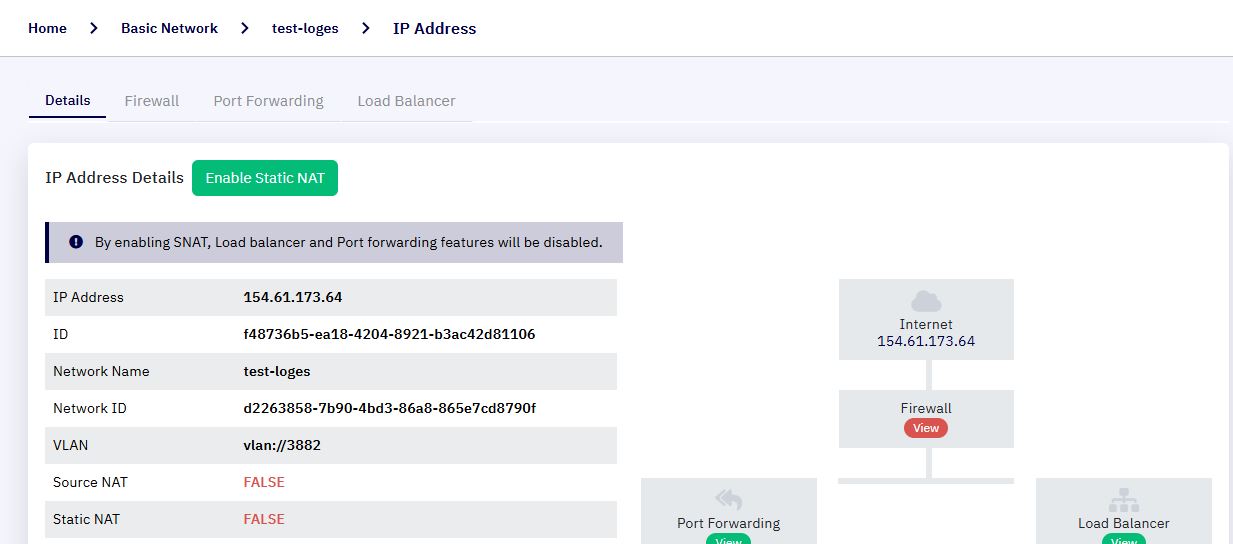
Locate the newly acquired IP in the Public IP list and click on it.
-
You will be redirected to the Public IP Configuration Page.
-
Click on the “Enable Static NAT” button.
-
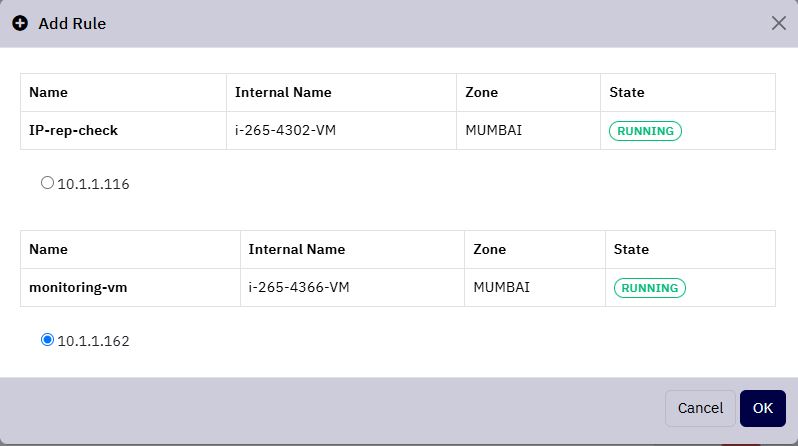
A popup window will appear showing all available VMs under the selected network.
-
Choose the VM you wish to assign (e.g.,
monitoring-vm) and click OK.
Note: Once enabled, the IP will be mapped directly to the selected VM. You will see the button change to "Disable Static NAT", confirming that Static NAT is active.
5. Configure Firewall Rules :
-
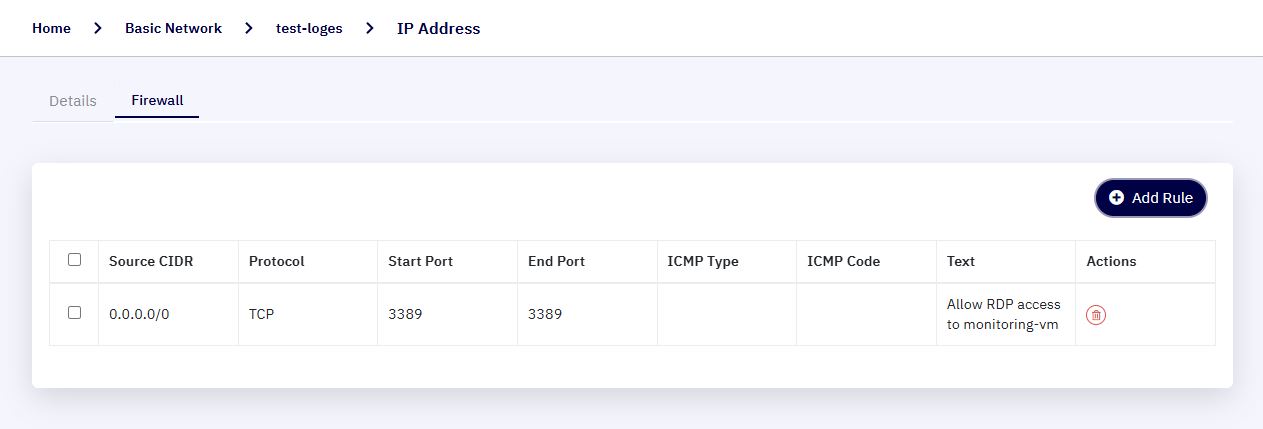
Go to the Firewall tab in the same Public IP configuration.
-
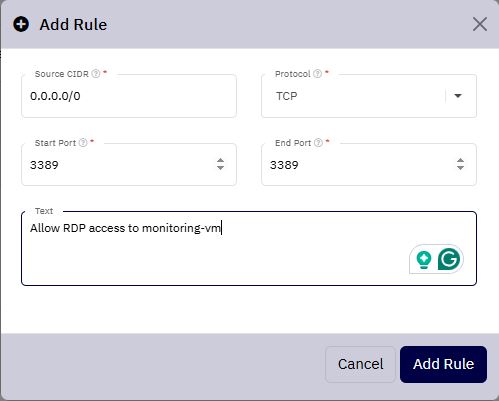
Click Add Rule and configure the required port access:
-
Source CIDR :
0.0.0.0/0(to allow access from all external IPs) -
Protocol : TCP
-
Start Port :
3389 -
End Port :
3389 -
Description : Allow RDP access to monitoring-vm
-
-
Click Add Rule to apply it.
6. Test the Static NAT Access :
-
Open an RDP client and connect to the Static NAT public IP on port
3389. -
You should now be able to access the assigned VM externally.