Firewall
The Cloud Management Portal provides built-in firewall capabilities that allow users to manage inbound traffic to virtual machines (VMs) through public IP addresses associated with isolated networks.
This section explains how to view, configure, and manage firewall rules associated with a Public IP, giving you precise control over how external traffic reaches your cloud-hosted instances.
What is the Firewall in Isolated Networks?
In an isolated network, virtual machines are deployed in a private IP range with no default inbound access from the internet. To allow external traffic—such as HTTP, SSH, or custom application protocols—to reach specific VMs, users must configure firewall rules for public IPs.
Each public IP address associated with your network acts as a gatekeeper, and the firewall rules you define will determine what types of incoming traffic are permitted to reach your instances.
Key Concepts
-
Public IP: A routable IP address assigned to your isolated network, enabling external access.
-
Firewall Rule: A configuration that defines which traffic is allowed to pass through a specific public IP to a VM.
-
Port Forwarding vs Firewall Rules: Port forwarding defines where traffic should be routed; firewall rules define what traffic is allowed to enter the network.
1. Accessing the Basic Network Section :
-
Log in to your Cloud Management Portal using your authorized credentials.
-
From the left navigation pane, go to:
Network → Basic Network
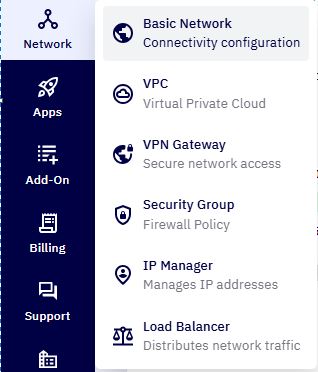
- You will see a list of all existing networks associated with your cloud account.
2. Select the Target Network :
-
Locate the isolated network where you intend to apply firewall rules.
-
Click on the network name to open its configuration details.
3. Access Public IPs :
-
Inside the network view, navigate to the Public IP tab.
-
This section displays all public IP addresses allocated to your selected network.
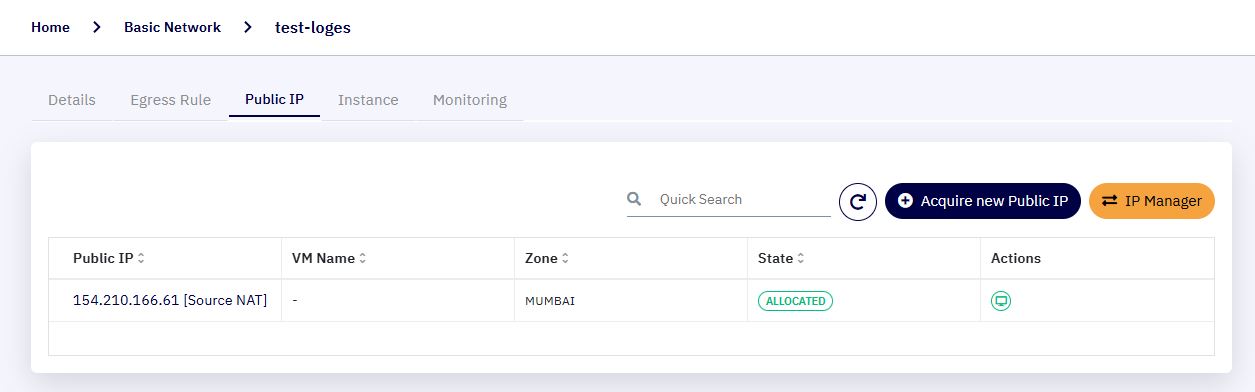
4. Choose the Public IP Address :
-
Identify the specific public IP address for which you want to configure firewall rules.
-
Click on the IP address to open its configuration page.

5. Open the Firewall Configuration :
-
In the IP Configuration Page, click on the Firewall tab.
-
This tab displays existing firewall rules, if any.
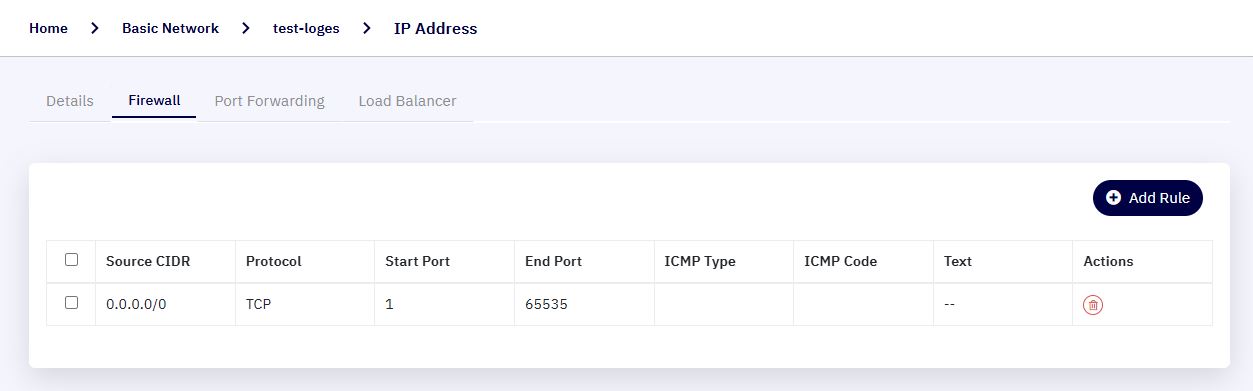
6. Add a New Firewall Rule :
-
Click on the Add Rule button to create a new firewall entry.
-
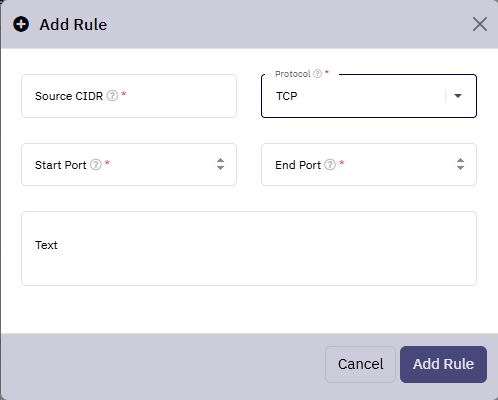
A popup window will appear prompting you to enter the rule details.
7. Provide Rule Information :
-
Fill in the following fields:
-
Source CIDR : Define the source IP address or subnet allowed to initiate connections (e.g.,
0.0.0.0/0for any IP, or192.168.1.0/24for a specific range). -
Protocol : Choose the desired protocol:
TCP,UDP, orICMP. -
Start Port : (For TCP/UDP) The beginning of the port range.
-
End Port : (For TCP/UDP) The end of the port range. Use the same value as the start port for single-port rules.
-
Description : Provide a meaningful description for the rule, such as "Allow HTTP traffic" or "SSH access from Office IP".
Note: For ICMP, the Start Port and End Port fields will be replaced by ICMP Type and ICMP Code respectively.
-
8. Confirm and Save :
-
Review the entered details.
-
Click the Add Rule button to apply the rule.
9. Viewing and Managing Firewall Rules :
-
Once added, the new firewall rule will appear in the Firewall Rules List under the selected public IP. From this list, you can:
-
Review the rule details (protocol, ports, source CIDR, description).
-
Delete rules if its not required.
-