Port Forwarding
The Cloud Management Portal offers built-in Port Forwarding capabilities that allow users to expose specific services hosted on virtual machines (VMs) within an isolated network to the outside world via public IP addresses. This feature is particularly useful when you want to make certain applications (e.g., web servers, SSH, or databases) accessible externally, without opening access to the entire network.
What is Port Forwarding?
Port forwarding is a method used to redirect traffic from a public IP and port to a private IP and port within your isolated network. This allows external users to securely access internal services hosted on VMs without exposing the entire network.
For example, if you have a web application running on port 80 on a VM inside your network, you can forward requests to a public IP on port 80 directly to that internal VM and port.
Use Case Examples
| S. No | Use Case | Public IP Port | VM Private Port | Description |
|---|---|---|---|---|
| 1 | SSH Access | 22 | 22 | Securely log into a Linux VM |
| 2 | HTTP Server | 80 | 80 | Expose a website to the internet |
| 3 | Custom App | 8080 | 5000 | Forward web traffic to an internal app |
1. Accessing the Basic Network Section :
-
Log in to your Cloud Management Portal using your authorized credentials.
-
From the left navigation pane, go to:
Network → Basic Network
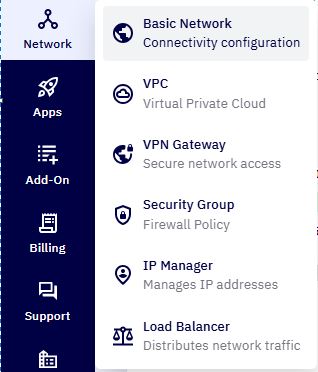
- You will see a list of all existing networks associated with your cloud account.
2. Select a Network :
-
Identify the isolated network in which your target VM resides.
-
Click on the network name to open its details page.
3. Go to the Public IP Tab :
-
Within the network details, click on the Public IP tab.
-
This displays all public IPs associated with the selected network.
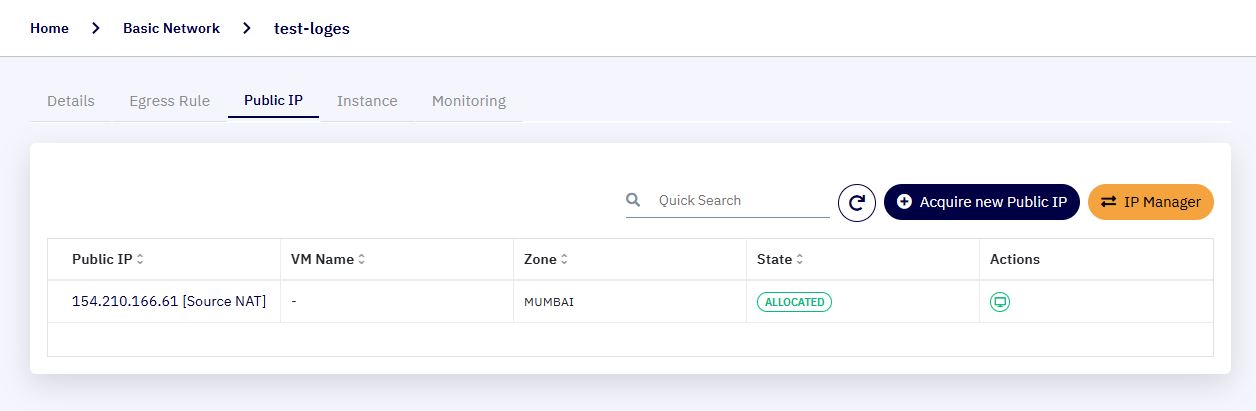
4. Choose the Appropriate Public IP :
-
Select the Source NAT public IP (port forwarding is available only for Source NAT).
-
Click the public IP to open its configuration page.
5. Open the Port Forwarding Tab :
- In the IP configuration page, click on the Port Forwarding tab to view existing rules.
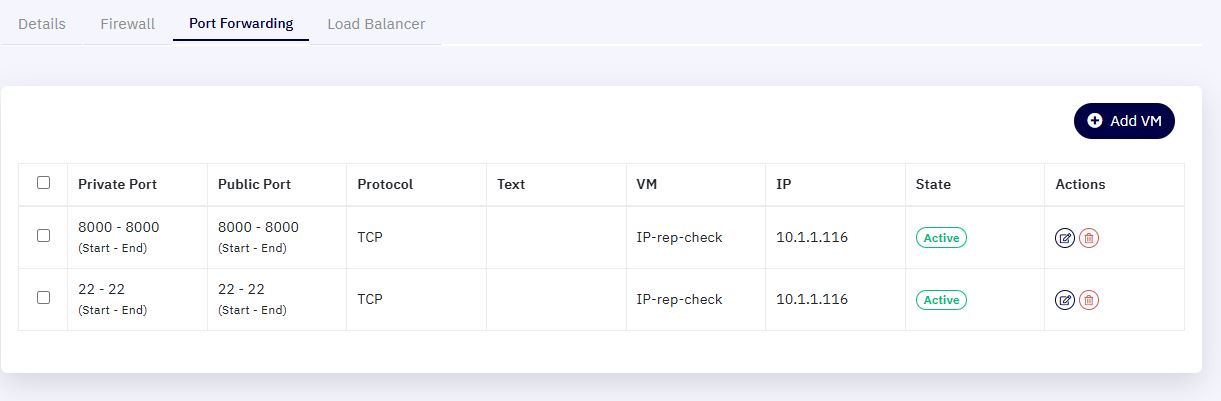
6. Add a Port Forwarding Rule :
-
Click on the Add VM button to begin rule creation.
-
A new configuration window will appear where you must input the following details:
-
Private Start Port : The starting port on the internal VM to forward traffic to.
-
Private End Port : The ending port on the internal VM (same as start if forwarding a single port).
-
Public Start Port : The starting port on the public IP address.
-
Public End Port : The ending port on the public IP address.
-
Protocol : Select either TCP or UDP, based on the service you’re exposing.
-
Description : Add a short description to identify the rule’s purpose.
Example : For single port forwarding (e.g., HTTP on port 80), set the same value for start and end ports in both public and private fields.
-

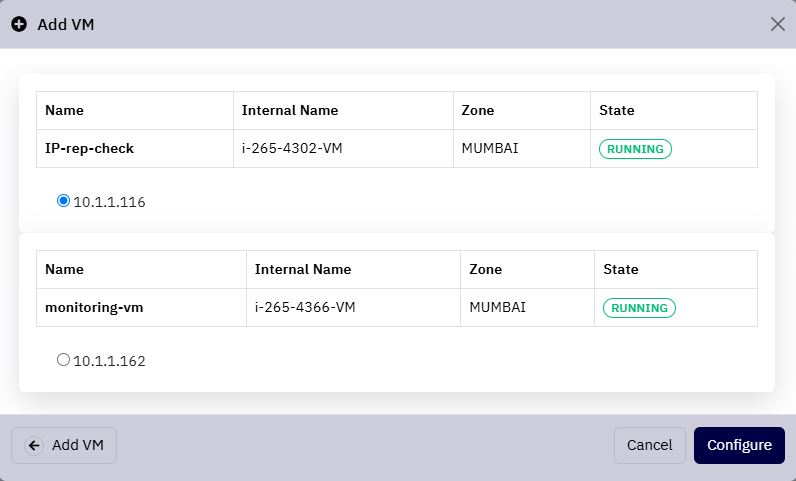
7. Select the Destination Virtual Machine :
-
After completing the port configuration, click on Add VM & Configure.
-
A list of all VMs attached to the selected network will appear.
-
Choose the target VM by clicking the radio button and then select Configure to bind the rule to the VM.
8. View and Manage Port Forwarding Rules :
-
Once configured, the new rule will be listed in the Port Forwarding Rules section.
-
You can review the rule details, including ports, protocol, VM association, and description.
9. Managing Existing Rules :
-
To delete a port forwarding rule that is no longer required:
-
Locate the rule in the list under the Actions column.
-
Click the Delete button to remove the rule.
-