Creating an Isolated Network
The Cloud Management Portal allows you to create isolated networks that provide a fully private and secure network environment for your instances. Isolated networks are ideal when you require complete network segregation with source NAT, DHCP, DNS, and other networking services.
This section guides you through the steps to create a new isolated network.
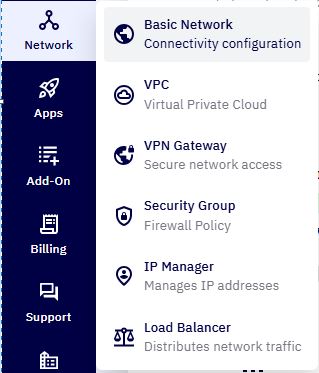
1. Accessing the Basic Network Section :
-
Log in to your Cloud Management Portal using your authorized credentials.
-
From the left navigation pane, go to:
Network → Basic Network
-
You will see a list of all existing networks associated with your cloud account.
2. Creating Isolated Network :
- To create a new network, click on the Add Network button and select "Add Isolated Network" from the dropdown options.

3. Network Configuration :
A new popup window will appear where you need to configure the following details:
-
Name:
Provide a meaningful name for your new network. -
Network Offering:
-
Each virtual network is tied to a specific network offering, which defines its capabilities. You can upgrade or downgrade a network later by changing its associated offering if needed.
-
Ensure you select "DefaultIsolatedNetworkWithSourceNatService" as the network offering for Isolated network.
-

4. Additional Options :
-
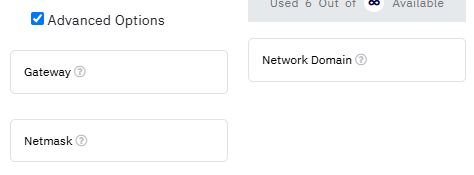
After selecting the network offering, additional settings become available under Advanced Options. Clicking Advanced Options will expand the section with the following configurable fields:
-
Gateway: The default gateway IP address that guest instances in the network will use.
-
Network Domain: A custom DNS suffix for the network. Specify this if you want your instances to belong to a specific domain.
-
Netmask: The subnet mask for the guest network. Defines the network's IP range.
Note: All Advanced Options fields are optional. If left blank, the Cloud Management Portal will automatically assign default values.
-
5. Attach VM :
- Optionally, you can choose to attach a virtual machine (VM) to the newly created network immediately during the creation process. This step is optional and can be skipped if not required.
6. Quota Limit :
- Also, in the popup screen, you can see the quota limit that has been assigned to the network.
7. Network Pricing :
- In the same popup screen, you can also view the pricing per offering per month, helping with cost planning before deployment.
8. Review and create :
-
After reviewing all the entered information, click the Create button to initiate the network creation process.
-
Within a few minutes, the new network will be provisioned and displayed in the Network List under the Basic Network section.