Upload Volume
The Upload Volume feature in the Cloud Management Portal allows users to bring in disk images from external sources into their cloud environment. This is particularly useful when migrating workloads, restoring backups, or initializing VMs with pre-configured disk images.
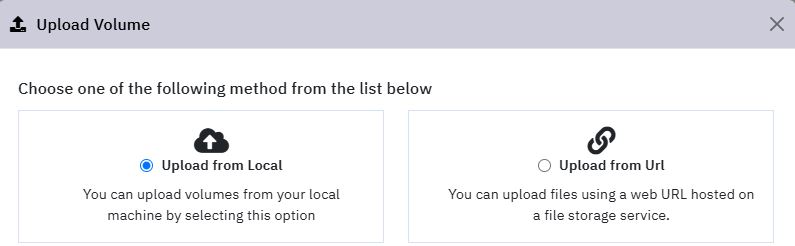
The platform supports two upload methods:
-
Upload from Local – Upload a volume file directly from your local machine.
-
Upload from URL – Provide a remote URL from which the volume image will be fetched into your cloud storage.
Upload from Local Machine
This option allows users to upload disk images directly from their local file system.
1. Access the Volume Management Section :
-
Log in to your Cloud Management Portal.
-
Navigate to: Compute → Volumes
2. Volume Upload :
- Click on the Upload Volume button at the top of the volumes list page.

- In the popup window, choose the option: Upload from Local
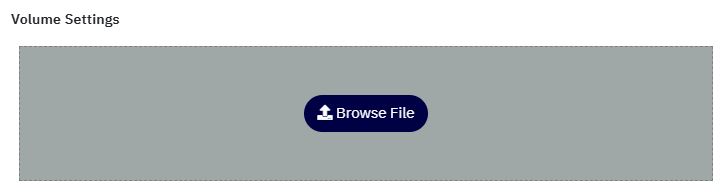
- Click on the Browse button and select the desired disk file from your local machine.
3. Volume Settings :
-
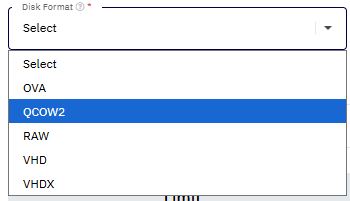
Select the appropriate Disk Format from the drop-down list.
For example, if you are uploading a QCOW2 image, choose QCOW2 as the format.
-
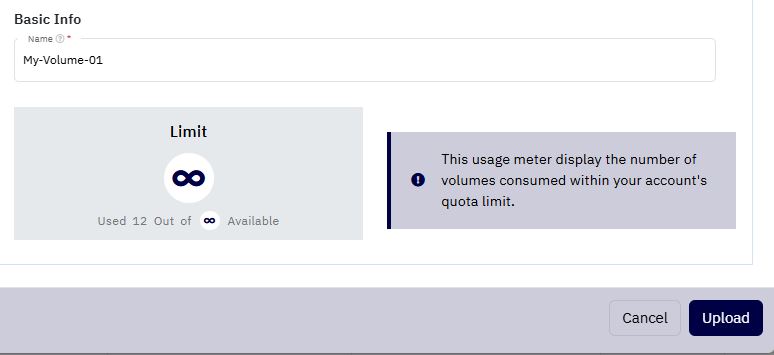
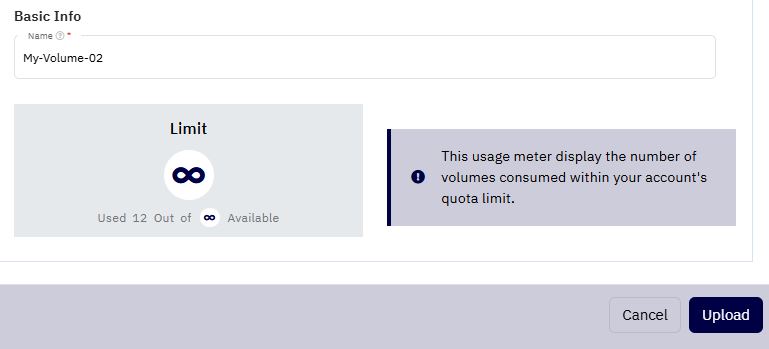
Enter a Name for the new volume.
-
The interface will display your used vs. available disk quota to ensure you have sufficient resources to upload the selected volume.
4. Uploading the Volume :
- Review all settings carefully, then click on the Upload button to begin the process.
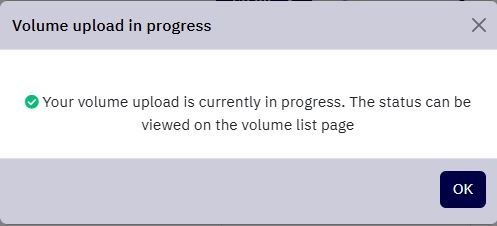
- A confirmation popup will appear:
"Your volume upload is currently in progress. The status can be viewed on the volume list page."
5. Verification :
- You will be redirected to the Volumes list page, where a progress bar indicates the upload status.
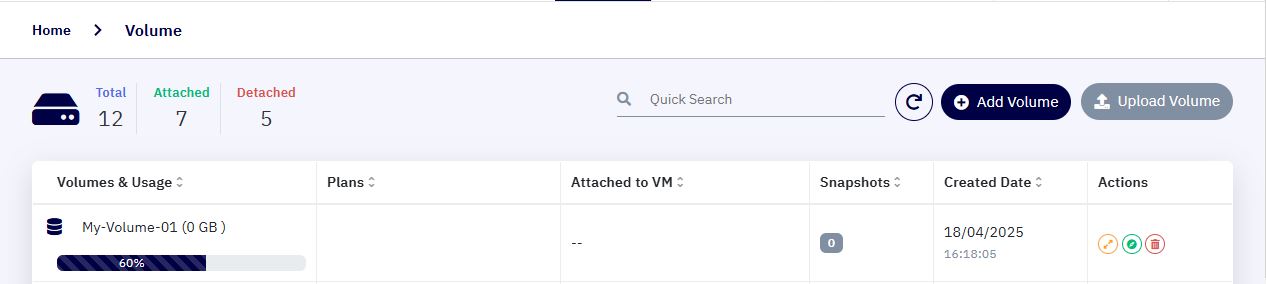
- Once the upload is completed, the volume will appear in your list.

- You can now attach it to any of your virtual machines and begin using it.
Note: Upload time may vary depending on the file size and network speed.
Upload from URL
This method enables users to fetch and import volumes hosted on external storage platforms such as AWS S3, Azure Blob, or any HTTP/HTTPS-accessible URL.
1. Access the Volume Management Section :
-
Log in to your Cloud Management Portal.
-
Navigate to: Compute → Volumes
2. Volume Upload :
-
Click on the Upload Volume button at the top of the volumes list page.
-
In the popup window, choose the option: Upload from URL
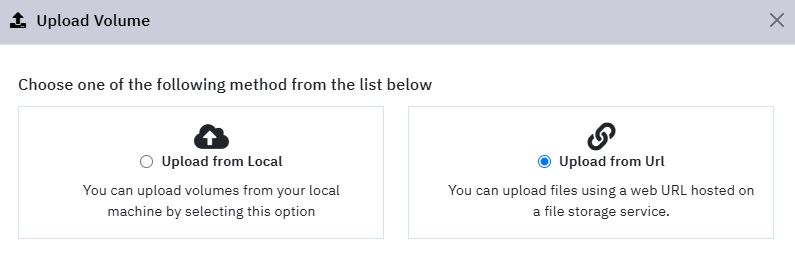
- Provide the public or pre-authenticated URL pointing to your volume file.
Example:
https://s3.amazonaws.com/yourbucket/yourimage.qcow2

3. Volume Settings :
-
Select the appropriate Disk Format from the drop-down list.
For example, if you are uploading a QCOW2 image, choose QCOW2 as the format.

-
Enter a Name for the new volume.
-
The interface will display your used vs. available disk quota to ensure you have sufficient resources to upload the selected volume.
4. Uploading the Volume :
- Review all settings carefully, then click on the Upload button to begin the process.
-
The system will initiate the download and begin importing the volume from the specified URL.
-
Progress can be monitored from the Volumes list page.
5. Verification :
- Once the upload is successfully completed, the volume will be listed and ready to be attached to any virtual machine.
Note: Upload time will depend on both the source server’s bandwidth and the size of the image. Large volumes may take several minutes to hours.