Attach Volume
This section outlines the process of attaching additional storage volumes to existing virtual machines (VMs) using the Cloud Management Portal. It also covers the post-attachment steps required to initialize and configure the volume within both Windows and Linux environments.
Attaching Volume
1. Access the Volume Management Section :
-
Log in to your Cloud Management Portal.
-
From the left navigation menu, go to Compute > Volume.
-
This section displays a list of all volumes created under your account.
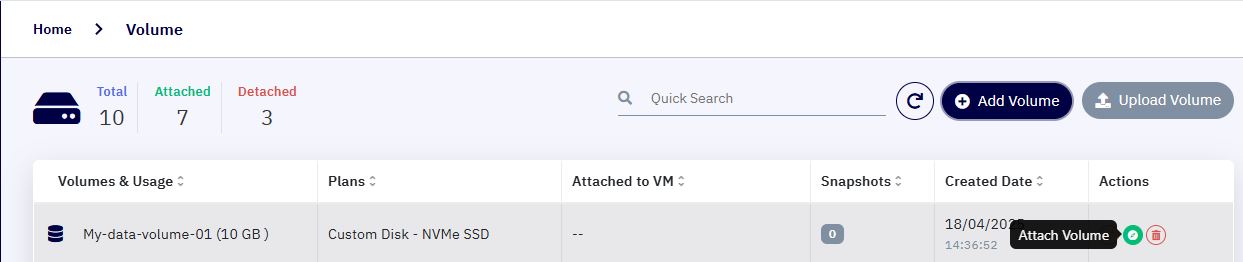
2. Select the Volume to Attach :
-
Identify the volume you wish to attach to a VM.
-
Click the Attach icon under the Actions column next to the desired volume.
3. Choose the Target VM :
-
A popup window will appear prompting you to select the virtual machine from a dropdown list.
-
Choose the appropriate VM to which the volume should be attached.

4. Confirm the Operation :
-
Click on the Attach button.
-
Within a few seconds, the volume will be successfully attached to the selected VM.
-
Once attached, the volume will no longer display the Attach option in the actions section, confirming a successful operation.
Attach Volume in Windows Environment
After successfully attaching the volume to a Windows VM, follow these steps to initialize and use the volume:
1. Access Disk Management Console :
-
Log in to the Windows VM via Remote Desktop or any preferred method.
-
Open the Run dialog box (press
Win + R), then typediskmgmt.mscand press Enter.
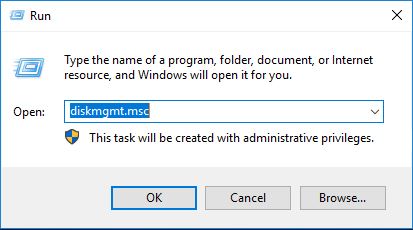
- This opens the Disk Management console.
2. Initialize the Disk :
-
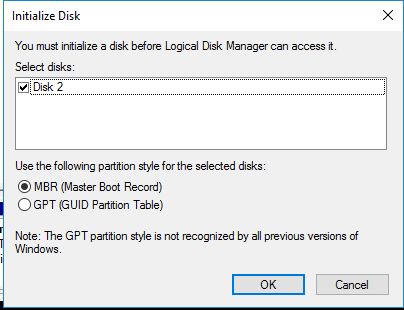
Upon opening Disk Management, you will be prompted with the Initialize Disk window.
-
Select the newly attached disk and choose a partition style.
For general use, MBR (Master Boot Record) is recommended unless your system requires GPT (GUID Partition Table).
3. Create a New Partition :
-
After initialization, the disk will show as "Online" but unallocated.
-
Right-click on the unallocated space and select New Simple Volume.
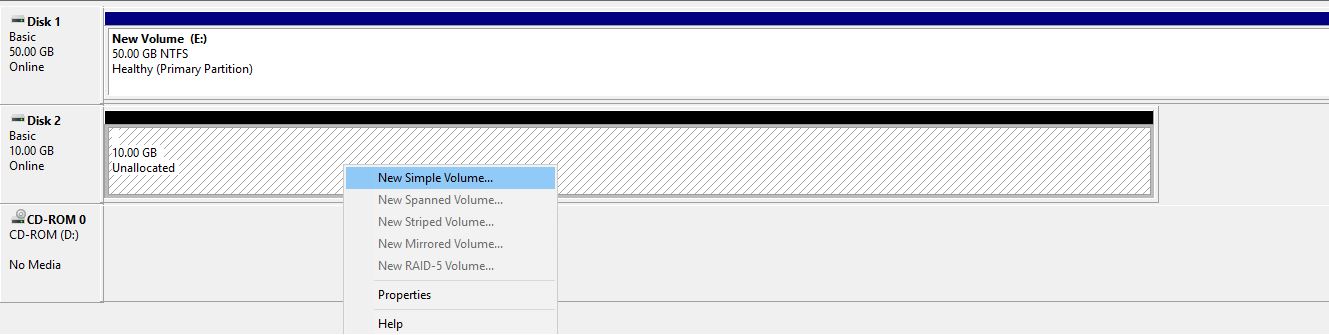
- The New Volume Wizard will guide you through the setup process.
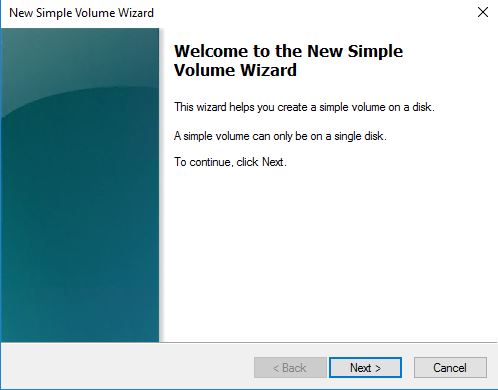
4. Follow the Wizard Steps :
- Specify Volume Size – Define the volume size to allocate (you can use the full capacity).

- Assign Drive Letter – Choose a drive letter for easy identification (e.g., D:).
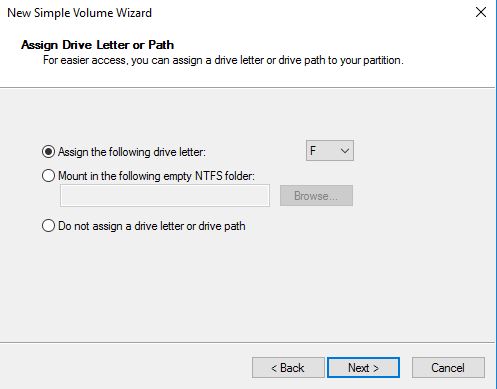
- Format the Partition – Select NTFS as the file system and keep the remaining options at their default.

- Complete the Wizard – Click Finish.
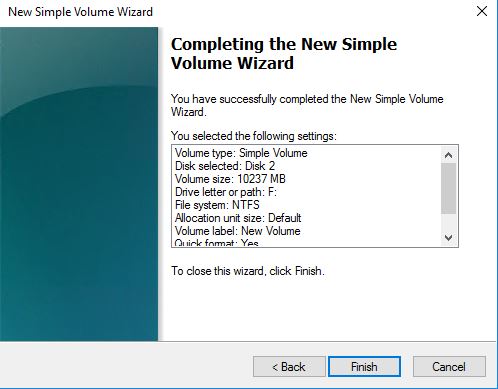
Within a few seconds, the new volume will appear in File Explorer, ready for use.
Attach Volume in Linux Environment
When a new data volume is attached to a Linux virtual machine, it must be manually initialized, formatted, mounted, and configured for persistent use across reboots. This section walks you through the complete process using standard Linux tools and commands.
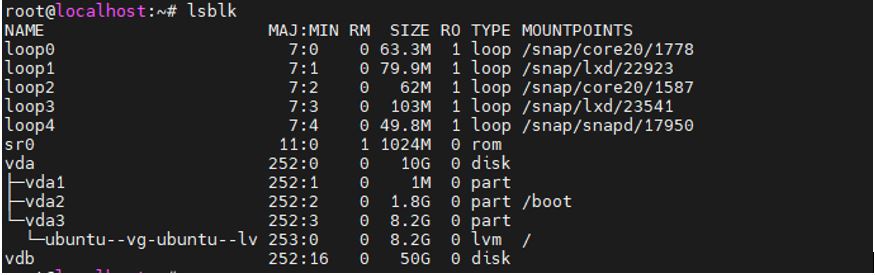
1. Identify Unmounted Disks :
- Open an SSH session and log in to your VM as root or a user with sudo privileges:
ssh root@<vm_public_ip>
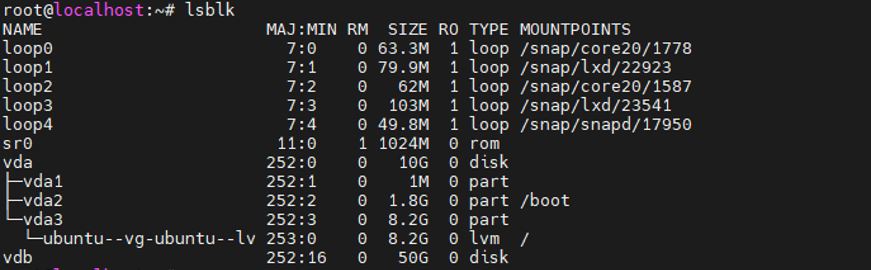
- List all block devices
lsblk
2. Create a New Partition :
-
Use the
fdiskutility to partition the new diskfdisk /dev/vdbFollow the interactive prompts:
| S. No | Command | Description |
|---|---|---|
| 1 | n | Create a new partition |
| 2 | p | Choose primary partition |
| 3 | t | Change partition type (optional) |
| 4 | L | List available partition types |
| 5 | 8e | Set to Linux LVM (if using LVM, optional) |
| 6 | w | Write changes and exit |
Once done, a partition like /dev/vdb1 will be created.
3. Format the Partition :
-
Format the newly created partition with the ext4 filesystem
mkfs.ext4 /dev/vdb1
4. Create Mount Point and Mount the Disk :
-
Create a directory to serve as the mount point
mkdir /mnt/data -
Mount the partition
mount /dev/vdb1 /mnt/data -
Verify the mount
df -hT
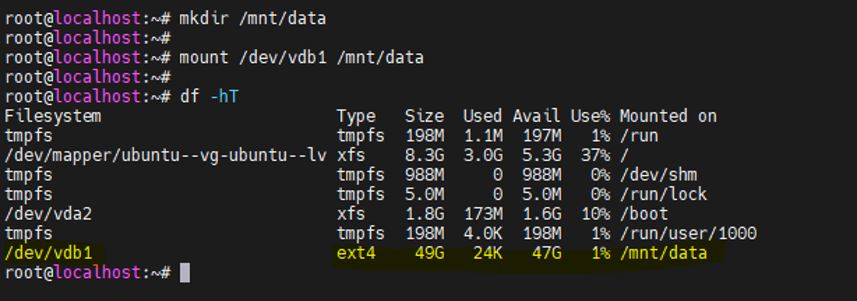
You should see /dev/vdb1 mounted on /mnt/data.
5. Make Mount Persistent (fstab Entry) :
-
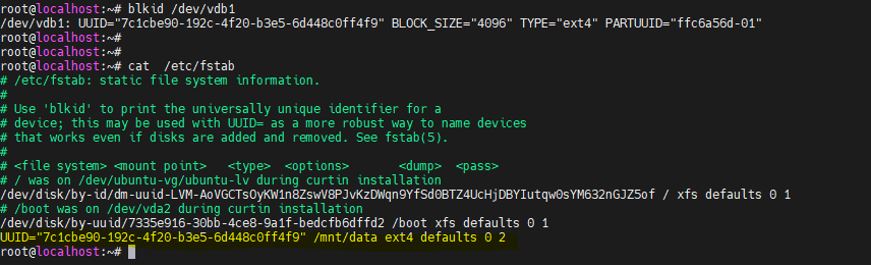
Retrieve the UUID of the partition
blkid /dev/vdb1Example output:
/dev/vdb1: UUID="a1b2c3d4-e5f6-7890-abcd-1234567890ef" TYPE="ext4" -
Edit the
/etc/fstabfilenano /etc/fstab -
Add the following line to the bottom of the file
UUID=a1b2c3d4-e5f6-7890-abcd-1234567890ef /mnt/data ext4 defaults 0 2
Replace the UUID with the actual value from the blkid output.
6. Test fstab Entry and Reboot
-
Test the fstab entry to ensure it's error-free
sudo mount -a -
Reboot the VM
sudo reboot -
After the system restarts, verify that the volume is mounted automatically.
df -hT
You’ve successfully attached and configured a data volume in a Linux VM. It’s now available for persistent use and will automatically mount on system boot.