Overview
The Volume section provides users with a centralized interface to manage persistent storage units in the cloud. These volumes can be attached to virtual machines (VMs), Kubernetes nodes, or left detached for future use. The UI offers insights into usage, configuration, attachment status, snapshots, and lifecycle management of volumes.
Key Features
1. Volume Summary :
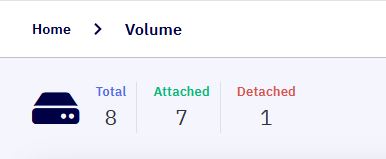
At the top of the volume management panel, a summary bar displays:
-
Total Volumes: Total number of volumes available in the tenant’s environment.
-
Attached Volumes: Number of volumes currently mounted to a VM or Kubernetes node.
-
Detached Volumes: Volumes not in use and available for attachment.
2. Volume Listing Table :
-
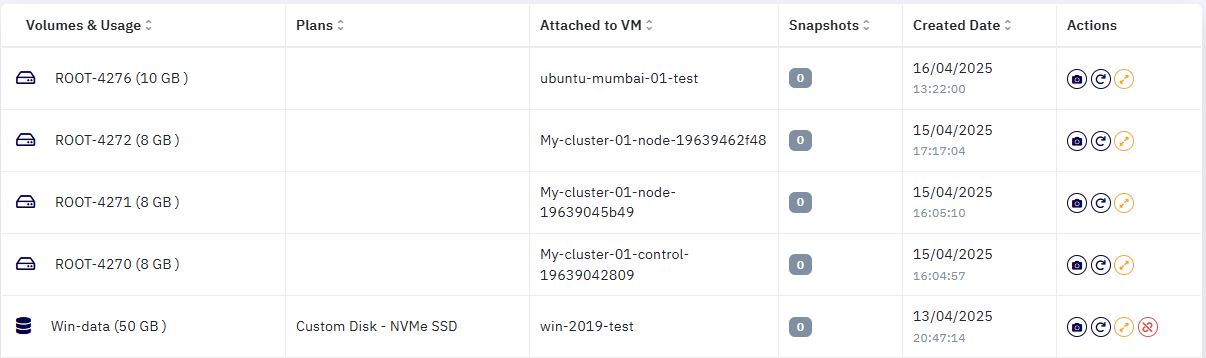
Volumes & Usage : Displays the volume name and its allocated capacity. (e.g.,
ROOT-4276 (10 GB)). -
Plans : Shows the disk type or customized disk configuration. (e.g.,
Custom Disk - NVMe SSD,Data Disk). -
Attached to VM : Specifies which VM or node the volume is attached to. If not attached, this field is empty or shows ellipsis (
...). -
Snapshots : Indicates the number of snapshots created for each volume, facilitating backup and restore.
-
Created Date : The date and time when the volume was created.
-
Actions : Offers quick action buttons for volume management which includes Attach/Detach Volume, Resize, Delete,etc..,
Volume Management Actions
1. Add Volume :
-
Click on the Add Volume button to create a new persistent volume.
-
Users will be prompted to configure Volume Name, size, etc..,
2. Upload Volume :
-
Allows users to upload disk image files or backups to create a new volume.
-
Supported formats typically include
.qcow2,.vmdk, or.raw.
