Detach Volume
Detaching a volume from a virtual machine is a necessary operation when you no longer want a disk attached to a VM, or when you plan to attach it to a different instance. The Cloud Management Portal provides a simple and intuitive way to perform this action.
Important Note:
Before detaching a volume from a running virtual machine, ensure that the volume is not actively being used by any application or process. Detaching a volume that is in use can result in data corruption or data loss.
1. Access the Volume Management Section :
-
Log in to your Cloud Management Portal.
-
From the left navigation menu, go to Compute > Volume.
-
You will see a list of volumes currently available under your cloud account, including both attached and unattached disks.
2. Volume Detach :
-
Locate the volume you wish to detach. The Attached to VM column will indicate if the volume is currently attached to a VM.
-
In the Actions column, click on the Detach icon corresponding to that volume.

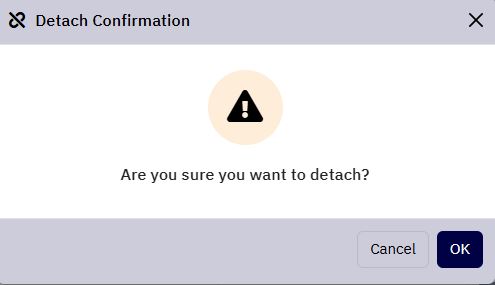
3. Confirmation :
- A confirmation dialog will appear:
"Are you sure you want to detach this volume?"
-
Click OK to proceed with detachment.
-
Click Cancel if you want to abort the operation.
-
The system will initiate the detachment process. This might take a few seconds to a couple of minutes depending on the VM and disk activity.
-
Once successfully detached, the volume will be listed as Unattached in the Volumes table and will be available to attach to other virtual machines if needed.