Static NAT
Static NAT (Network Address Translation) provides a one-to-one mapping between a public IP address and the private IP address of a virtual machine (VM) within a VPC. This allows external clients or services on the internet to reach your VM directly using a fixed public IP address, which is critical for hosting web applications, APIs, or other public-facing services.
This section guides you through the process of enabling Static NAT for a VM using the Cloud Management Portal.
What is Static NAT?
-
Static NAT maps a public IP to a private IP of a VM in a one-to-one manner.
-
It enables direct external access to the VM from the internet.
-
Unlike Port Forwarding, which maps specific ports, Static NAT exposes the VM completely over the public IP.
-
Important: If port forwarding rules are already associated with the public IP, you cannot enable Static NAT for that IP. Ensure the IP is not currently in use by any port forwarding rule.
Prerequisites
Before enabling Static NAT, make sure:
-
You have a VPC with at least one network tier and deployed VMs.
-
You have an unassigned public IP address available in your VPC (not associated with any port forwarding or other NAT rules).
-
You know which VM needs external access via Static NAT.
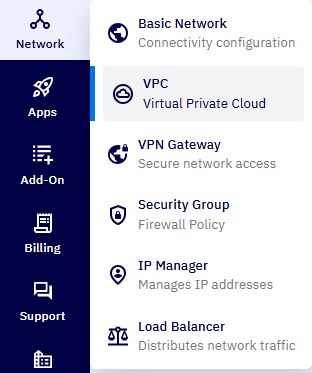
1. Accessing the VPC Section :
-
Log in to your Cloud Management Portal using your authorized credentials.
-
From the left navigation pane, go to:
Network → VPC
-
You will see a list of all existing VPC networks associated with your cloud account.
-
Click on the VPC name to view its details.
2. Open VPC Configuration :
- On the VPC detail page, click the
Configurebutton.
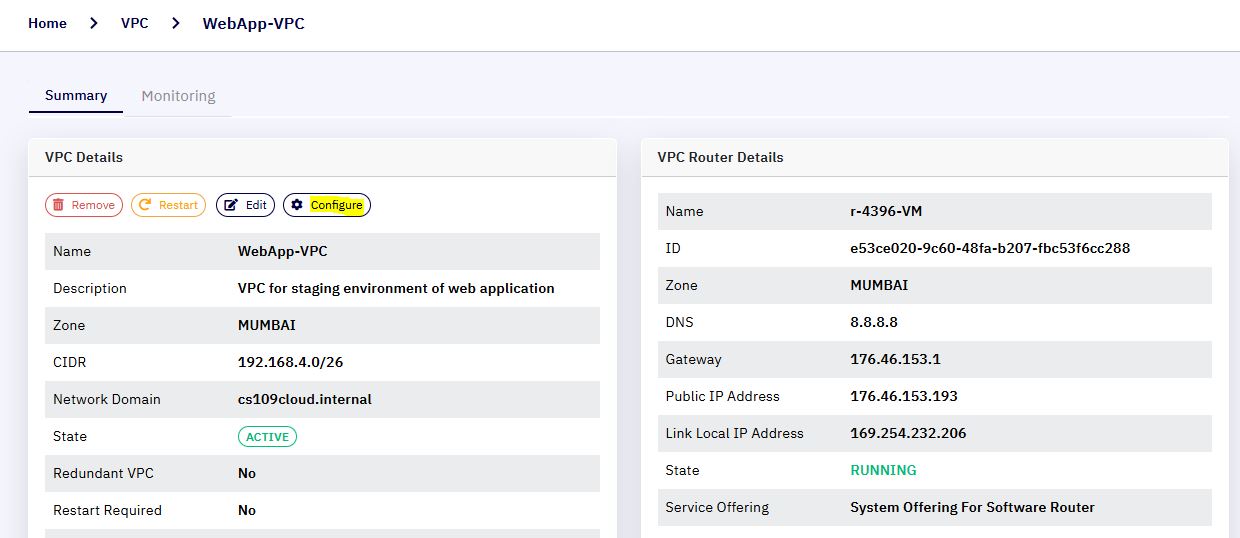
- You will be redirected to the VPC configuration page where network components such as routers, tiers, and IPs are managed.
3. Access the Public IP Management :
- In the left-hand navigation under Router Section, click on
Public IP Addresses.
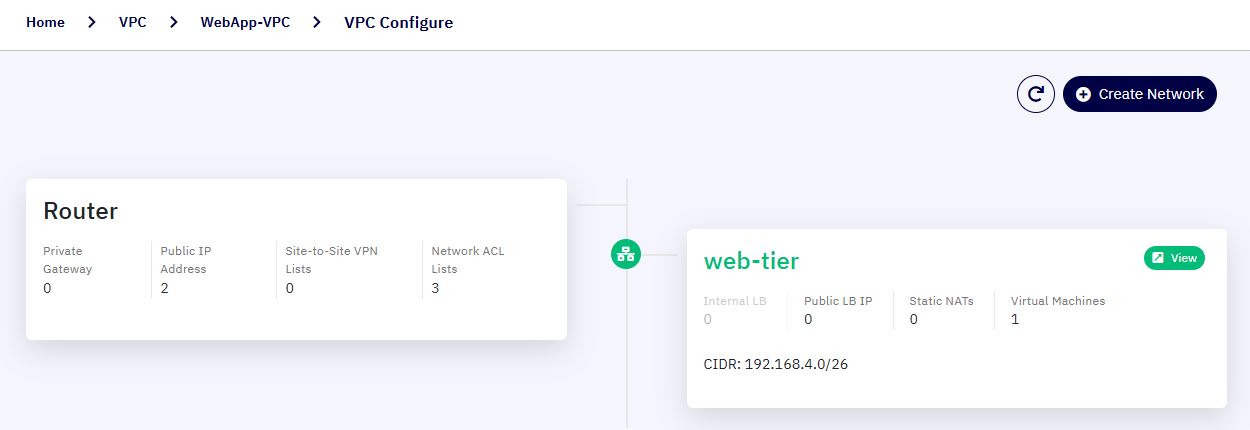
- This page lists all public IPs currently associated with the VPC.
4. Choose an Available Public IP :
-
From the list of public IPs, locate an IP address that is not assigned to any VM or rule.
-
Click on the IP address to open its detail page.
5. Enable Static NAT :
- On the public IP configuration page, click the
Enable Static NATbutton.

-
A popup window will appear prompting you to:
- Select a Tier: Choose the network tier within the VPC where your target VM resides.
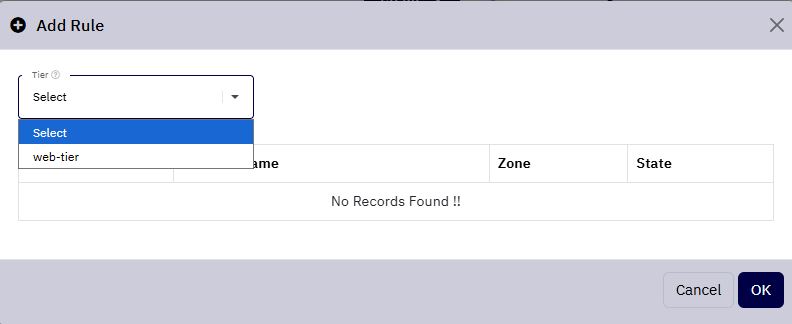
- Select a VM: A list of available VMs in the selected tier will be displayed.

-
Select the appropriate VM that you want to expose to the internet.
-
Click
OKto confirm.

6. Confirmation and Verification :
-
The Static NAT rule is now active.
-
The selected VM is accessible via the public IP address.
-
All traffic to that IP will be routed directly to the private IP of the VM.
Security Tip: After enabling Static NAT, configure Access Control Lists (ACLs) to ensure only desired traffic reaches your VM.
What Happens in the Background?
-
Public IP Mapping : One-to-one NAT rule created between the public IP and VM's private IP.
-
Routing Update : VPC router updates its routing and NAT tables to forward traffic.
-
External Reachability : The VM becomes reachable from outside the VPC via the public IP.