Public IP Address
The Cloud Management Portal allows users to expose virtual machines (VMs) within a Virtual Private Cloud (VPC) to the internet by acquiring and assigning Public IP Addresses. This guide provides detailed, step-by-step instructions to help you acquire a public IP address and associate it with services like Port Forwarding, Load Balancing, or Static NAT for your VMs.
Understanding Public IP Allocation in VPCs
When you acquire a public IP address from the Cloud Management Portal:
-
The IP is allocated to the VPC level, not to a specific guest network or virtual machine.
-
An IP becomes associated with a guest network only after you configure:
-
Port Forwarding
-
Load Balancing
-
Static NAT
-
-
A single IP cannot be associated with multiple networks simultaneously.
-
Every VPC is assigned a default source NAT IP at creation, used for:
-
Outbound traffic routing
-
Enabling remote access via VPN
-
Not intended for services like firewall rules, port forwarding, or load balancing
-
To enable external access to individual VMs, you must explicitly acquire additional public IPs.
1. Accessing the VPC Section :
-
Log in to your Cloud Management Portal using your authorized credentials.
-
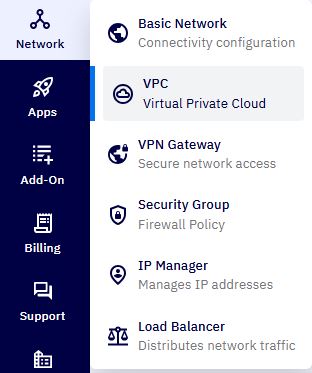
From the left navigation pane, go to:
Network → VPC
-
You will see a list of all existing VPC networks associated with your cloud account.
-
Click on the VPC name to view its details.
2. Open VPC Configuration :
- On the VPC detail page, click the
Configurebutton.

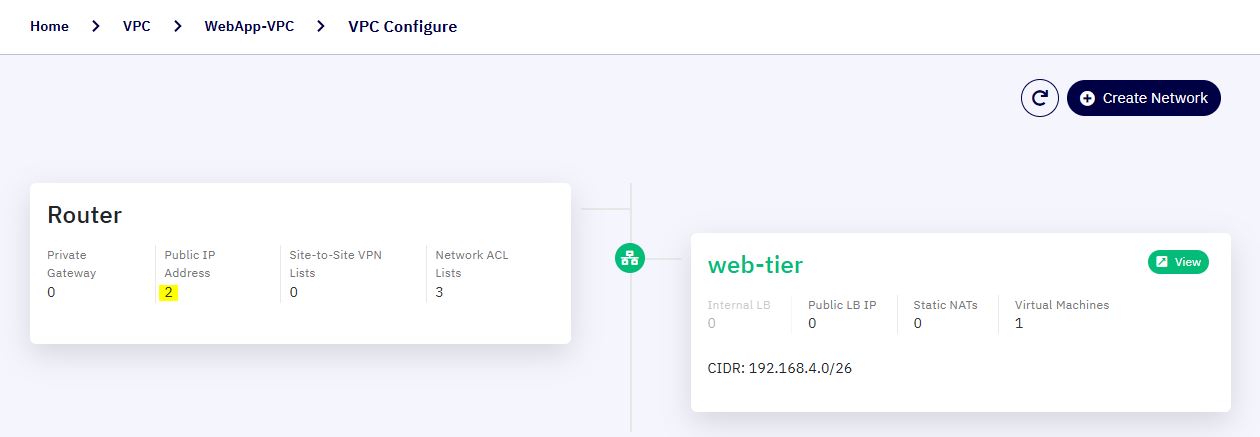
- You will be redirected to the VPC configuration page where network components such as routers, tiers, and IPs are managed.
3. Access the Public IP Address Section :
- In the left-side menu under Router Section, click on
Public IP Addresses.
-
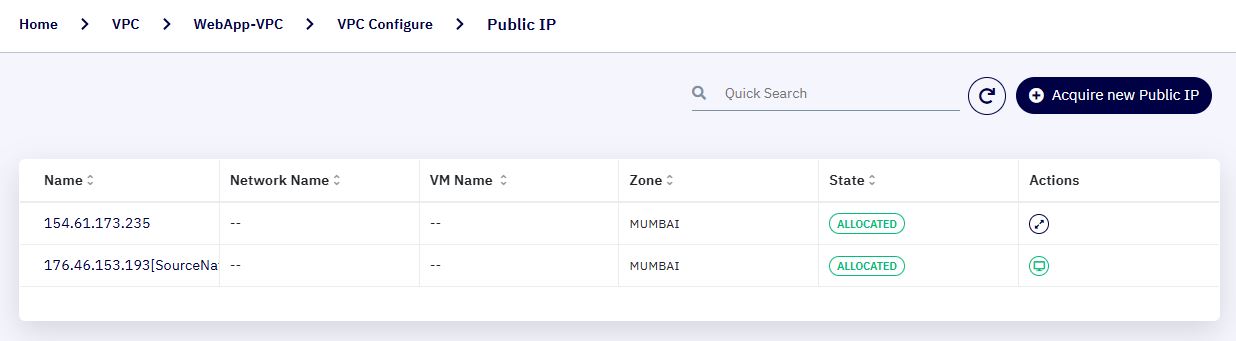
You will see a list of all IP addresses currently associated with the VPC.
-
This list includes the default source NAT IP provided at VPC creation.
-
This IP is reserved and used exclusively for:
-
Source NAT
-
VPN connectivity
-
Not available for port forwarding or public services
-
-
4. Acquire a New Public IP Address :
- To assign external access to a VM, click on the
Acquire Public IP Addressbutton.
-
A popup window will appear prompting confirmation.
-
Checkbox: Confirm that you wish to acquire a new IP.
-
Click
Yesto proceed.
-

5. View and Use the New IP :
-
After successful acquisition, the new IP will appear in the Public IP list under your selected VPC.
-
This IP is now ready to be used for:
-
Port Forwarding Rules
-
Static NAT Configuration
-
Load Balancer Association
-
-
You must now explicitly associate this IP with a network tier VM through the above services before it becomes active.
Important Considerations
| S. No | Behavior | Description |
|---|---|---|
| 1 | IP Scope | IPs are acquired at the VPC level, not directly bound to VMs. |
| 2 | Single Network Binding | A public IP can be associated with only one network tier at a time. |
| 3 | Default IP Limitations | Default Source NAT IP is for outbound traffic and VPN only — not usable for public service exposure. |
| 4 | Quota Limits | Your account may have limits on how many public IPs can be acquired per zone or per VPC. |