Create a VPC Network
The Cloud Management Portal allows you to create a Virtual Private Cloud (VPC) to logically isolate and manage your cloud network environment. VPCs enable you to segment workloads, define custom IP ranges, apply security policies, and interconnect virtual machines using defined networking tiers.
This section outlines the step-by-step process to create a new VPC within the Cloud Management Portal.
1. Accessing the VPC Section :
-
Log in to your Cloud Management Portal using your authorized credentials.
-
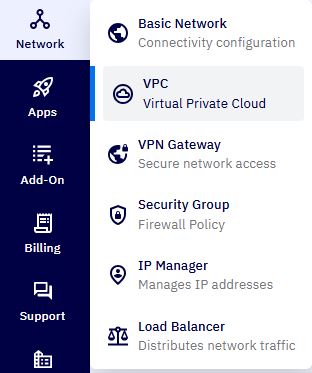
From the left navigation pane, go to:
Network → VPC
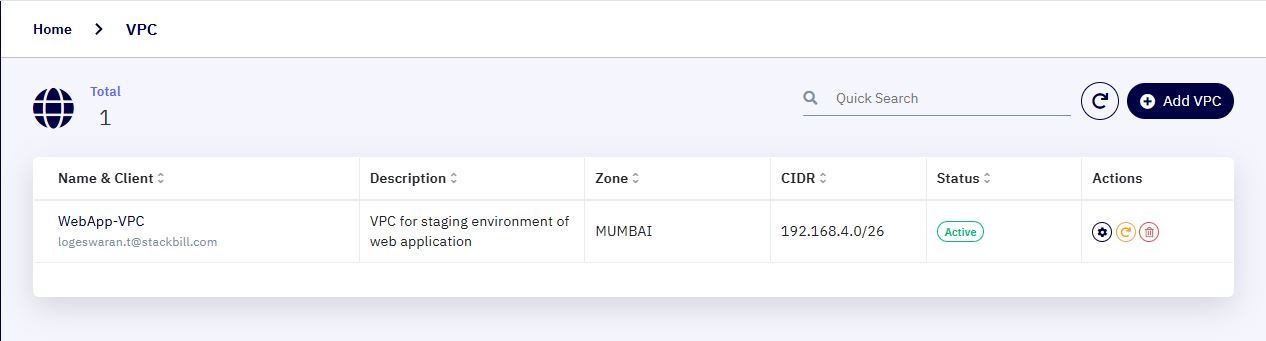
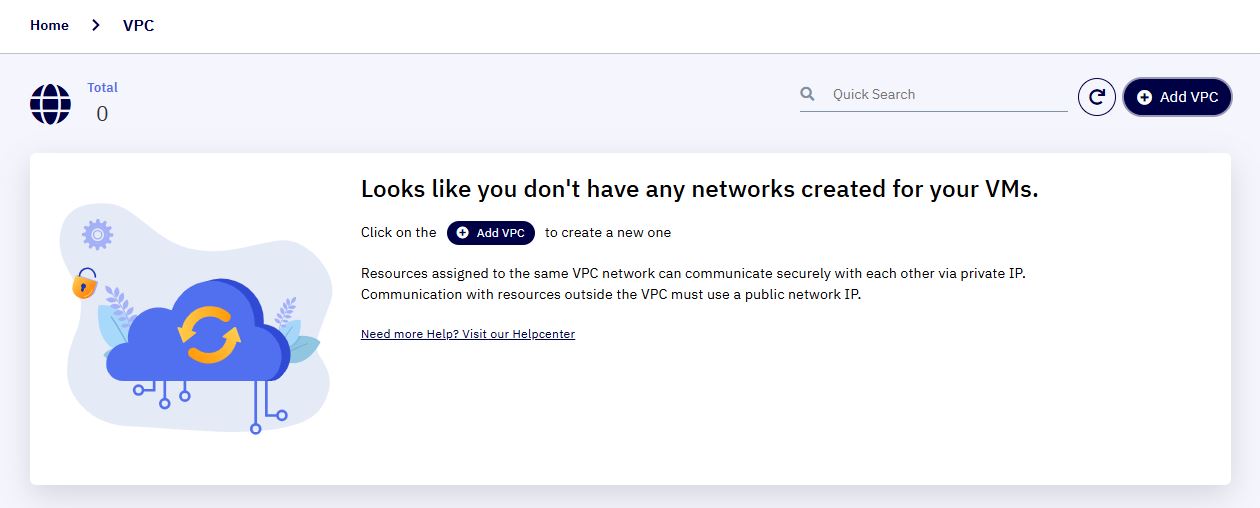
- You will see a list of all existing VPC networks associated with your cloud account.
2. Initiate VPC Creation :
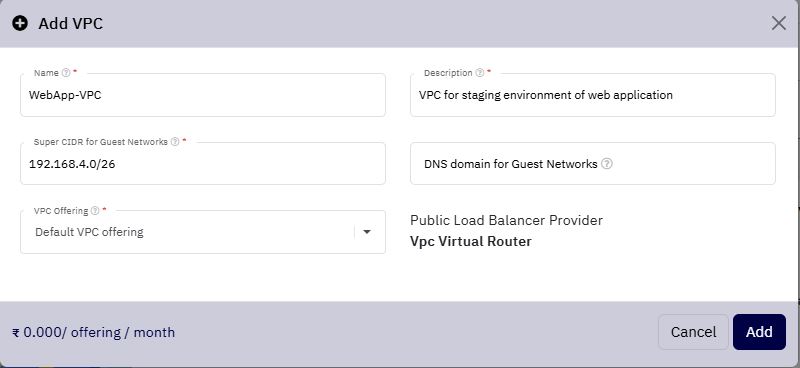
- Click on the
Add VPCbutton located at the top-right corner of the VPC list page.
- A popup form will appear prompting you to enter the required VPC configuration details.
3. VPC Configuration Details :
-
Below are the fields you will need to complete:
-
Name : A unique, identifiable name for the VPC. Choose a name that reflects its purpose or the application it supports. (e.g.,
WebApp-VPC) -
Description : A brief summary describing the purpose of the VPC or any notable configuration notes. (e.g., "VPC for staging environment of web application.")
-
CIDR : The CIDR (Classless Inter-Domain Routing) block that defines the overall IP address range for this VPC.
Example:10.0.0.0/16Note: All network tiers (guest networks) created within this VPC must fall within this CIDR block. Only RFC1918-compliant private address ranges are allowed (e.g.,
10.x.x.x,172.16.x.x, or192.168.x.x). -
DNS : (Optional) Custom DNS servers for the VPC. If not specified, the DNS settings configured at the zone level will be applied. This field is only shown if the selected VPC offering supports custom DNS.
-
VPC Offering : Select the VPC Offering that defines the feature set available within this VPC (such as support for load balancing, VPN, firewall services, etc.). If multiple offerings are configured by the administrator, choose the most appropriate for your needs.
-
4. Confirm and Create :
-
After filling in the above fields and validating your information, click on the
Addbutton. -
The system will now provision the new VPC.
5. Review and Verify :
- Within a few moments, your newly created VPC will appear in the VPC list.