Source NAT
Source NAT (SNAT) allows instances in a private network tier within a VPC to communicate with external networks (e.g., the internet) using a public IP address. When a VM sends outbound traffic, the source IP address is replaced with a Source NAT IP, ensuring secure, managed access without exposing the internal IP addresses.
This section outlines the steps to acquire a public IP and configure it for Source NAT with a specific VM using the Cloud Management Portal.
What is Source NAT?
-
Source NAT rewrites the source IP of outbound traffic from a private IP (VM) to a public IP.
-
It enables outbound internet connectivity for instances that do not have Static NAT or public IP assignment.
-
A default Source NAT IP is automatically allocated when a VPC is created, mainly used for remote VPN access.
-
Additional public IPs can be acquired and configured for SNAT and Port Forwarding.
Prerequisites
Ensure the following before proceeding:
-
You have a running VM inside a VPC network.
-
Your VPC has available public IPs or the ability to acquire new ones.
-
The public IP used for SNAT is not already associated with another tier or NAT configuration.
1. Accessing the VPC Section :
-
Log in to your Cloud Management Portal using your authorized credentials.
-
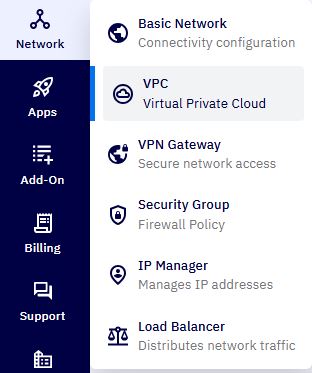
From the left navigation pane, go to:
Network → VPC
-
You will see a list of all existing VPC networks associated with your cloud account.
-
Identify the VPC you want to configure and click on its name.
2. Open VPC Configuration :
- On the VPC overview page, click the
Configurebutton.
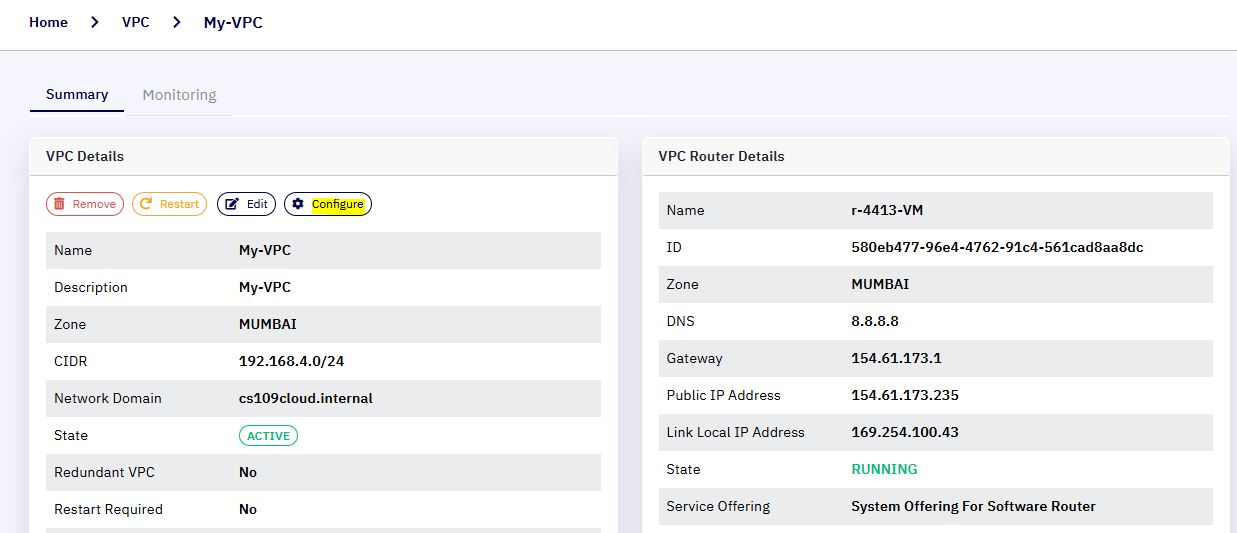
- This opens the VPC configuration interface.
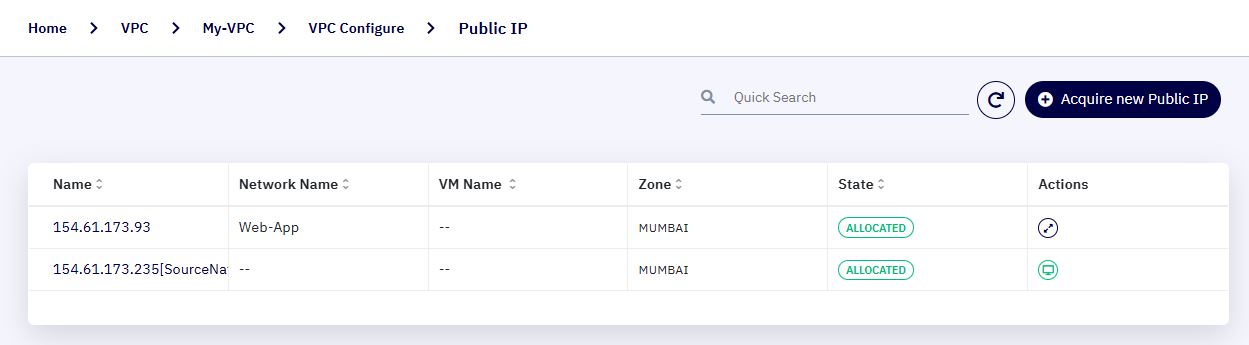
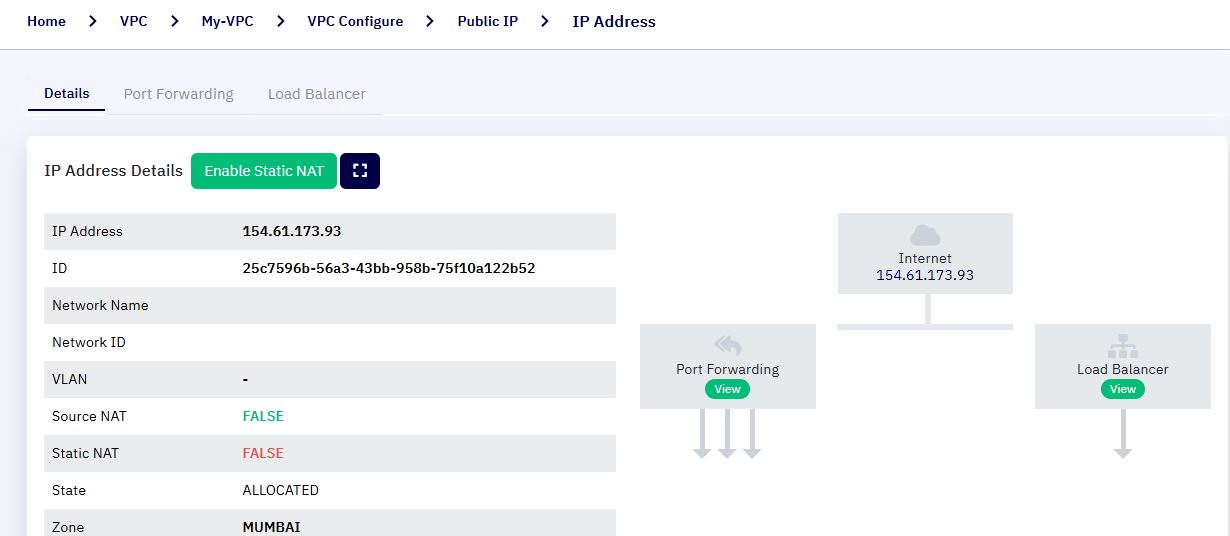
3. Access Public IP Management :
- In the left sidebar under Router, click on
Public IP Addresses.

- This page shows the list of all public IPs acquired within this VPC.
Note: By default, one Source NAT IP is allocated at VPC creation. It is used only for remote VPN access and is not available for VM NAT services like port forwarding.
4. Acquire a New Public IP (if needed) :
-
If there are no free public IPs, or if you wish to dedicate a new IP for SNAT:
- Click on the
Acquire New Public IPbutton.
- Click on the
- A confirmation dialog will appear. Check the acknowledgment box and click
Yesto proceed.
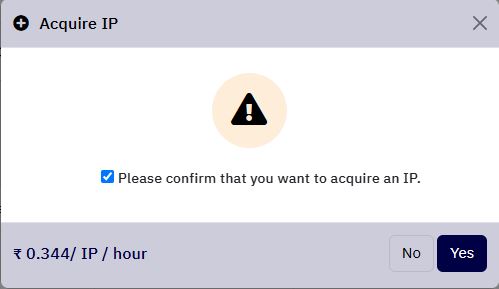
- A new public IP will be added to the list. All newly acquired public IPs are marked as Source NAT IPs by default.
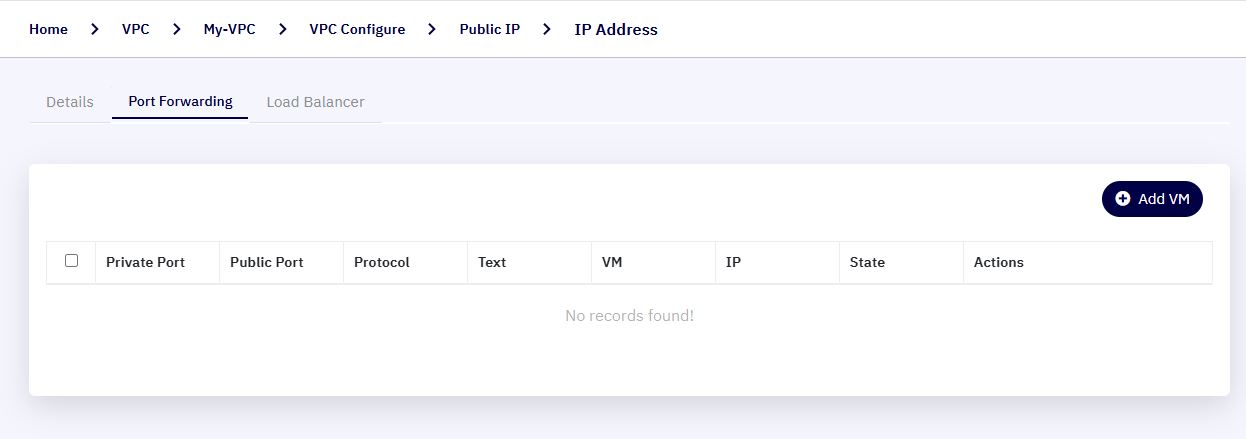
5. Source NAT IP via Port Forwarding :
-
From the list of public IPs, click on the newly acquired IP address.
-
On the public IP configuration page, navigate to the
Port Forwardingtab.
- Click
Add VMto start configuring the rule.
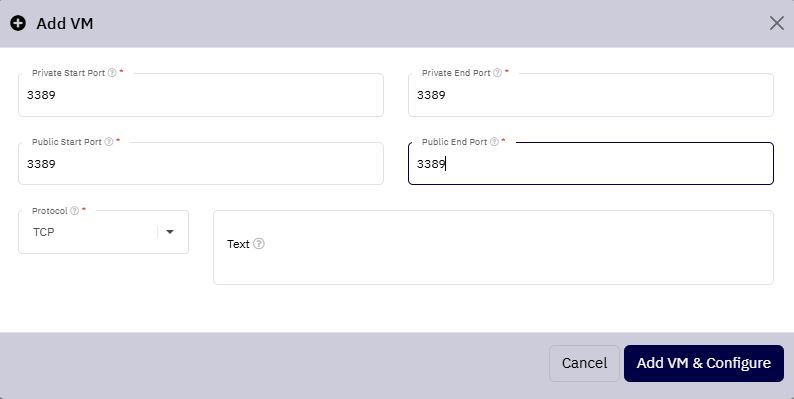
6. Configure Port Forwarding Rule :
-
In the rule creation form, fill out the following fields:
-
Private Start Port / End Port : The internal port(s) on the VM.
-
Public Start Port / End Port : The external port(s) accessible via the public IP.
-
Protocol : Choose between TCP or UDP.
-
Description : Add a meaningful description for this rule.
-
-
Click
Add VM & Configureto proceed.
7. Select VM and Confirm Tier :
-
In the next window:
-
Select the network tier where the VM resides.
-
Choose the specific VM from the listed instances.
-
-
Click
Configureto complete the process.
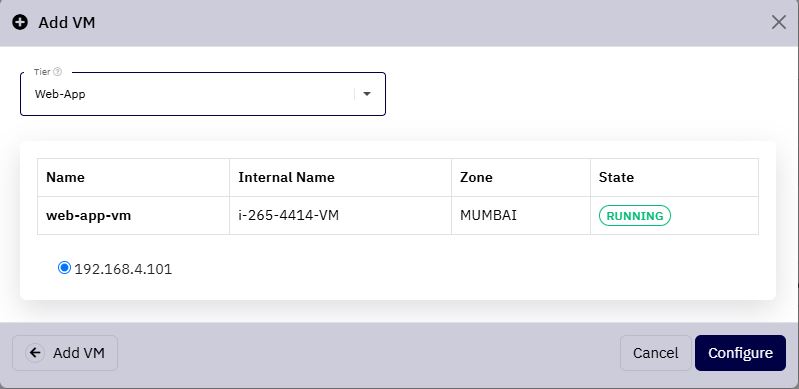
- Your VM is now associated with the Source NAT IP and will be able to access external networks with proper port forwarding in place.
Important Notes :
-
Once a public IP is used for one network tier, it cannot be reused for another tier within the same VPC.
-
Ensure the correct Access Control Lists (ACLs) are in place to manage allowed traffic.