Load Balancer
A Load Balancer distributes incoming network traffic across multiple VMs (Virtual Machines) within a tier to ensure availability, reliability, and performance. It allows users to achieve horizontal scaling by balancing requests intelligently using predefined algorithms.
This guide will help you configure a Load Balancer using the Cloud Management Portal.
Key Concepts
-
Load Balancer (LB): Acts as a reverse proxy to distribute client requests across multiple backend VMs.
-
Public IP Address: Required for exposing the Load Balancer to the internet.
-
Load Balancing Algorithms:
-
Round Robin: Distributes requests sequentially across all VMs.
-
Least Connections: Directs traffic to the VM with the fewest active connections.
-
Source: Distributes based on source IP hash, ensuring session stickiness.
-
1. Accessing the VPC Section :
-
Log in to your Cloud Management Portal using your authorized credentials.
-
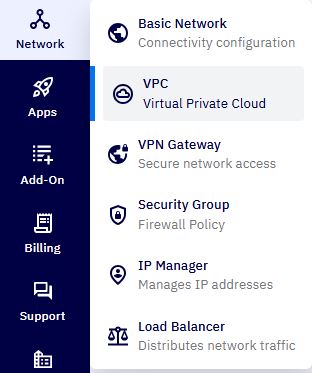
From the left navigation pane, go to:
Network → VPC
-
You will see a list of all existing VPC networks associated with your cloud account.
-
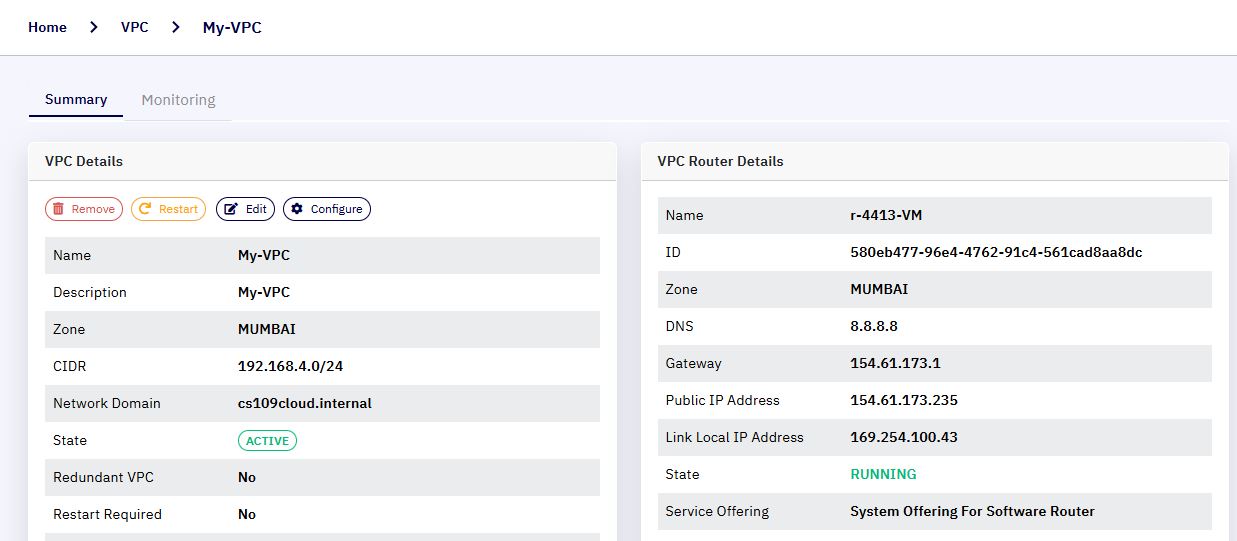
Click on the VPC name to view its details.
2. Access VPC Configuration :
- On the VPC details page, click the
Configurebutton to manage VPC components.
3. Open Public IP Address Management :
- Under the Router section, click on
Public IP Address.
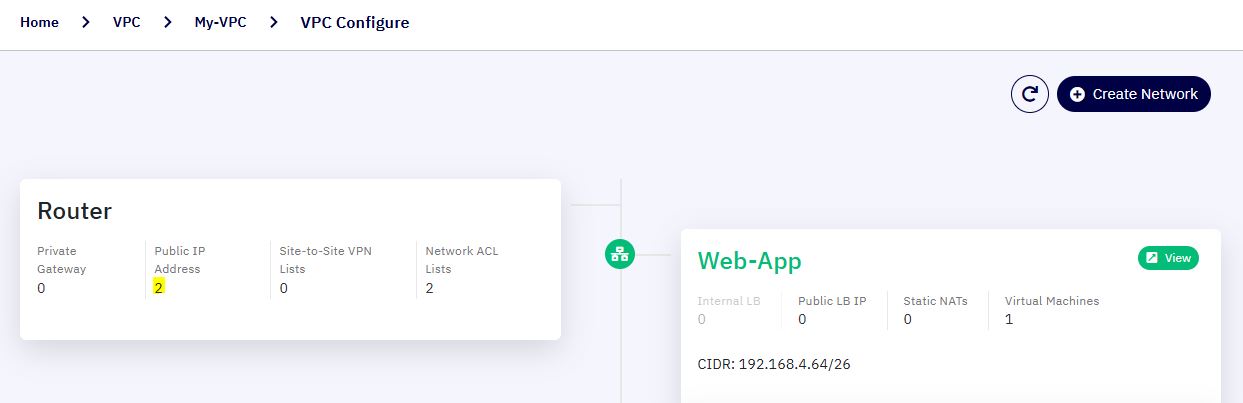
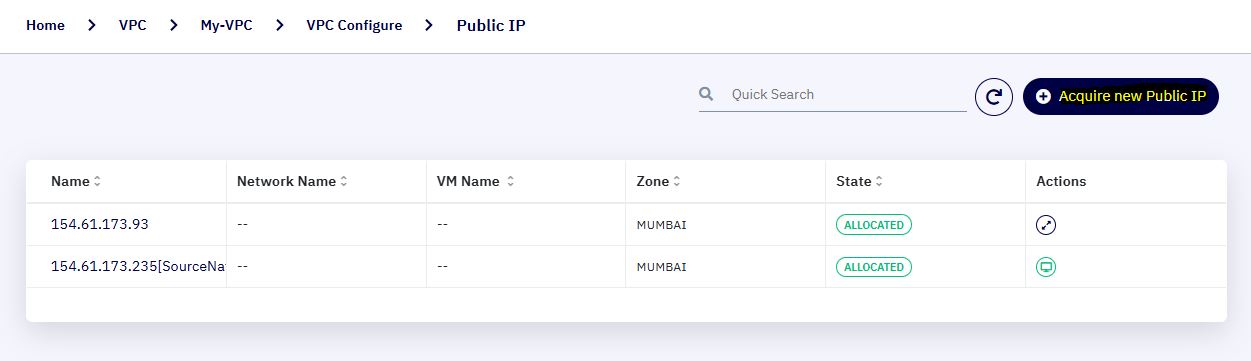
- Here you will see a list of all public IPs assigned to the selected VPC.
Note: A default Source NAT IP is automatically assigned during VPC creation. This IP is used exclusively for remote VPN access and should not be used for Load Balancer or Port Forwarding configurations.
4. Choose or Acquire a Public IP :
-
If a suitable public IP already exists, you may use it for the Load Balancer.
-
If not, click on
Acquire New Public IPto get a new IP from the cloud pool.
-
Confirm the acquisition in the popup window.
-
The newly acquired IP will be listed as a Source NAT IP, suitable for LB or port forwarding services.
5. Start Load Balancer Configuration :
-
From the public IP list, click on the IP address you wish to use for Load Balancing.
-
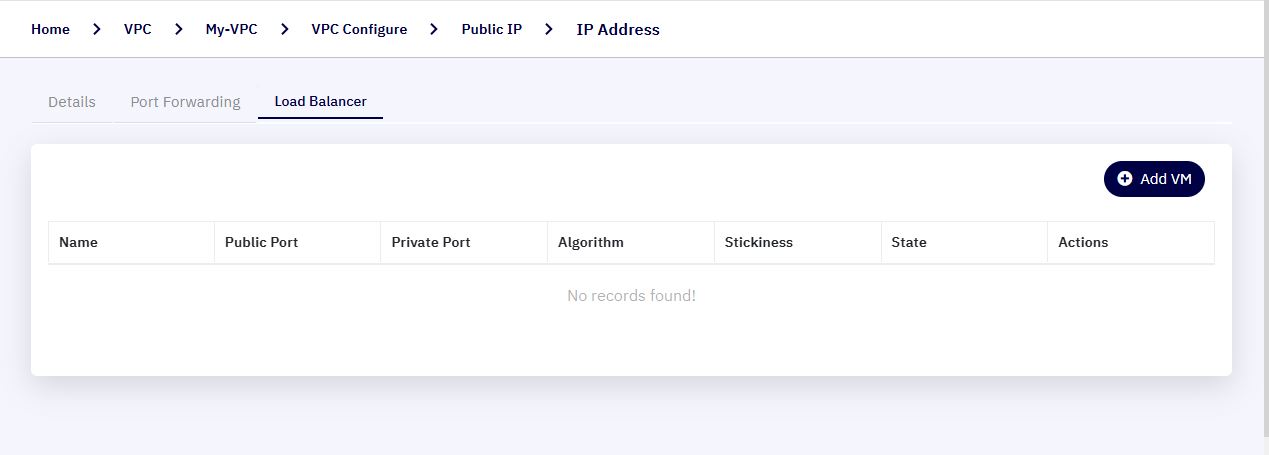
In the public IP configuration screen, navigate to the
Load Balancertab. -
Click the
Add VMbutton to begin creating a Load Balancer rule.
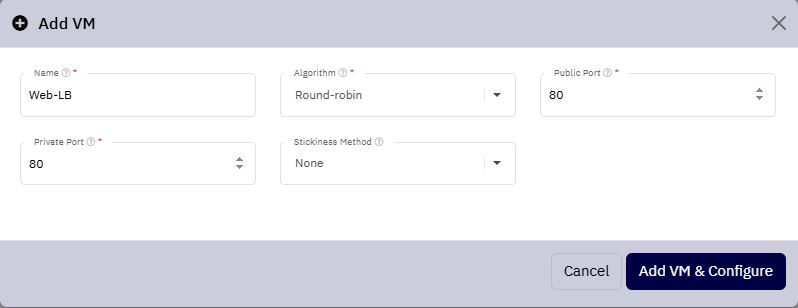
6. Define Load Balancer Rule Settings :
In the popup dialog:
| S. No | Field | Description |
|---|---|---|
| 1 | Name | A user-friendly name for the load balancer rule. |
| 2 | Algorithm | Choose from Round-Robin, Least Connections, or Source. |
| 3 | Public Port | The port exposed externally (e.g., 80 for HTTP). |
| 4 | Private Port | The port used by backend VMs (e.g., 8080). |
| 5 | Stickiness Method (Optional) | Define session persistence based on cookies or source IP. |
- Click
Add VM & Configureto proceed.
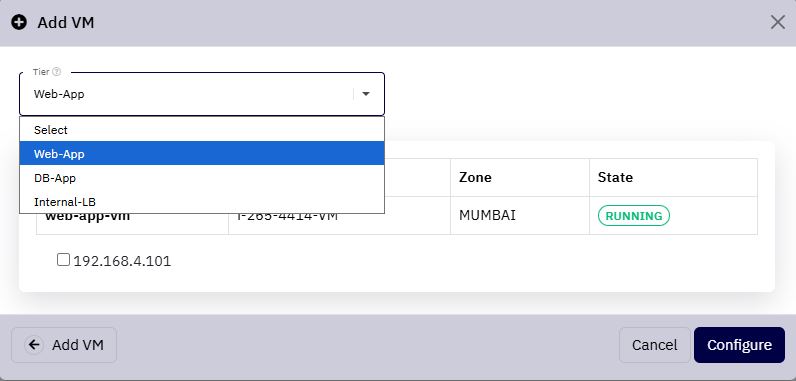
7. Select Tier and VM :
-
From the tier dropdown, select the network tier where the target VM resides.
-
Choose the VM(s) to attach to the load balancer.
-
Click
Configureto complete the setup.
- Your Load Balancer rule is now active. Incoming traffic to the public IP and port will be distributed across the selected VMs according to the specified algorithm.
Additional Information :
-
A single public IP can support multiple load balancer rules (with different ports).
-
Ensure proper Access Control List (ACL) configurations are in place to allow external traffic.