KYC Verification
The KYC (Know Your Customer) Verification process in the Cloud Management Portal ensures secure and compliant user onboarding by collecting valid identity documentation. This process helps verify the authenticity of user accounts and ensures adherence to regulatory and organizational compliance standards.
This section provides a step-by-step walkthrough of how to upload your KYC documents, track the verification status, and respond to feedback—all within the portal.
Accessing the KYC Verification Section
-
Log in to your Cloud Management Portal.
-
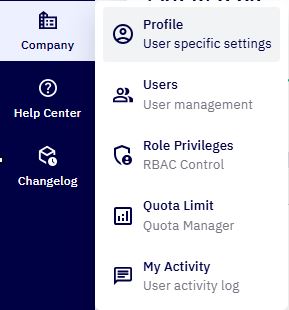
From the left navigation pane, go to Company > Profile.
-
In the Profile section, click on KYC Verification.
-
You will be taken to the KYC Verification screen, where the entire process is visually represented and managed.
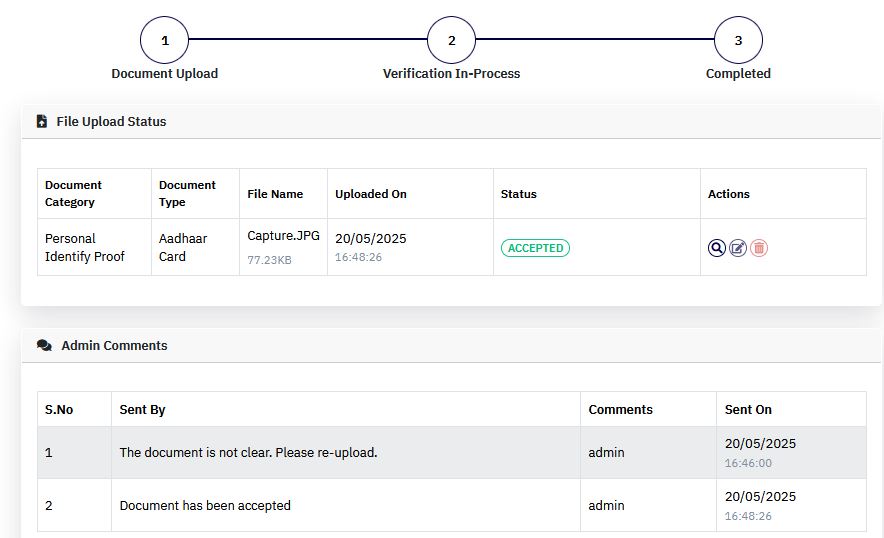
KYC Process Overview
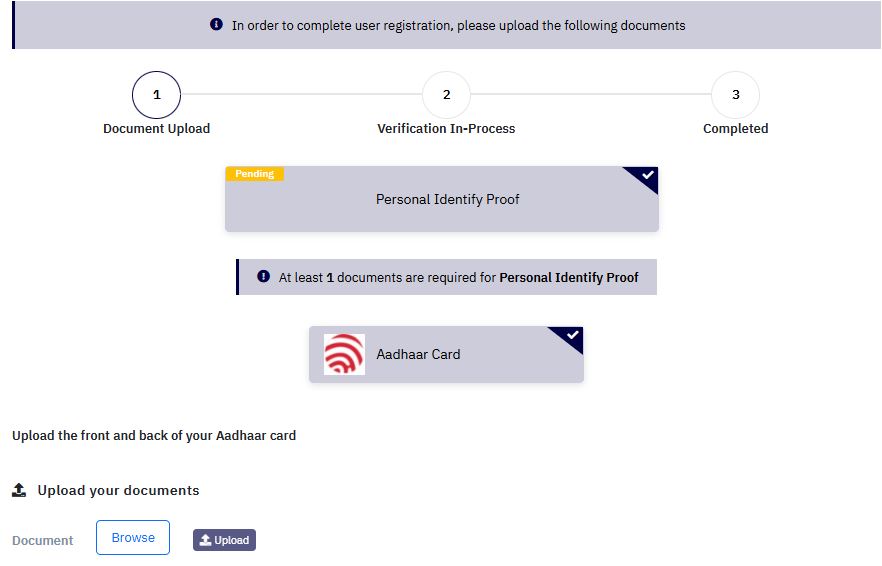
The KYC process is broken into three key stages, each represented with a visual indicator in the portal:
-
Document Upload – Initial stage where users upload their required documents.
-
Verification In-Process – Your documents are being reviewed by the admin team.
-
Verification Completed – Your documents are approved and KYC is marked as complete.
Each stage includes visual progress markers that automatically update as you move through the verification steps.
Step 1: Uploading Your Documents
Based on the portal's configuration (set by the administrator), users must upload specific documents.
In the demo environment, Aadhaar Card is the required document.
Upload Instructions:
- Under the "Upload Your Documents" section, click the Browse button.
-
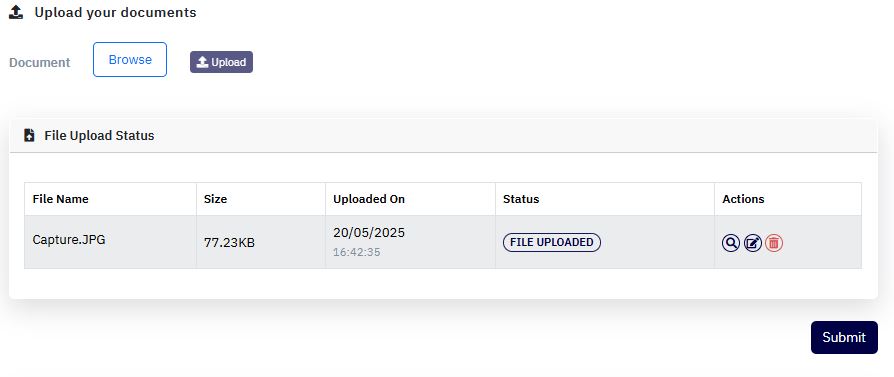
Select the required file (e.g., scanned copy or PDF of Aadhaar Card) from your local system.
-
Once selected, click the Submit button to send your document for verification.
Note: Ensure the uploaded document is clear, unexpired, and matches the registered account information.
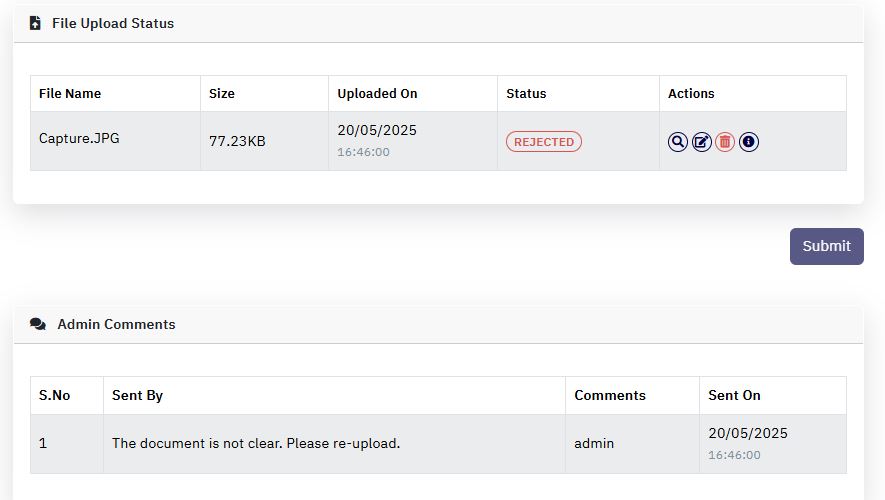
Step 2: Document Review & Status
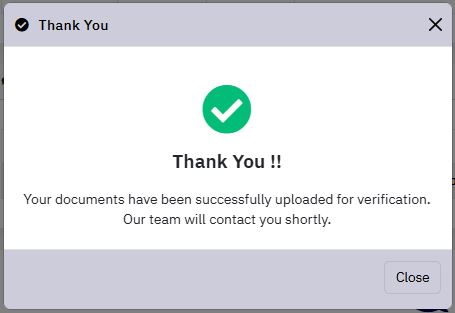
After submission, the KYC request enters the Verification In-Process stage:
- The portal admin will review your submitted document.
-
Based on validation, they can either:
-
Approve the document — moving your KYC to a completed state.
-
Reject the document — requiring you to upload a corrected document.
-
Admin Comments
-
If your submission is rejected or requires additional information, the admin may leave a message under the "Admin Comments" section.
-
This section helps you understand the reason for rejection and guides your next steps (e.g., re-uploading a clearer copy or correcting mismatched details).
Re-submission Process
If your document is rejected:
-
Return to the KYC Verification page.
-
Upload a new document that meets the specified requirements.
-
Click Submit again to restart the verification process.
This process continues until the admin successfully verifies your submission and the KYC status is marked as complete.
Need Help ?
If you have questions or need further clarification during the KYC process:
- Click the Create Ticket button located at the bottom of the KYC screen.

- Fill out the support form and submit your query directly to the support team.
This allows you to get direct assistance from administrators or customer support for issues such as rejected documents or system errors.