Role Privileges
The Role Privileges section in the Cloud Management Portal provides portal administrators with the ability to define, assign, and manage access control for users in their cloud environment. By creating custom roles with tailored permissions, organizations can ensure that users only access the resources and actions relevant to their responsibilities—improving both security and operational efficiency.
This action outlines how to access the role privileges page, view available roles, and create or manage custom roles with granular permissions.
Accessing the Role Privileges Section
-
Log in to your Cloud Management Portal.
-
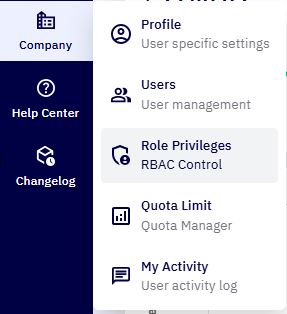
From the left-hand navigation bar, click on Company > Role Privileges.
- You will be redirected to the Role Privileges page where your details are displayed.
Viewing Available Roles
On the Role Privileges page:
-
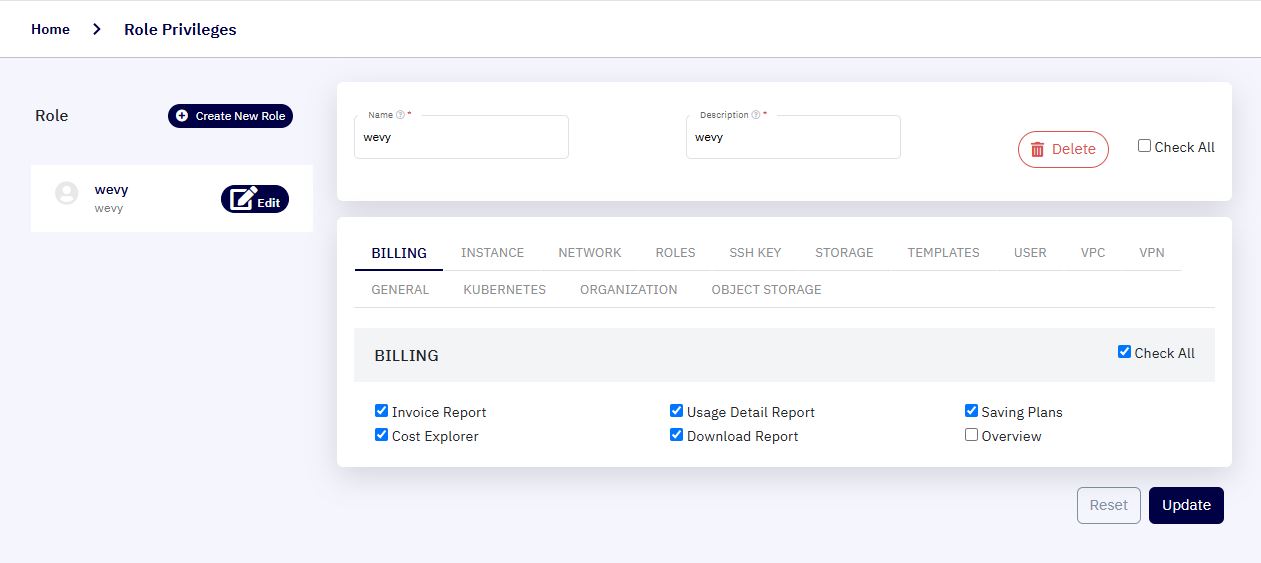
The left panel displays a list of all predefined and custom roles currently configured in your cloud account.
-
The right panel shows details of the selected role including:
-
Role Name
-
Role Description
-
A categorized list of permission groups associated with that role.
-
Permission Categories
Permissions are grouped based on services and functionalities. Each category includes multiple checkboxes representing specific actions or privileges. Available categories include:
-
Billing – Access to invoices, usage reports, payments.
-
Instance – Control over virtual machines (VMs).
-
Network – Management of IPs, firewalls, VPNs.
-
Roles – Ability to manage role-based access.
-
SSH Key – Handling of SSH key pairs for secure access.
-
Storage – Permissions for volume and snapshot management.
-
Templates – Access to VM and ISO templates.
-
User – Control over user account management.
-
VPC VPN – Permissions to manage Virtual Private Clouds and VPN services.
-
General – Basic portal access and global settings.
-
Kubernetes – Kubernetes cluster management (if applicable).
-
Organization – Organizational structure related control.
-
Object Storage – Access to object storage management.
Note: Granular controls ensure that each role has precisely defined boundaries for what a user can and cannot do.
Creating a New Role
-
Click on the Create New Role button.
-
Enter a name and description for the new role.
-
Select the appropriate permissions by checking boxes under each category.
-
Optionally, use the Check All checkbox to assign all available permissions to the role.
-
Click Save to finalize the role.
Once saved, the new role will be available for assignment to users in your cloud account.
Deleting a Role
To remove a role:
-
Select the role from the left panel.
-
Click on the Delete button.
-
Confirm the deletion action in the prompt.
Important: Deleting a role will immediately revoke its privileges from any users currently assigned to it.