User Profile
Setting up Profile in StackBill CMP
- Company option can be found on the left side of the portal.
- The screen displays a pop-up menu. From the pop uu click on Profile.
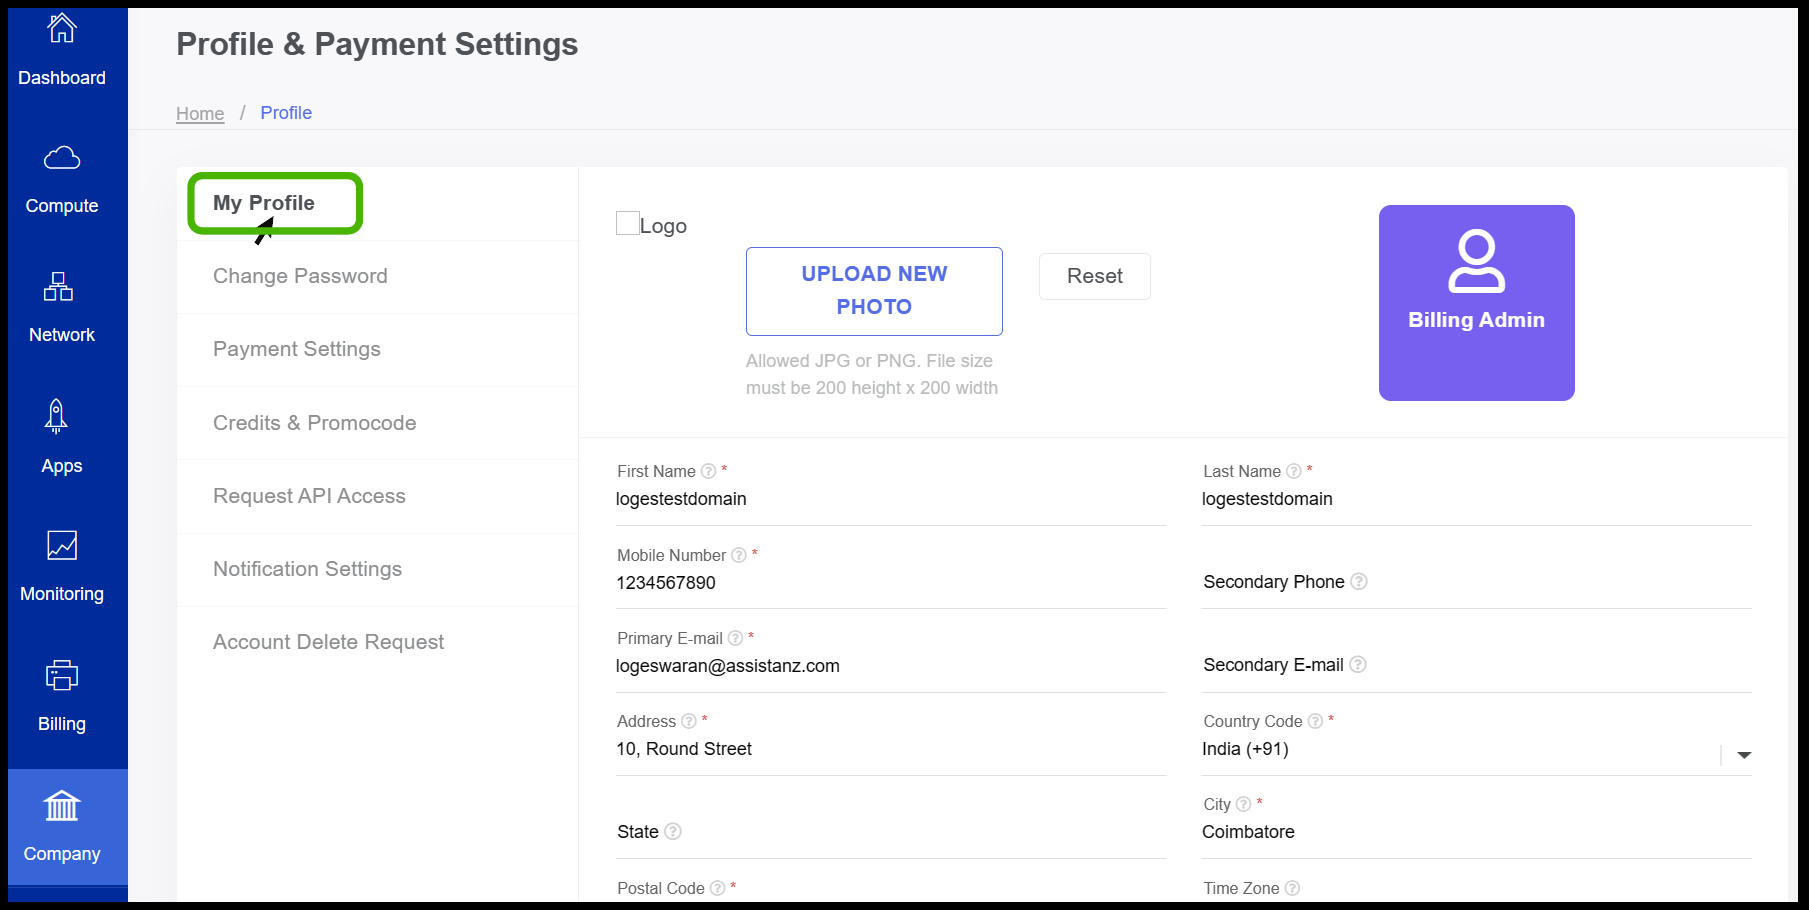
- My Profile option appears on the screen.
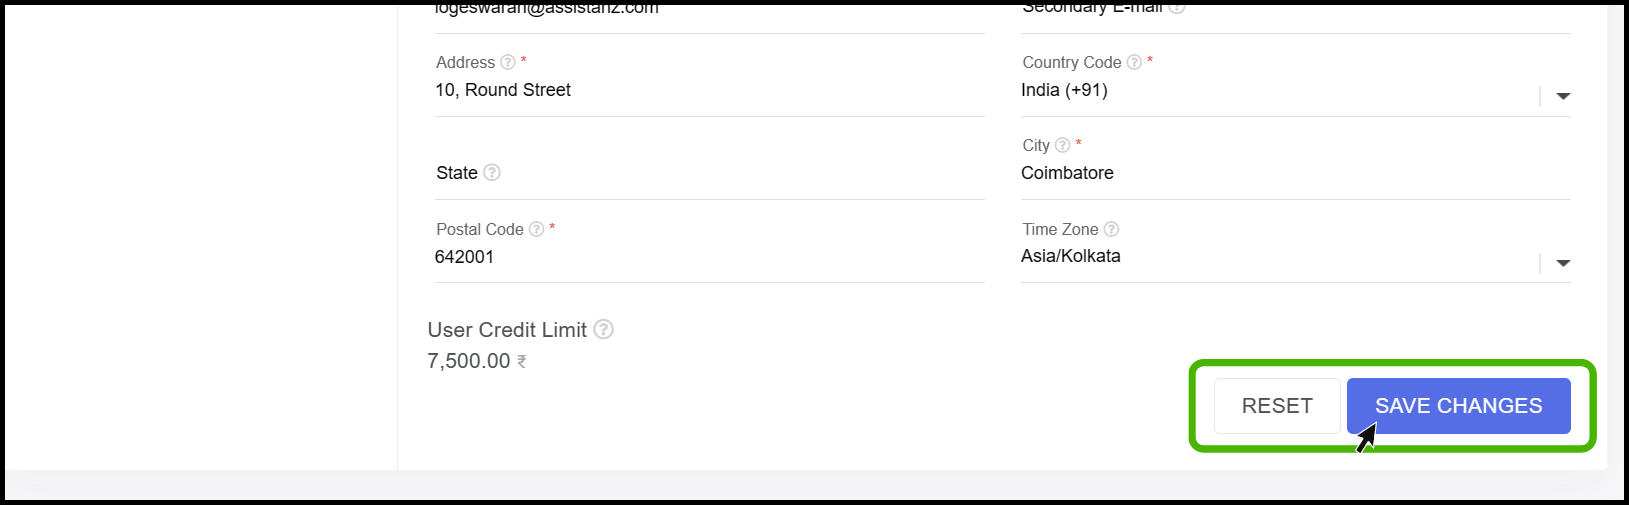
- The user can view or edit their personal information here.
- Users can upload their company logo or profile here.
- Finally,Click on the Save Changes button below the portal once the changes have been made.
Changing login password in StackBill CMP
- On the left side of the pop-up menu, users can change their password by clicking on the Change Password option.
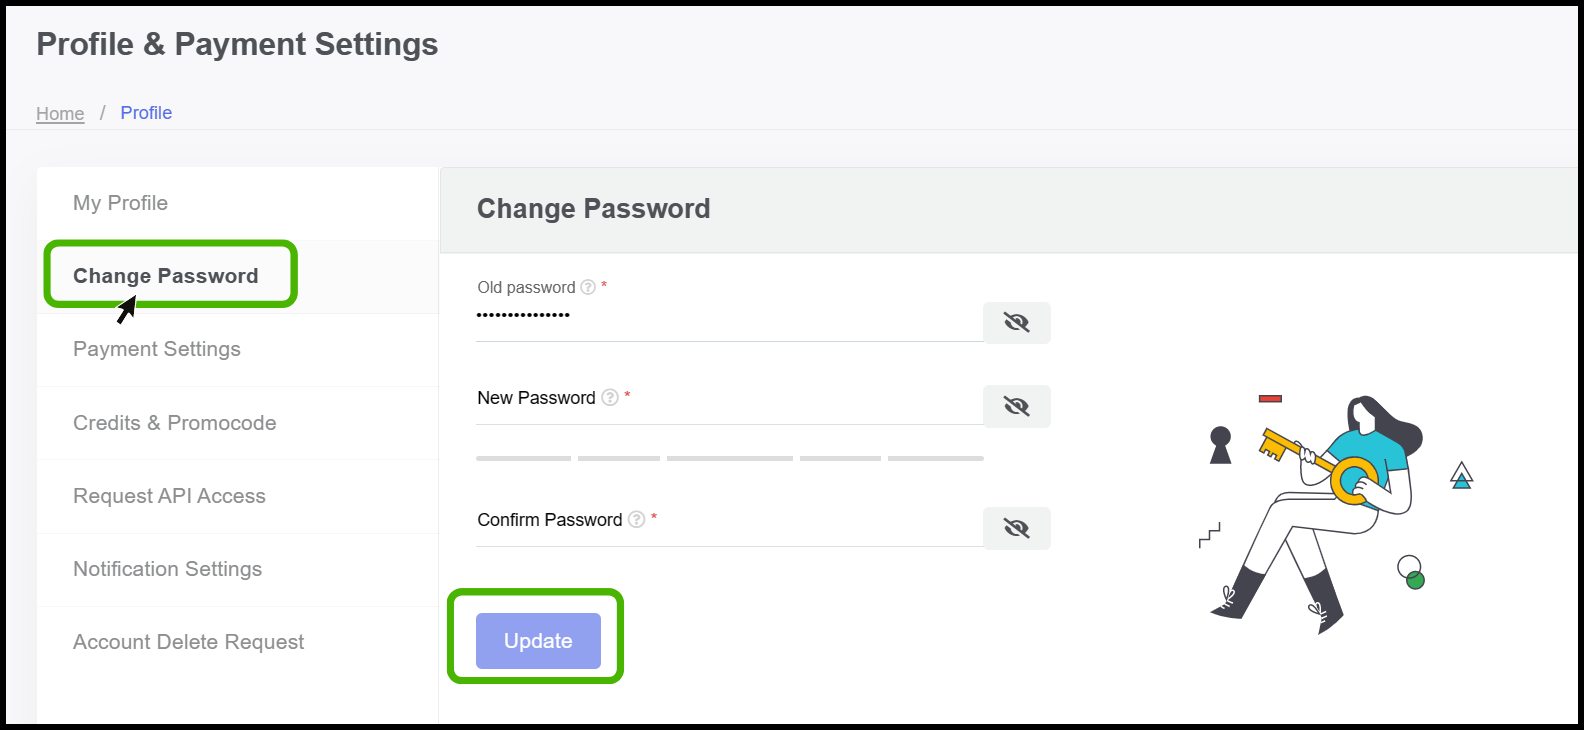
- Old Password - Enter your Old password.
- New password- Enter The new password in the new password field.
- Re-Type the new password in the Confirm password field.
- Finally, Click the Update button.
- Now the New password has been updated successfully.
Payment Configuration on Stackbill CMP
- On the left side of the pop-up menu, Click on the Payment Configuration button to configure payment gateways.
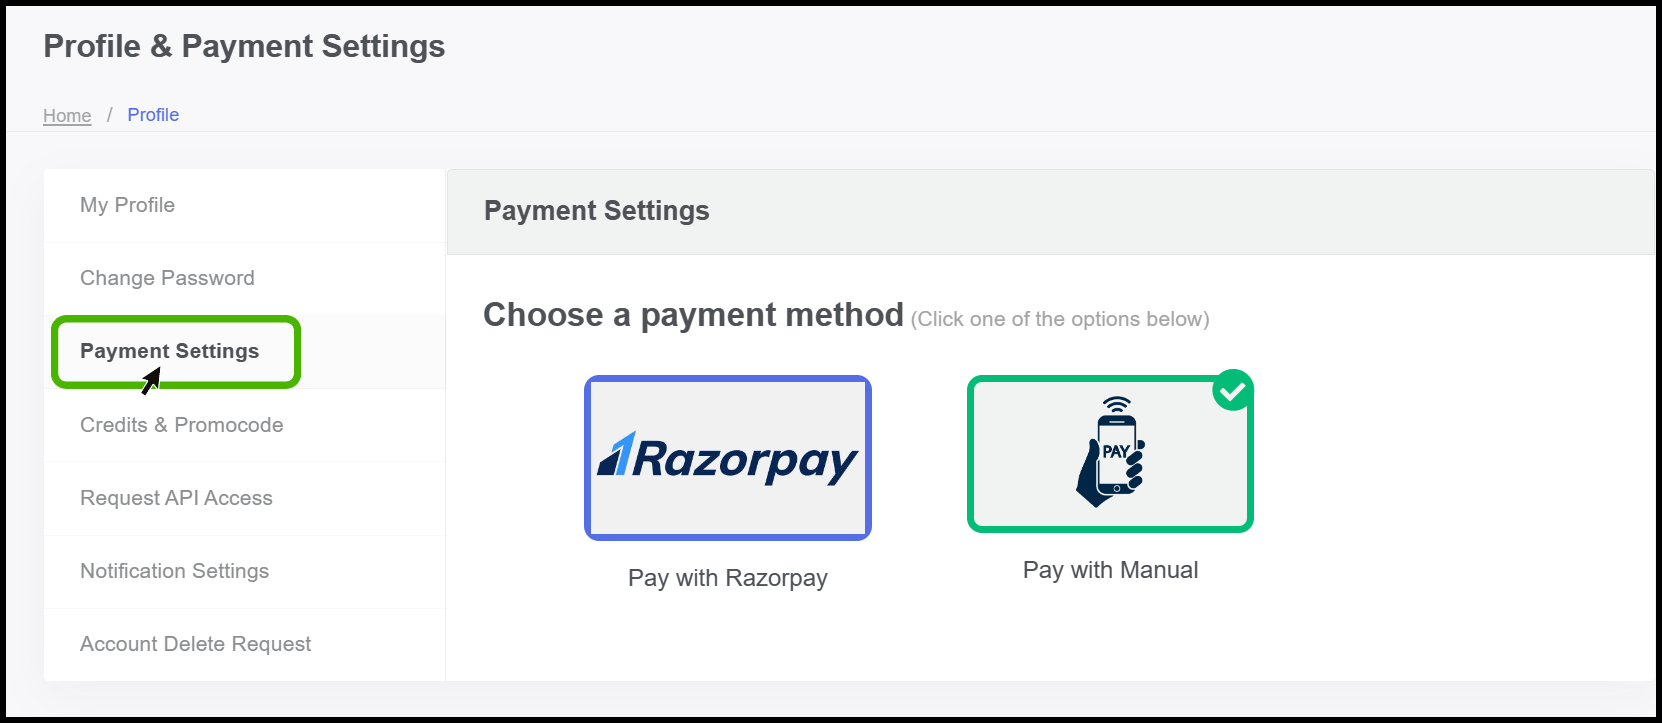
- Here user can Choose their payment gateways for the payment process.
- StackBill is a plug-and-play solution that supports all kinds of payment gateways.
- All kind of payment gateways can be intregrated with StackBill by API concept.
- By Default StackBill has two payment gateways they are Paypal, and Razorpay.
Credits and promocodes in StackBill CMP
On the left side of the pop-up menu, Click on the Credits and promocodes button to view the credits and promocode offers.
Here the user can see the total credit which was assigned by the admin.
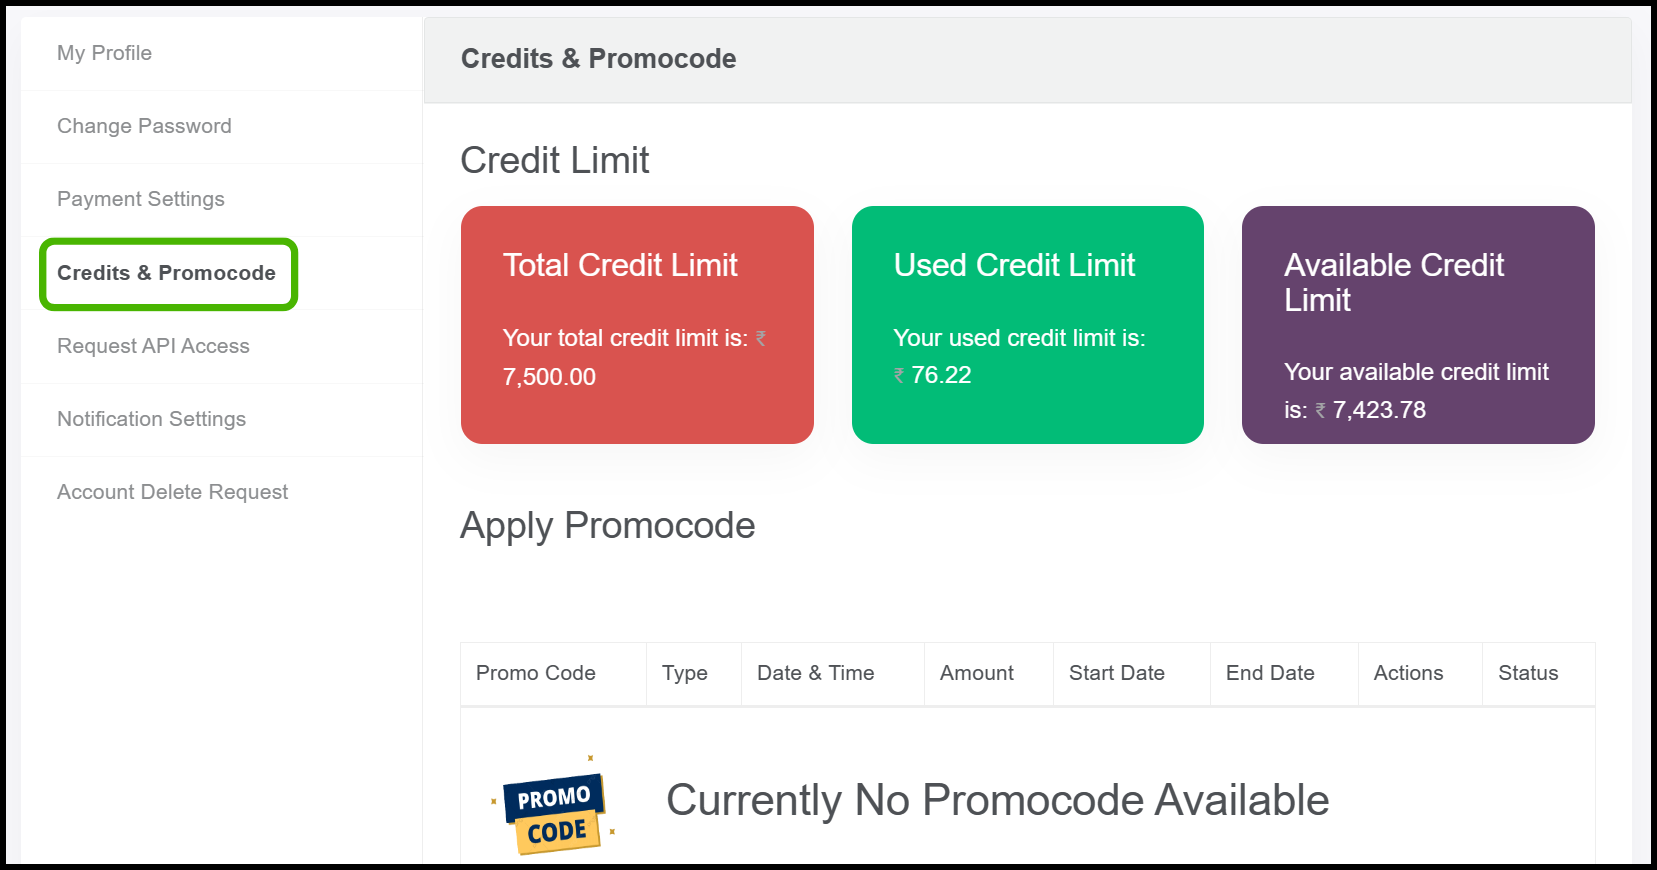
- In this section, the user can view their total credit limit, how much has been consumed, and the balance available credit limit for the next month.
- Below, Admins can assign users offers and promo codes here so that users can see if they have any.
Request API Access in StackBill CMP
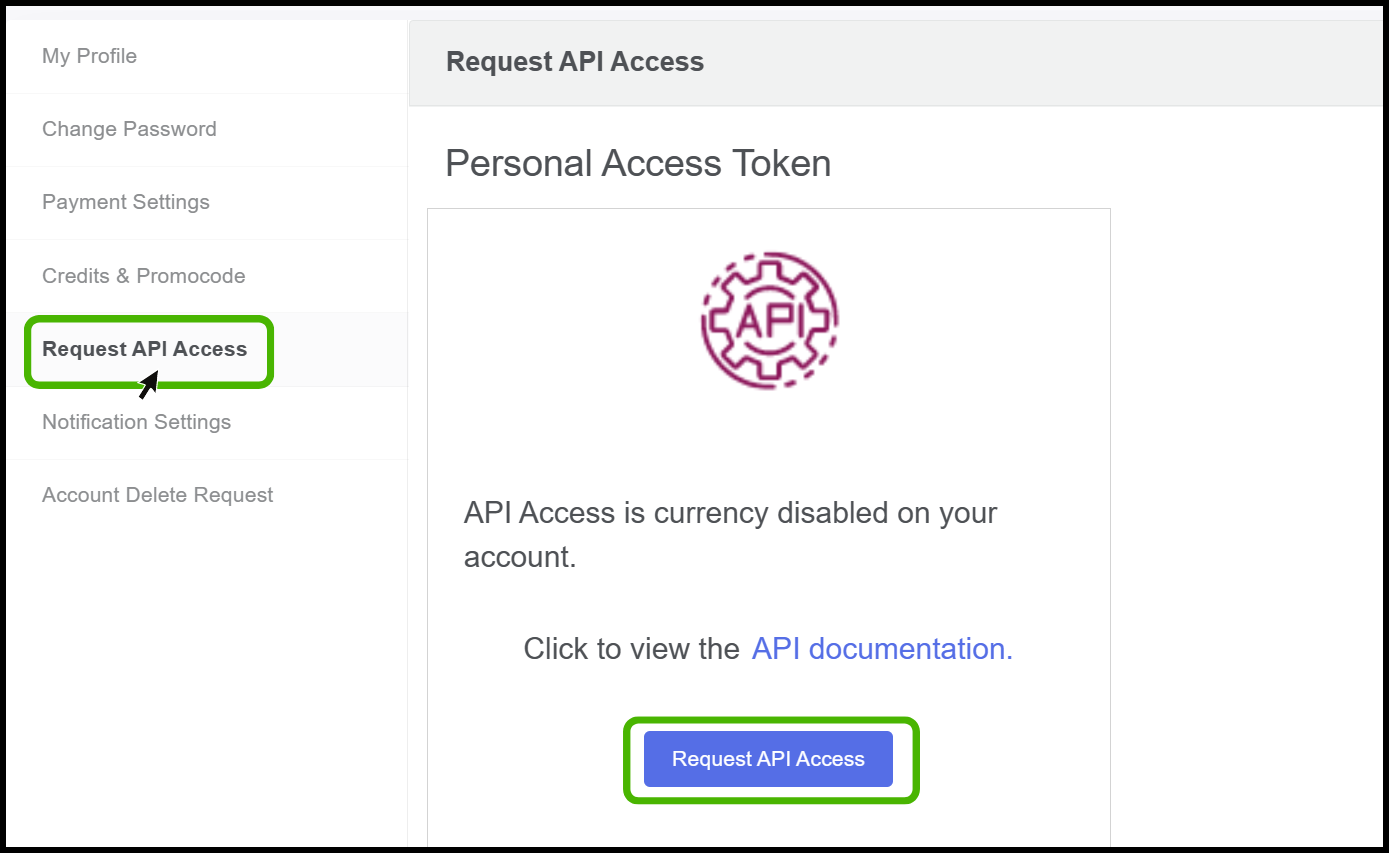
- To view the API Documentation, Click On the Request API Access.
- So that the request will sent to the admin through the email.
Notification Settings in StackBill CMP
- On the left side of the pop-up menu, Click on the Notification settings button to set notifications.
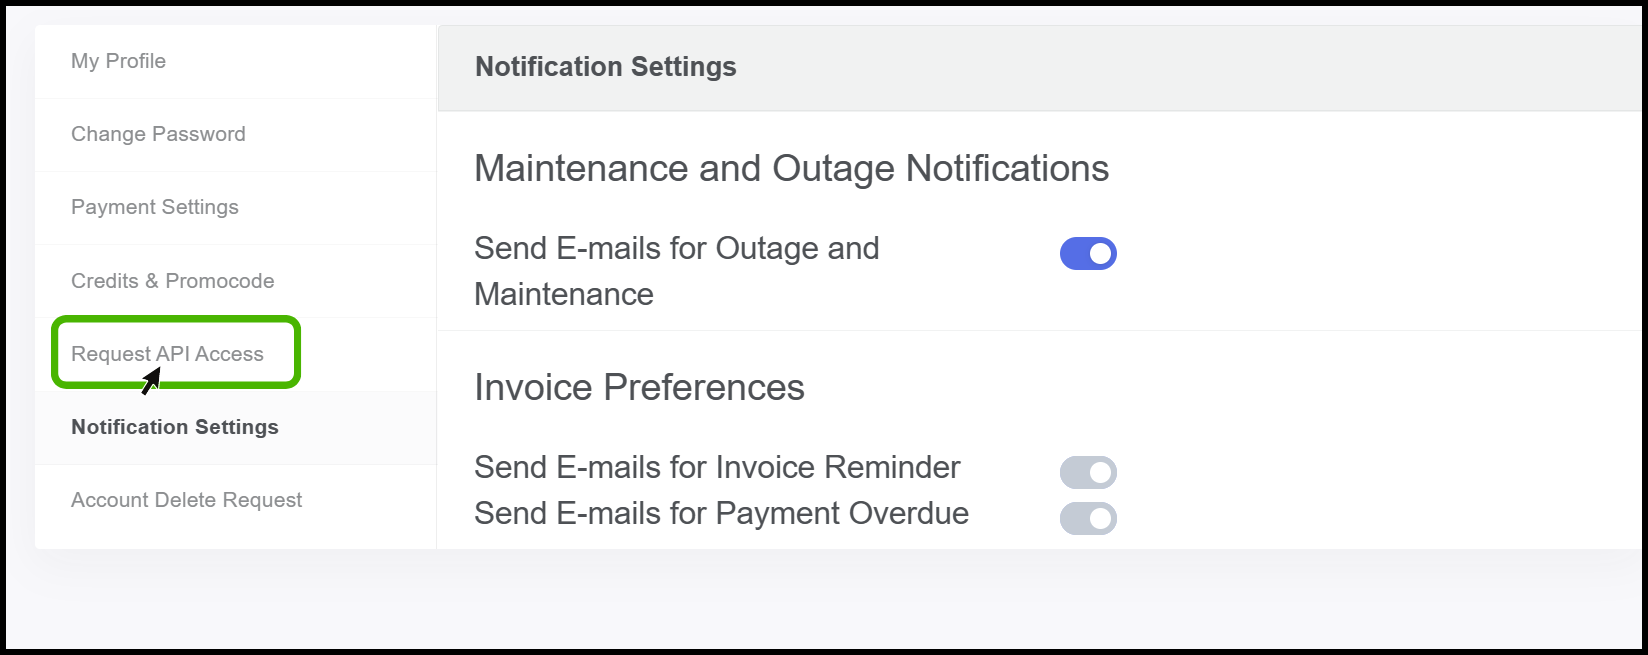
- The user can enable the Send Email Maintenance and Outage Notifications button to receive notifications regarding maintenance and outages.
- Enable the Invoice remainder option, the user will receive a notification for the invoice.
- Enabling the Payment overdue option will allow the user to receive a notification for the overdue
Account Delete Request in StackBill CMP.
- On the left side of the pop-up menu, Click on the Delete Account button to Delete Account in StackBill Cmp.
- We recommend that you to follow these steps before deleting your account.
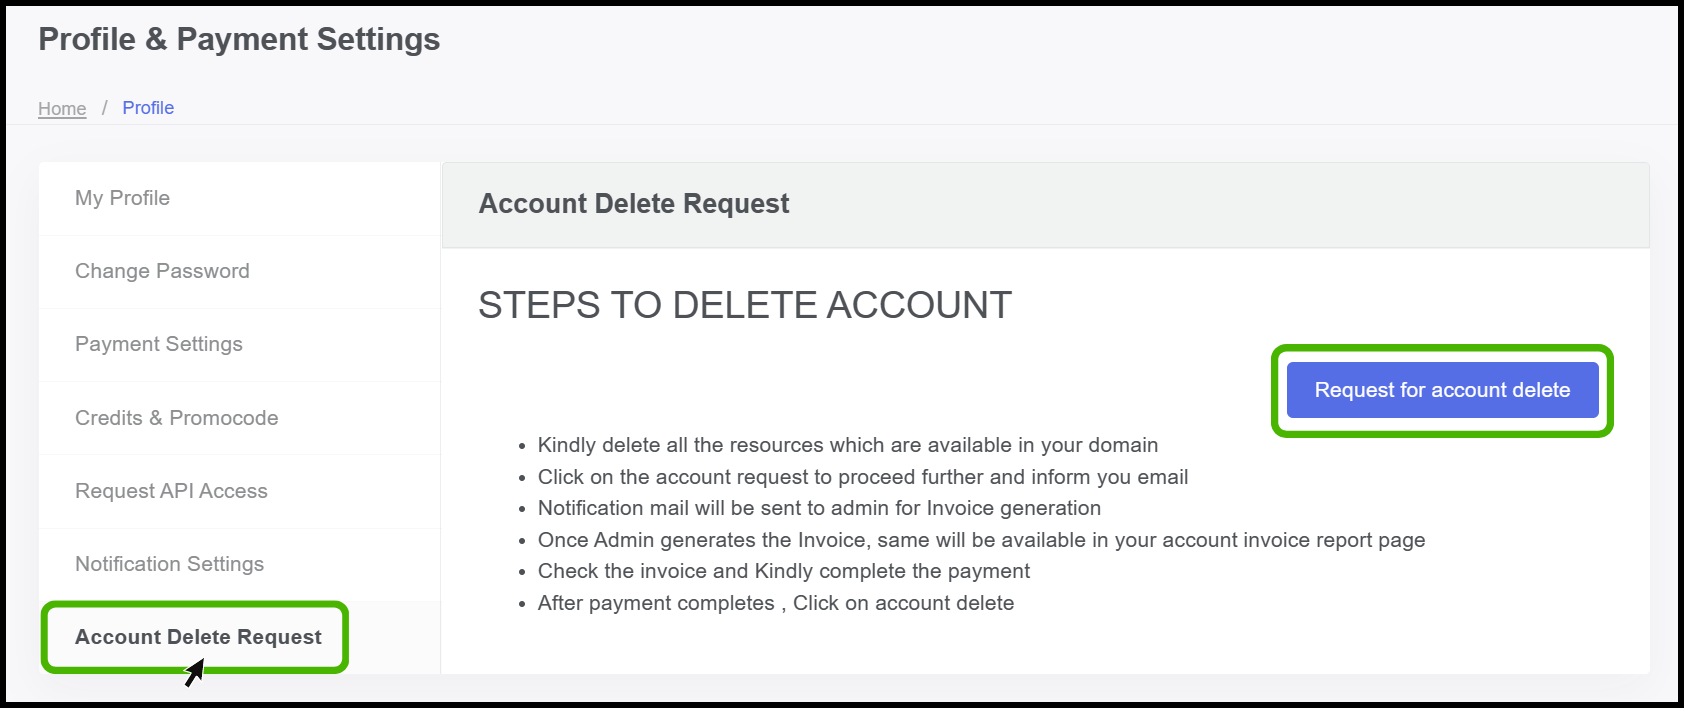
- Account delete screen appears on the screen.
- Click on the Request for account delete.
img 888
- So here user can able to see the resources which has been attached to the particular account.
Add User in StackBill CMP
- Company option can be found on the left side of the portal.
- The screen displays a pop-up menu. From the pop up click on user.
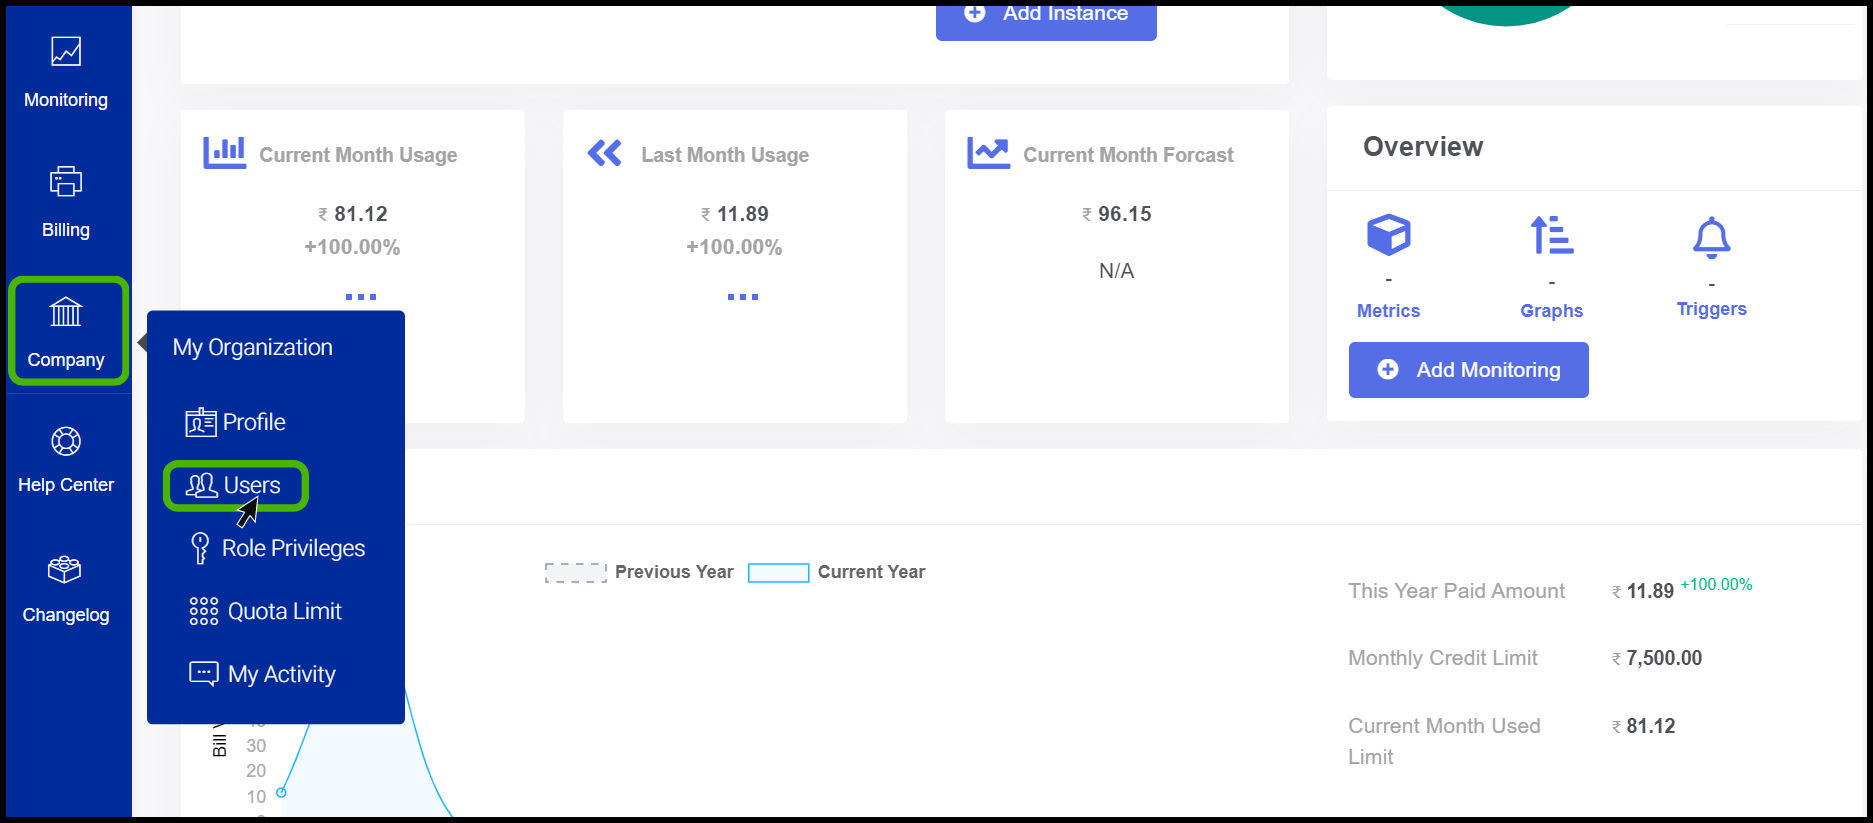
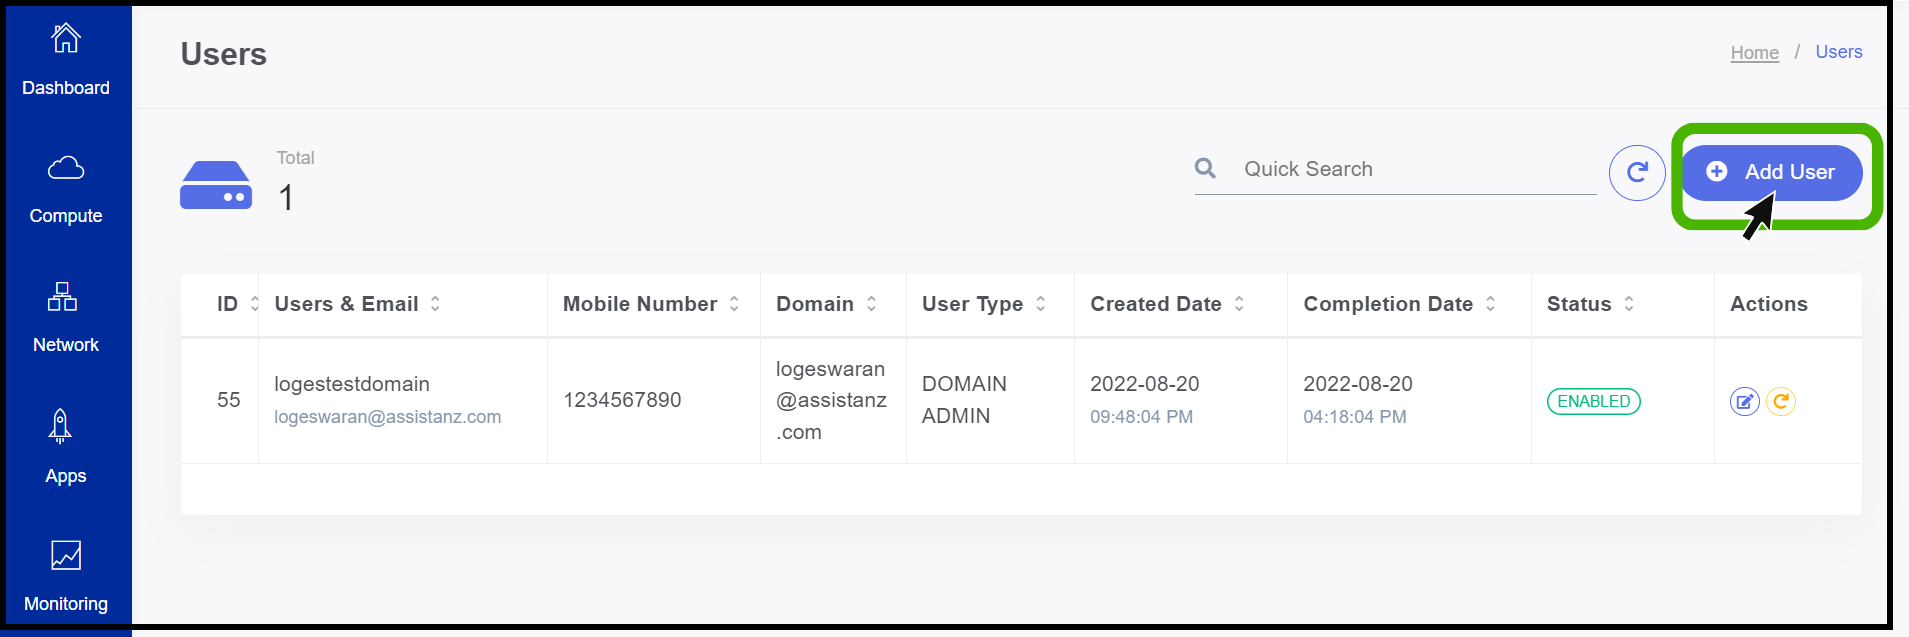
- Add users page appears on the screen.
- To add a user, click the Add user.
- Fill all the required information on the menu.
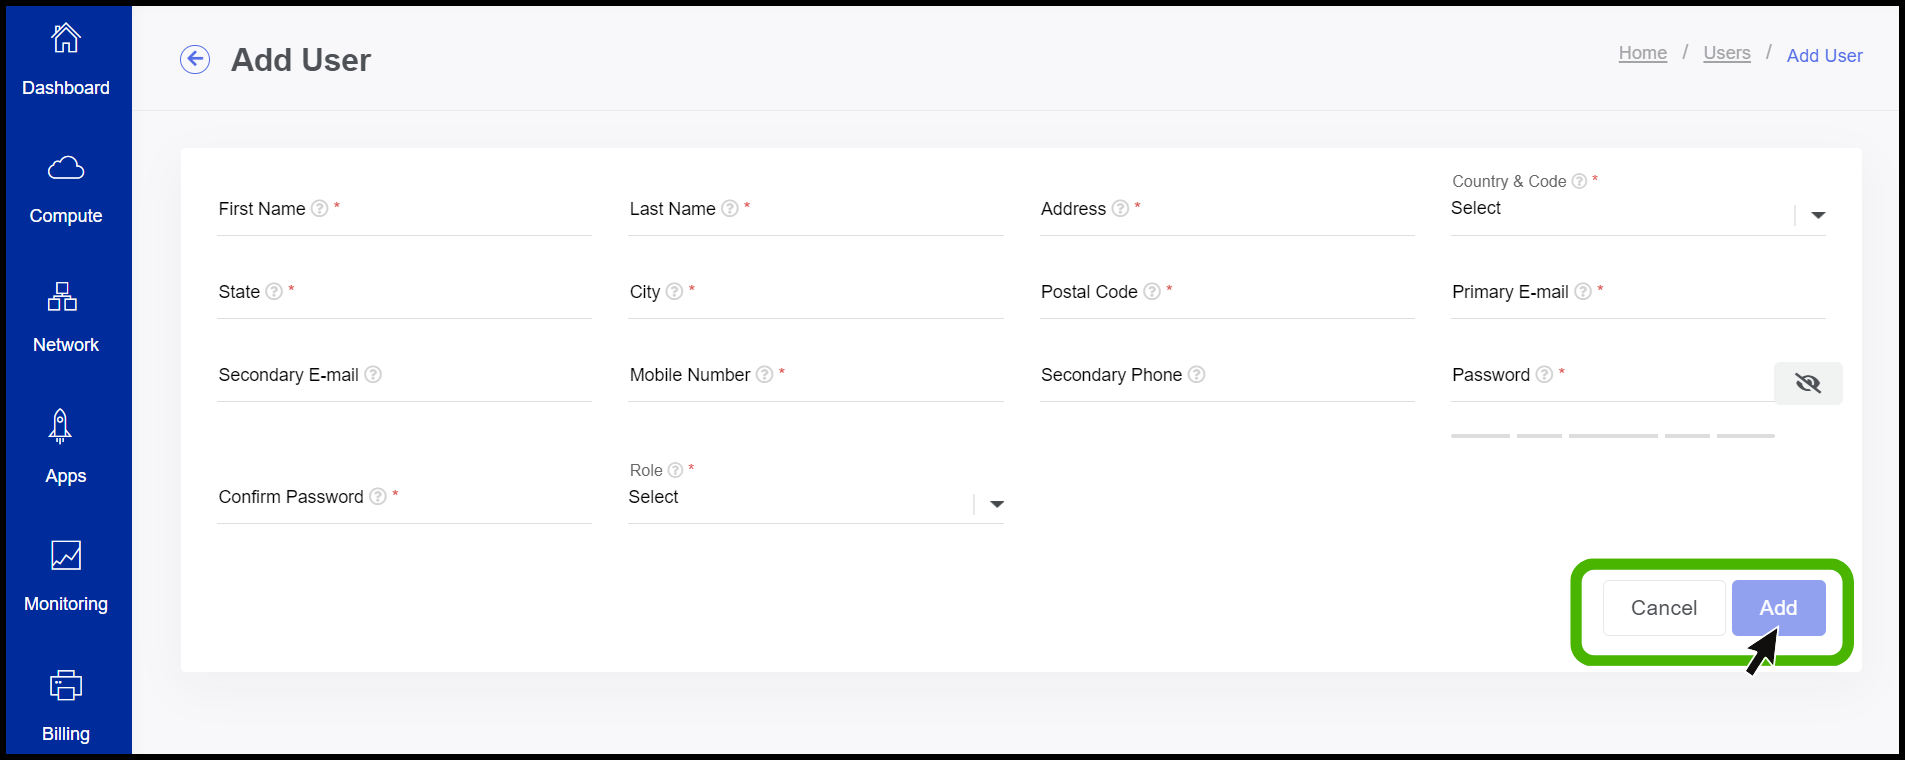
- Finally, click Add button.
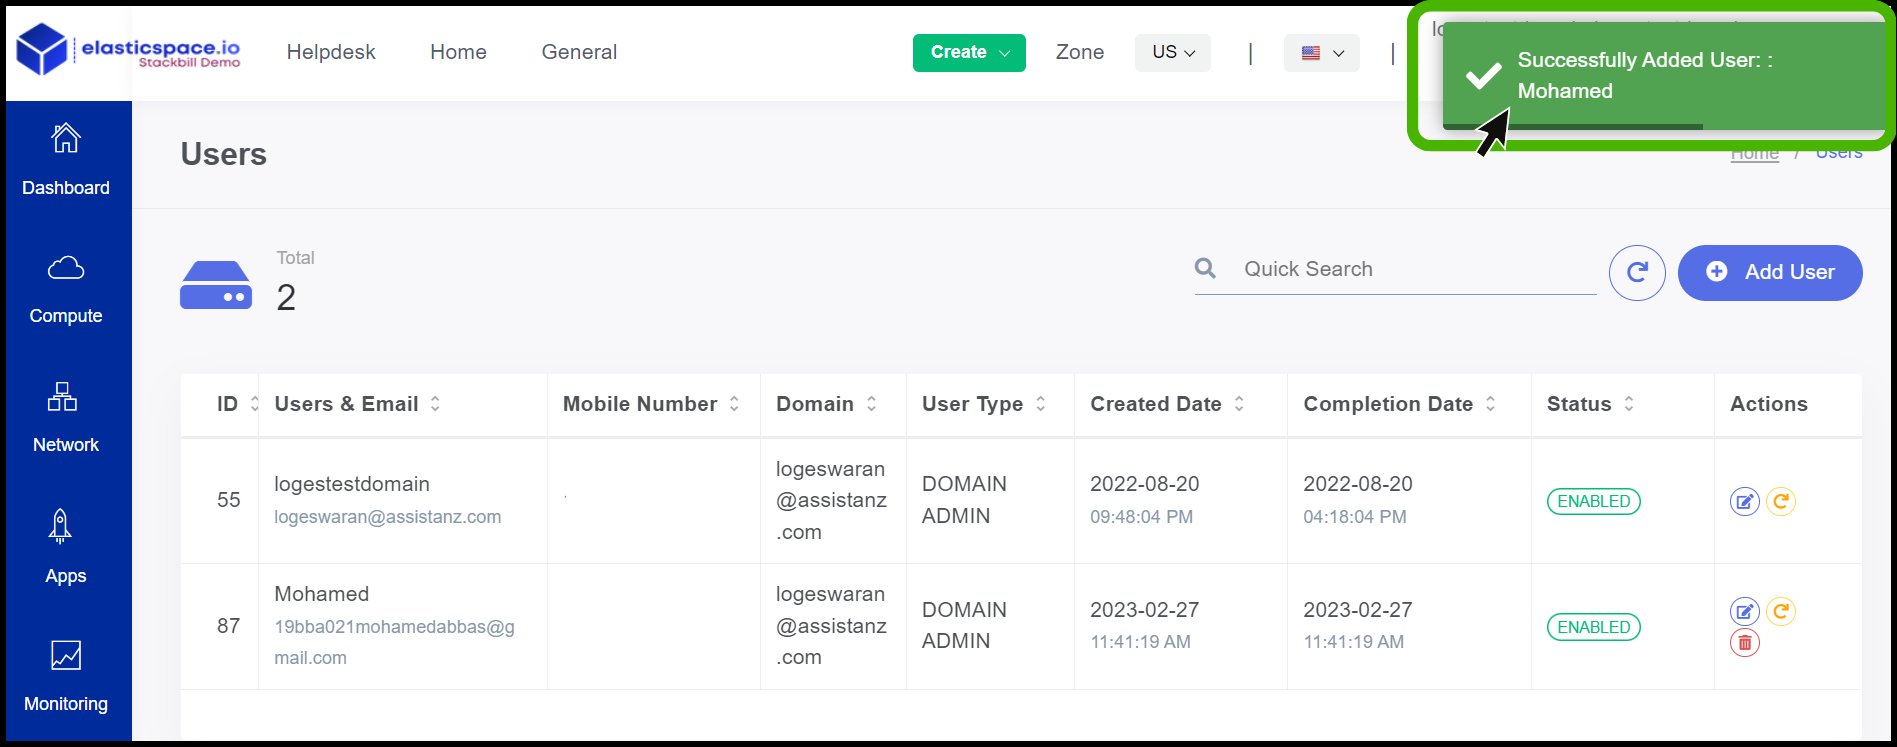
- Now the new user has been created successfully.
Setting up Role Privileges in StackBill CMP
StackBill Role-based access control (RBAC) restricts network access based on a person's role within an organization and has become one of the main methods for advanced access control. The roles in RBAC refer to the levels of access that employees have to the network.
Typically there is a default role which is named domain admin.
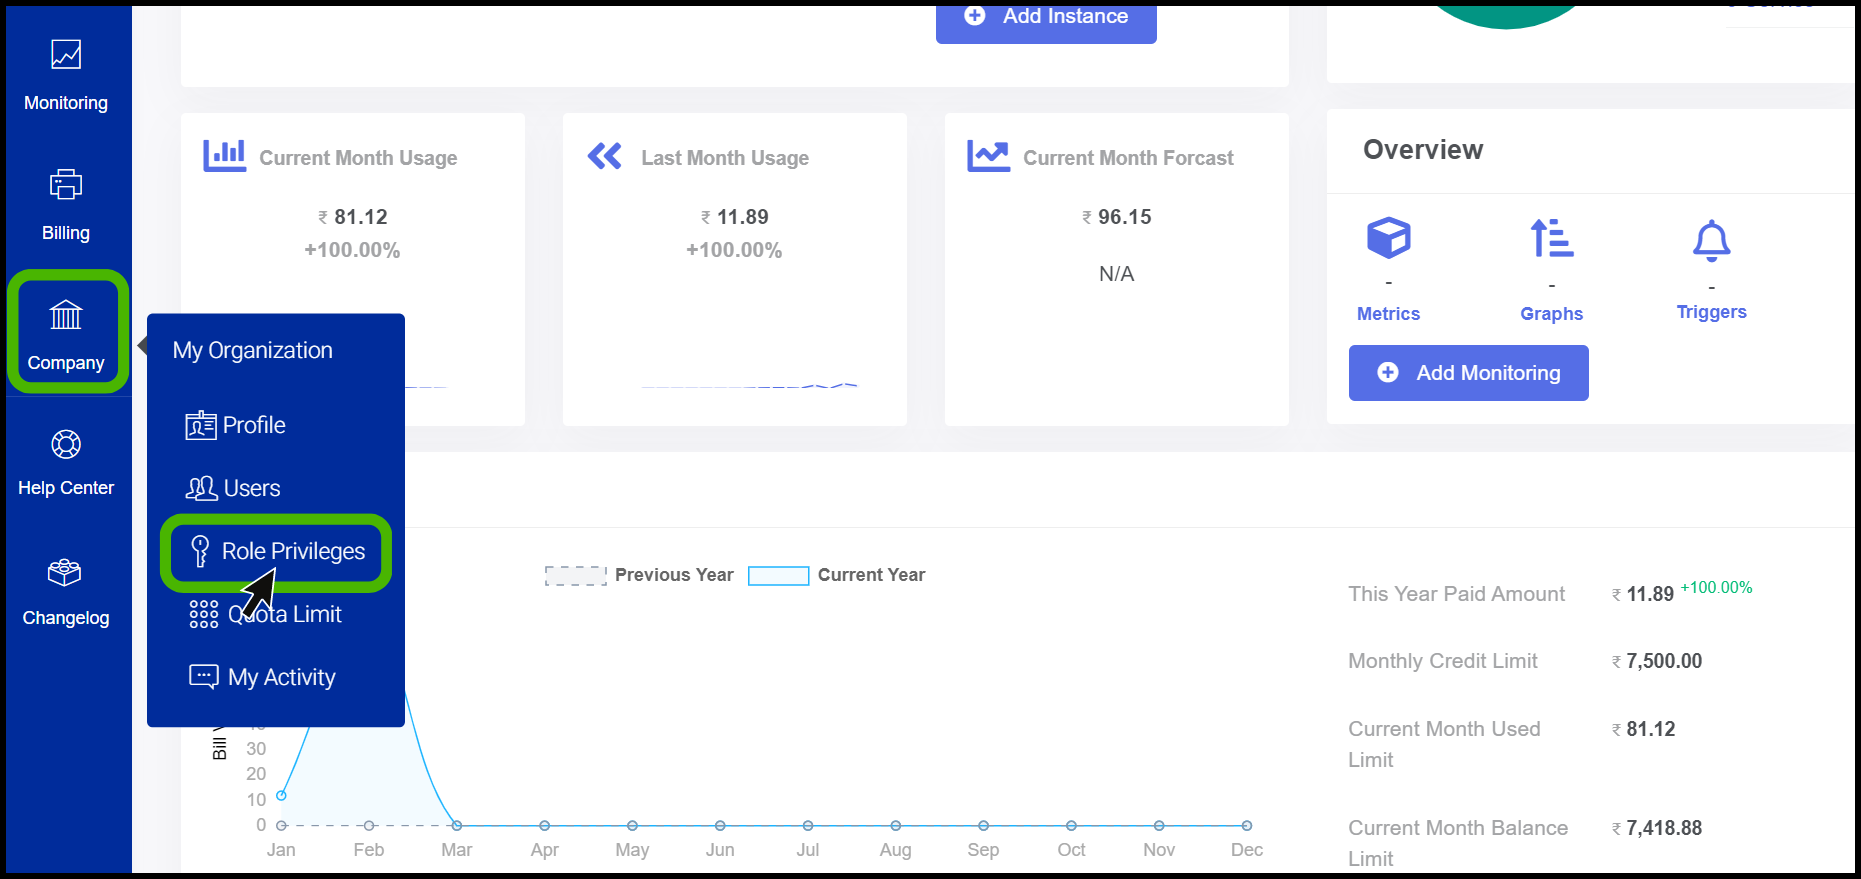
Company option can be found on the left side of the portal.
The screen displays a pop-up menu. From the pop up click on Role Privileges.
- RBAC screen appears.
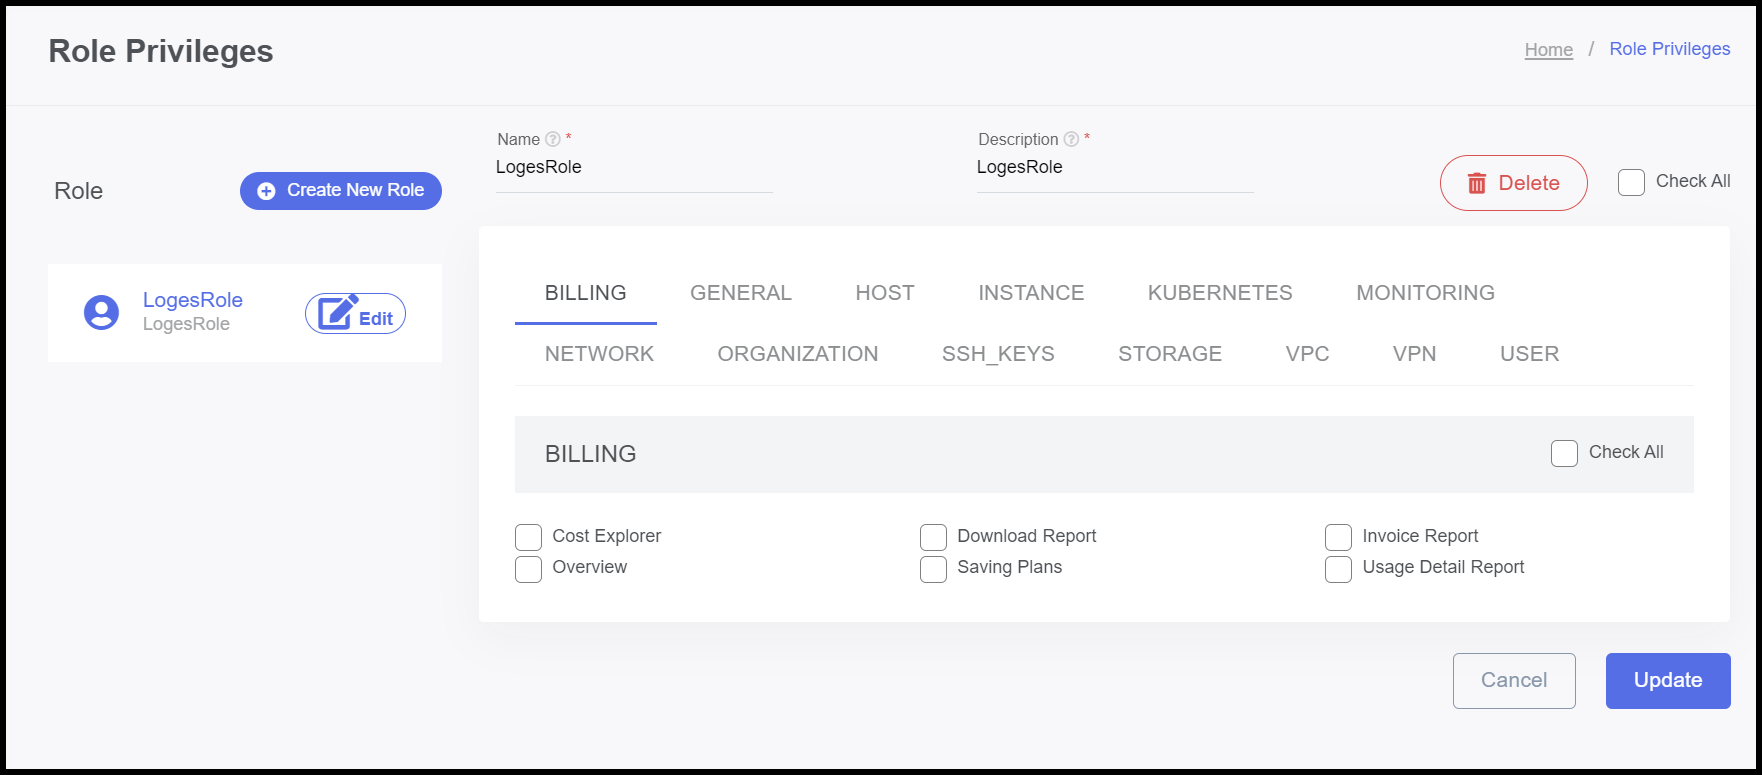
- At left side of the panel the user has a option to create new role.
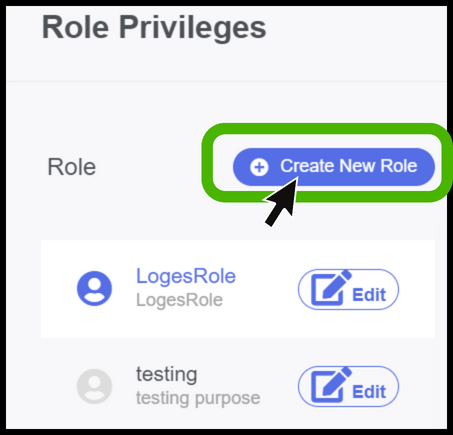
- Click on Create New Role.
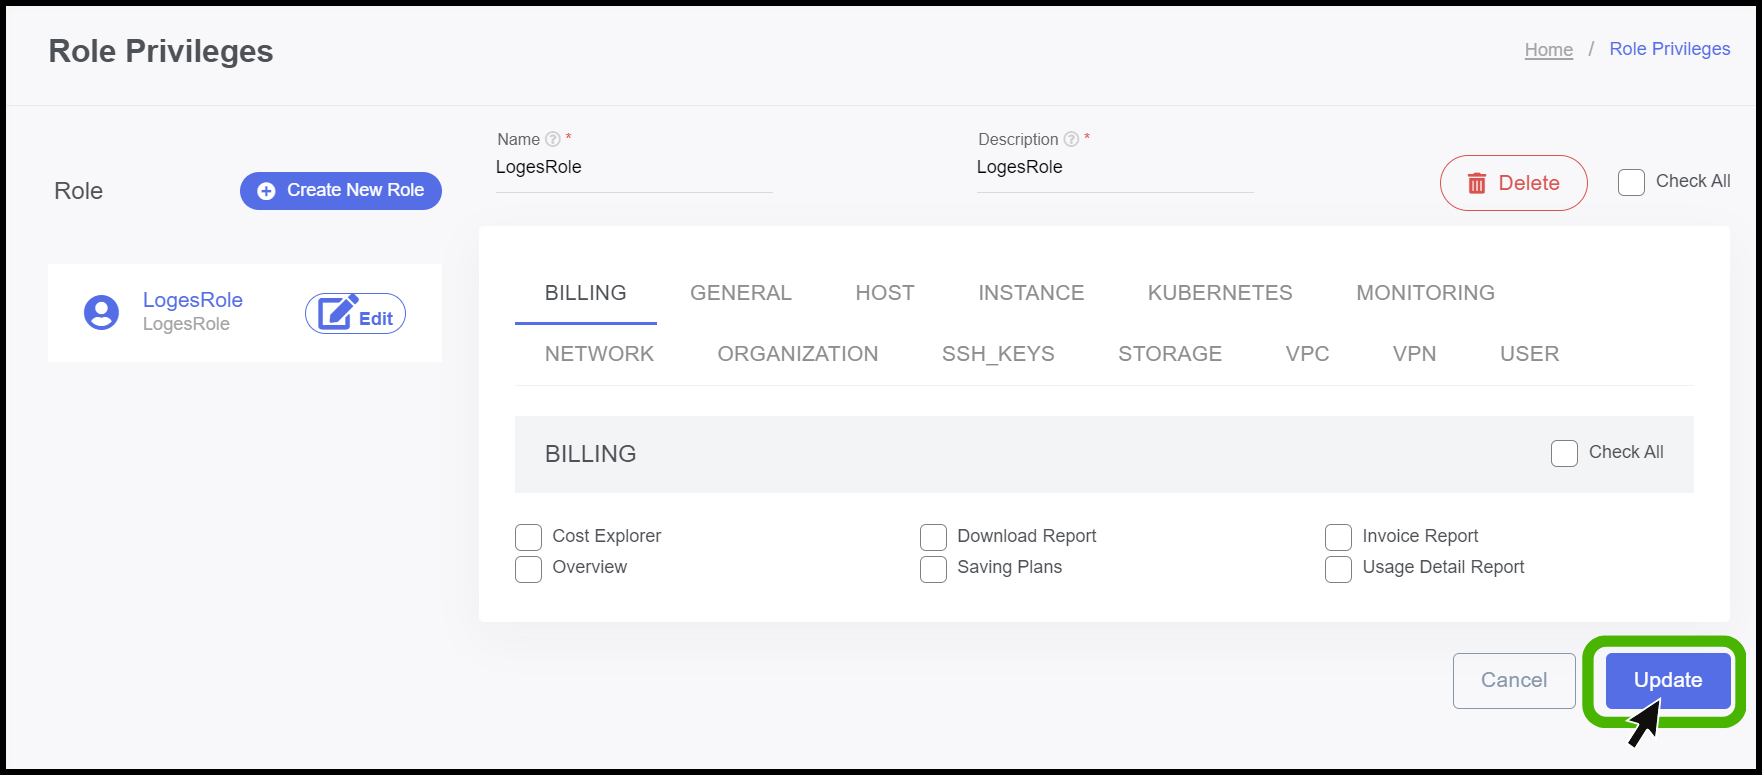
- Assign access rights to users so that they can access resources.
- Once every process done, click on the Update button.
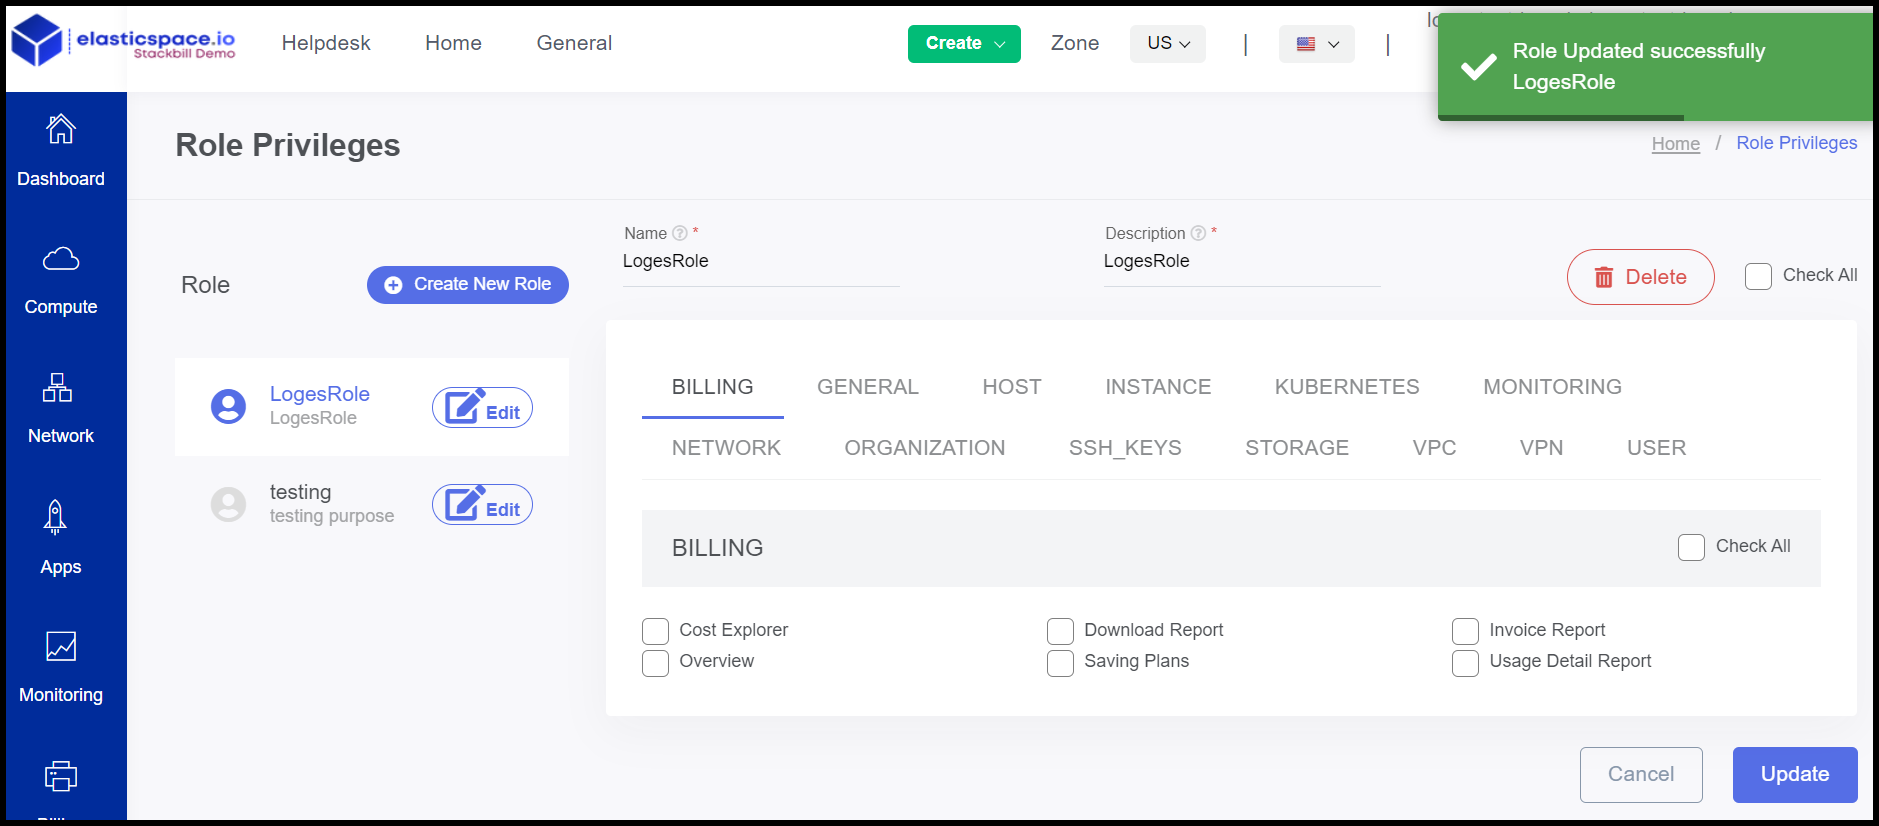
- Now the Role Privelage has set successfully.
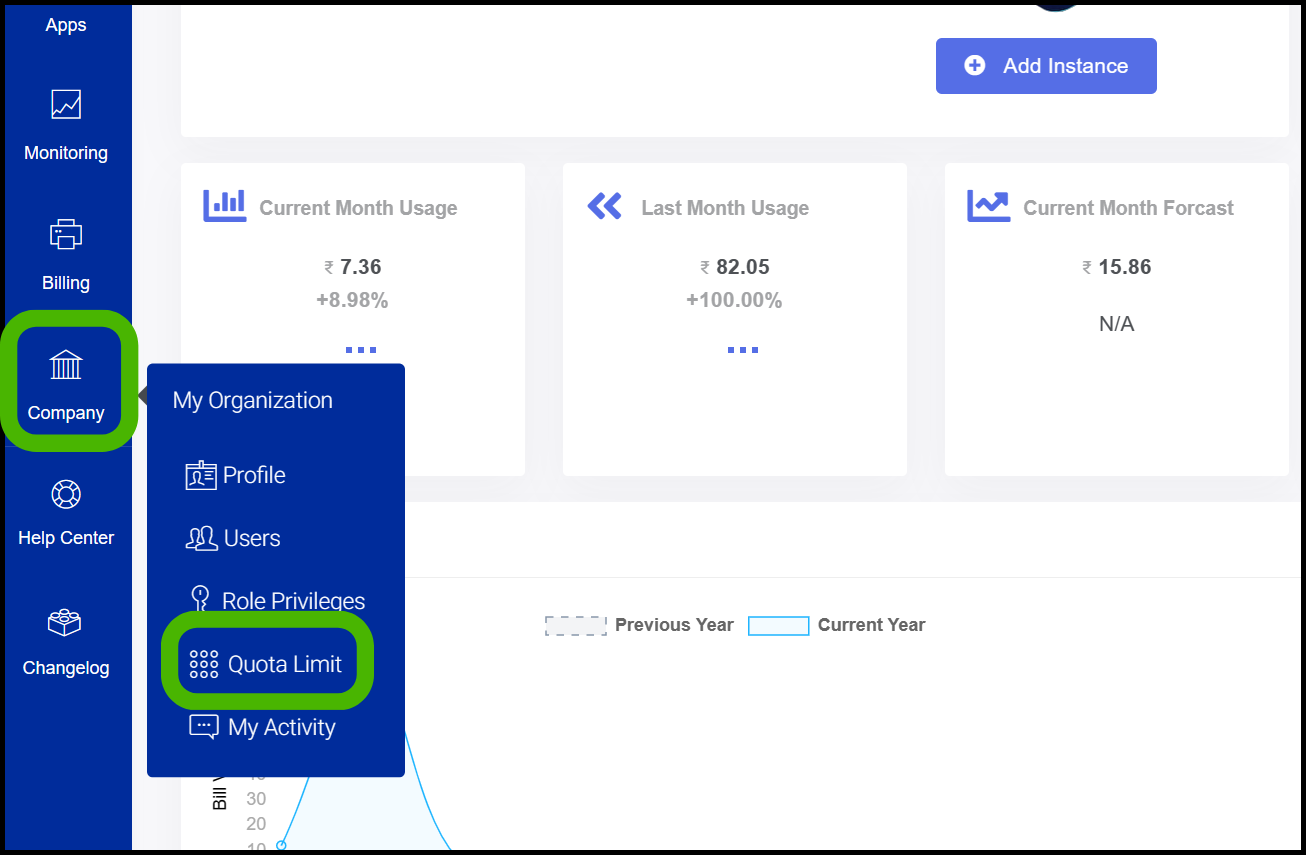
Quota Manager in StackBill CMP
- The Company option can be found on the left side of the portal.
- The screen displays a pop-up menu. To view the Quota, click on the Quota Limit option from the menu.
- Now Quota Limit page appears on the screen.
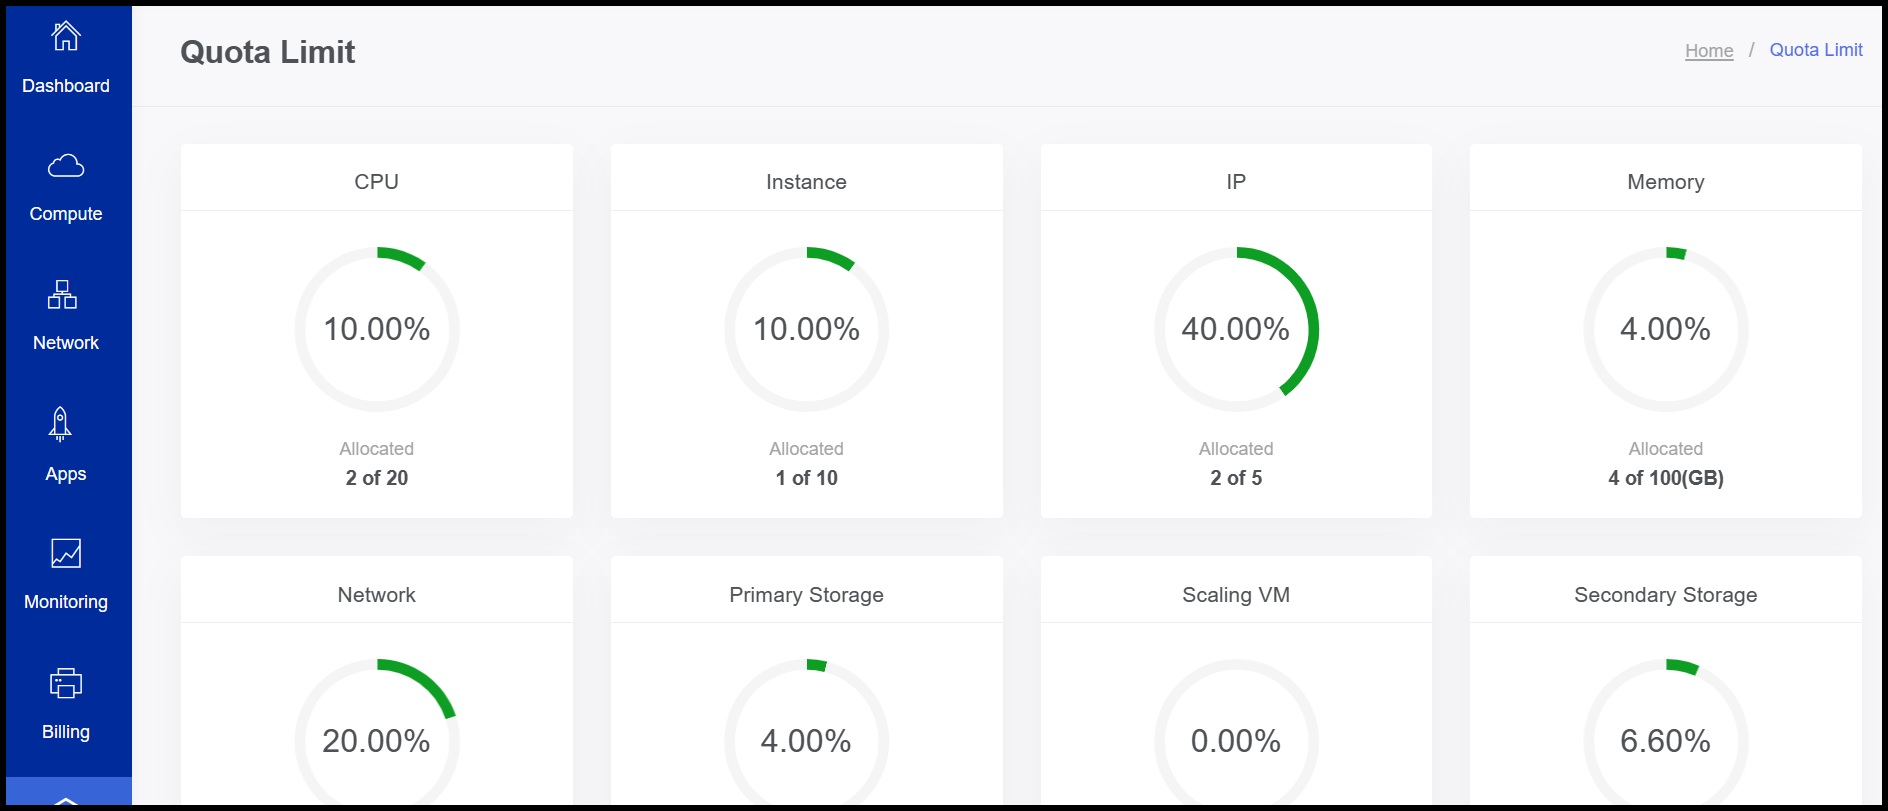
- The user can see a detailed view of the resources that have been allocated by the administrator.
- Users can request an upgrade from their Admin if they need to upgrade any resources.
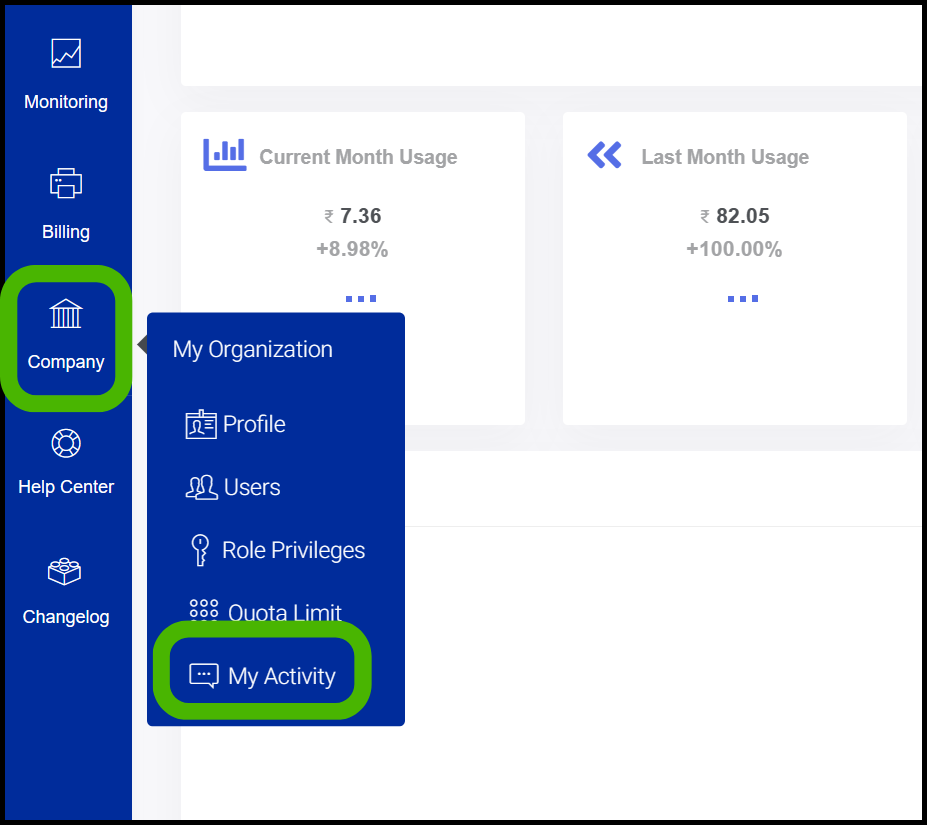
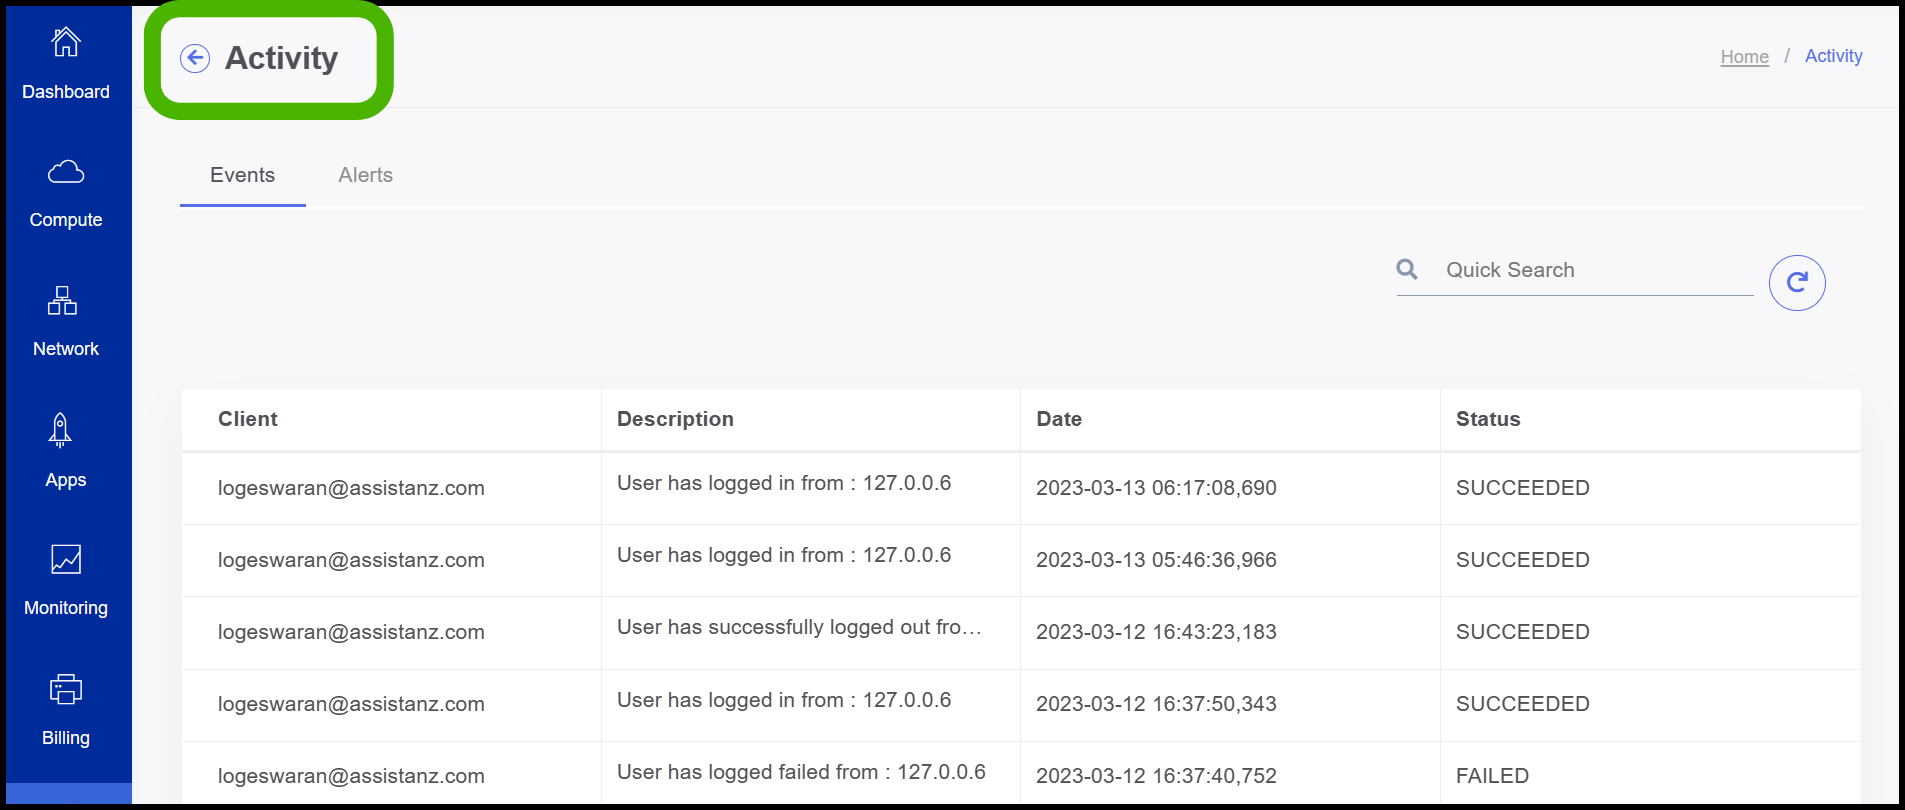
My Activity in StackBill CMP
- The Company option can be found on the left side of the portal.
- The screen displays a pop-up menu. To view the recent activities, click on the My Activity option from the menu.
- Here user can be able to see their recent activities.
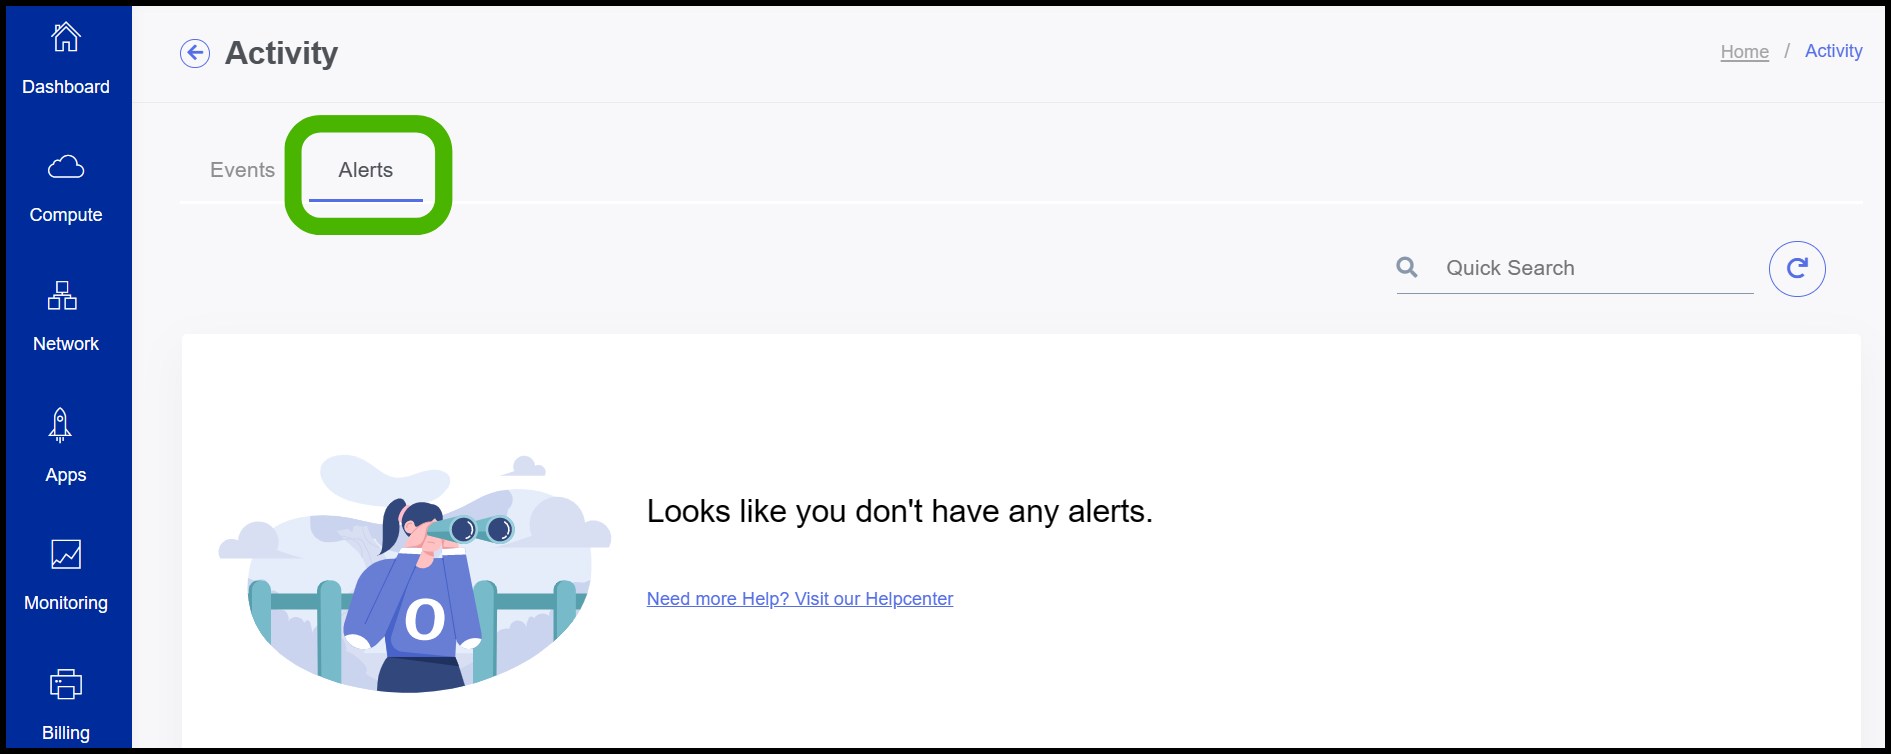
- Here the user can be able to see the Alerts.
About StackBill
StackBill is a complete self-service intuitive Cloud Management Portal with extensive features leveraging Apache CloudStack® with state of art years of expertise.