L2 Network Overview
A Layer 2 (L2) Network in the Cloud Management Portal provides a simple, flat network topology without any network services such as DHCP, DNS, or routing. This type of network is ideal for advanced users who require complete control over their networking environment, including IP address management and the configuration of external network services.
Key Characteristics:
-
No Network Services: L2 networks do not include built-in services like DHCP, DNS, or firewall capabilities.
-
User-Managed IP Addressing: Users are responsible for assigning IP addresses to their virtual machines (VMs), either statically or via an external DHCP server.
-
No Virtual Router: Unlike isolated networks, L2 networks do not deploy a virtual router.
-
VLAN Support: VLAN IDs can be specified for network segmentation, subject to administrative permissions.
Use Cases
-
Custom Networking Solutions: Ideal for scenarios requiring specialized network configurations, such as integrating with external firewalls or load balancers.
-
Testing Environments: Suitable for creating isolated test environments without the overhead of additional network services.
-
Advanced Network Topologies: Enables the deployment of complex network setups managed entirely by the user.
Creating an L2 Network
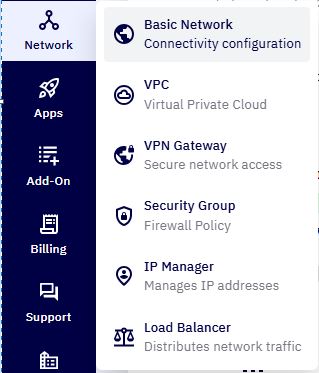
1. Accessing the Basic Network Section :
-
Log in to your Cloud Management Portal using your authorized credentials.
-
From the left navigation pane, go to:
Network → Basic Network
-
You will see a list of all existing networks associated with your cloud account.
2. Creating L2 Network :
-
Click the Add Network button.
-
From the drop-down menu, select Add L2 Network.

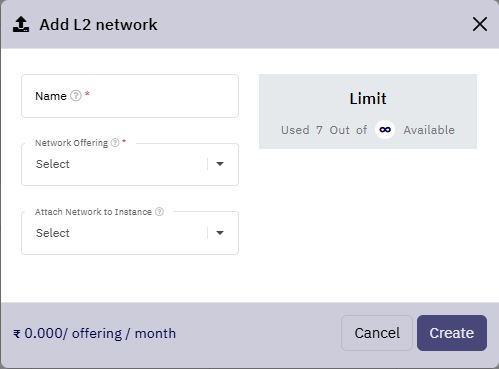
3. Add Network Details :
-
A configuration popup window will appear. Provide the following details:
-
Network Name : Enter a meaningful name for the new L2 network (e.g.,
L2-Dev-Env,L2-Custom-Network). -
Network Offering : Select an available network offering from the drop-down list that supports Layer 2 networking. This offering defines the behavior and capabilities of your L2 network.
-
Attach to Instance (Optional): Optionally, you may choose to associate the network with an existing virtual machine instance during creation. If not selected, you can attach VMs later.
-
Pricing Information : The popup will display the associated cost for creating and maintaining this network, based on your account’s billing settings.
-
Quota Details: Your remaining network creation quota (if enforced) will be displayed. Ensure that your quota allows for the creation of a new network.
-
4. Create the Network :
- After verifying the entered details, click the Create button.
5. Post-Creation :
-
Once the network is successfully created, The newly created L2 network will appear in the Basic Network list.
-
You can now attach virtual machines to the L2 network as needed and manually configure network settings inside each VM (e.g., static IP assignment, gateway, DNS).