Cluster Summary
Overview
The Kubernetes Cluster Summary page provides a comprehensive view of your Kubernetes cluster’s status and health. It allows you to monitor critical resource usage, access configuration details, and interact with your cluster for operational management.
1. Accessing Kubernetes cluster summary page
-
Login into the cloud management portal.
-
Then navigate to Compute > Kubernetes > Select Cluster > Summary Tab
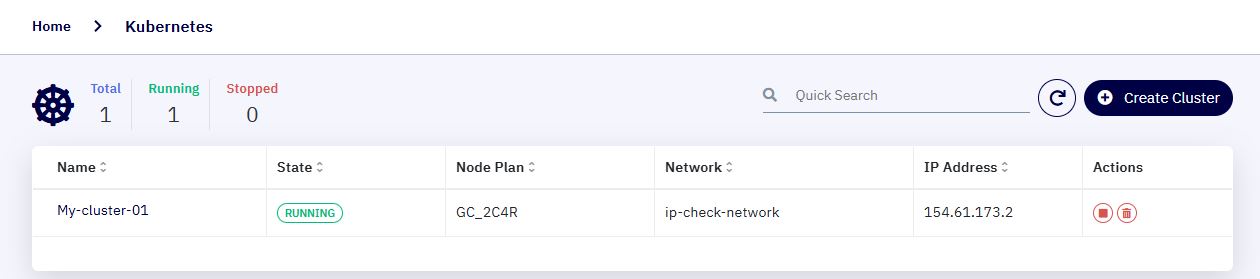
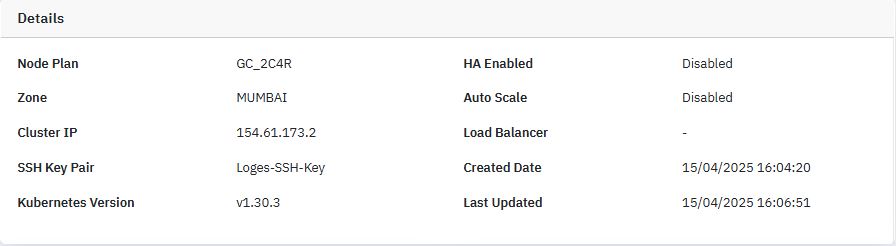
2. Cluster Information Panel :
This section displays key details about the selected cluster, including:
-
Cluster Name: Identifies the name of the cluster (e.g., My-cluster-01).
-
Kubernetes Version: The version of Kubernetes running on the cluster (e.g., v1.30.3).
-
Node Plan: Specifies the hardware plan allocated to the Kubernetes nodes (e.g., GC_2C4R).
-
Zone: The geographical zone in which the cluster is deployed (e.g., MUMBAI).
-
IP Address: The IP address assigned to the Kubernetes cluster (e.g., 154.61.173.2).
-
SSH Key Pair: The SSH key associated with the cluster for secure access (e.g., Loges-SSH-Key).
-
HA Enabled: Displays whether High Availability (HA) is enabled or not (e.g., Disabled).
-
Load Balancer: Information about the load balancer, if configured (e.g., N/A).
-
Created Date: The date when the cluster was created.
-
Last Updated: The last time the cluster was updated.
3. Cluster Nodes Panel :
-
Nodes: Lists all the nodes within the cluster (e.g., My-cluster-01-node-196390042809).
-
Node Status: Shows whether the node is RUNNING or STOPPED.
-
Node Details: Clicking on a node provides detailed information about its resource usage and configuration.

4. Cluster Utilization Panel :
This section provides real-time resource usage metrics:
-
CPU Usage: Displays the available and used CPU resources in percentage (e.g., 0.00% Used).
-
Memory Usage: Shows the available and used memory (e.g., 52.14% Used).
-
Disk Usage: Displays the disk space available and utilized (e.g., 0.00% Used).
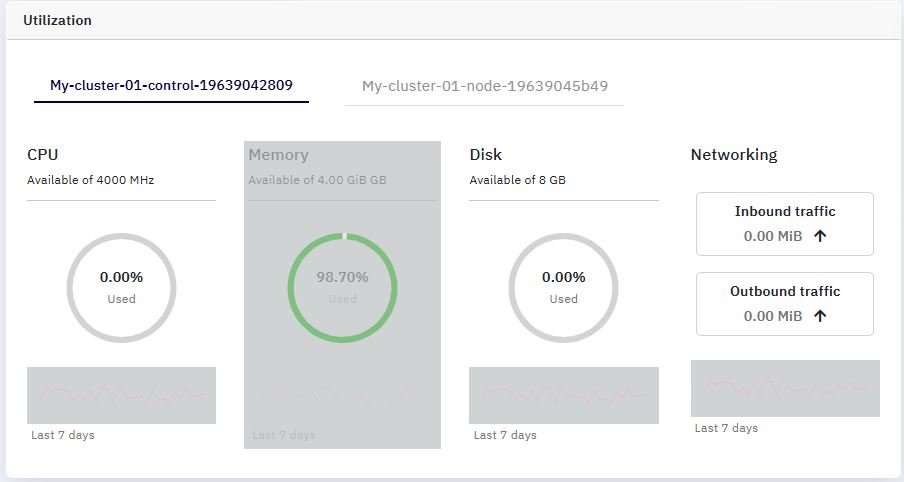
5. Networking Panel :
The networking section shows traffic information for the cluster:
-
Inbound Traffic: Displays the incoming network traffic (e.g., 0.00 MIB).
-
Outbound Traffic: Displays the outgoing network traffic (e.g., 0.00 MIB).
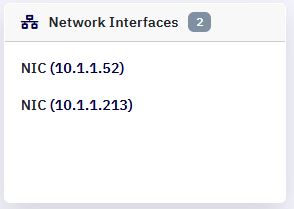
Additionally, this section provides information on network interfaces (NICs) used by the cluster, such as:
-
Example : NIC 1: 10.1.1.213
-
Example: NIC 2: 10.1.1.52
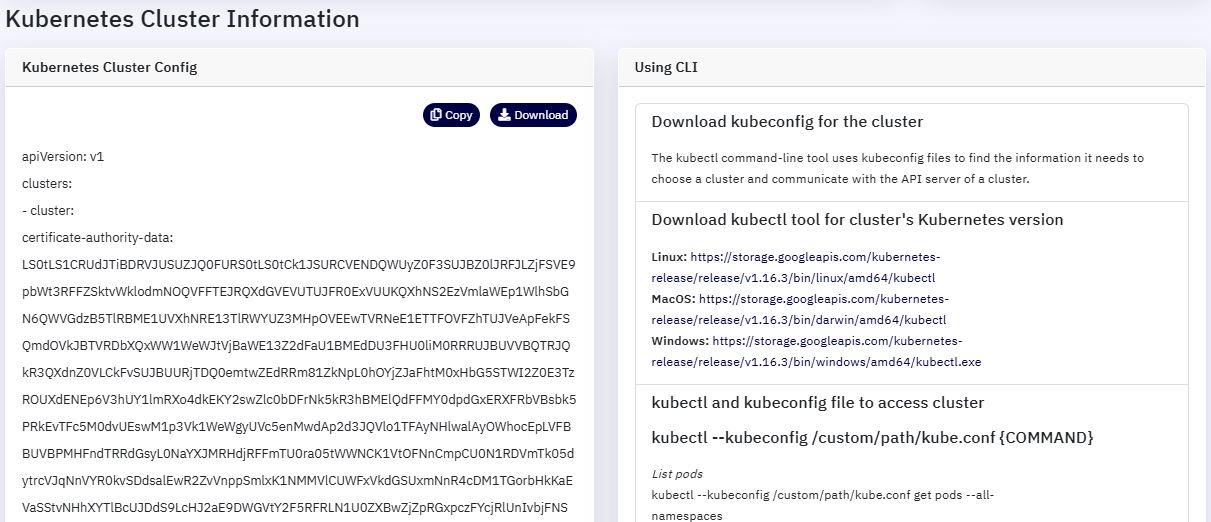
6. Kubernetes Cluster Configuration :
The Kubernetes Cluster Config section allows users to:
-
Copy Cluster Configuration: Easily copy the current configuration for future reference or replication.
-
Access Kubernetes Using CLI: Instructions are provided to interact with the cluster via the command line:
-
kubectl: Commands for accessing and managing cluster resources.
-
Download Kubernetes Config: Download the kubeconfig file for accessing the Kubernetes cluster.
-
Example kubectl commands:
-
List Pods:
kubectl --kubeconfig <path>/kube.conf get pods --all-namespaces -
List Nodes:
kubectl --kubeconfig <path>/kube.conf get nodes --all-namespaces -
List Services:
kubectl --kubeconfig <path>/kube.conf get services --all-namespaces
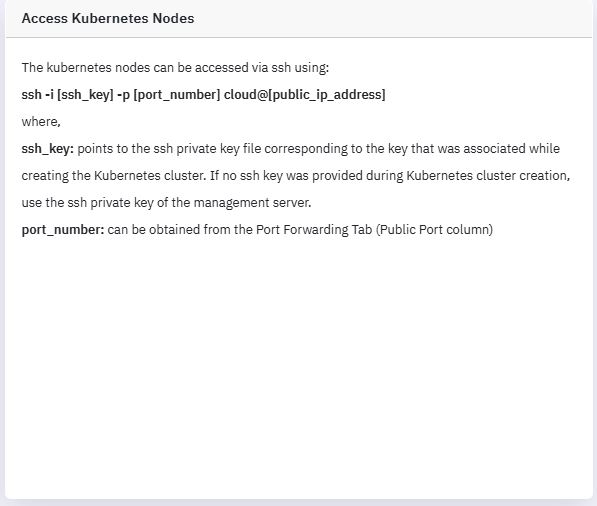
7. Accessing Kubernetes Nodes :
- SSH Access: Kubernetes nodes can be accessed using SSH:
ssh -i [SSH_Key] [username]@[Public_IP_Address] -p [Port_Number]
-
Where:
-
[SSH_Key] is the key associated with the cluster.
-
[Public_IP_Address] is the IP address assigned to the node.
-
[Port_Number] is the port number obtained from the Port Forwarding Tab.
-
- Kubernetes Dashboard: We have included detailed instructions for enabling the Kubernetes dashboard in the Kubernetes section.
8. Cluster Actions :
-
Upgrade Kubernetes: Click Upgrade K8s to update the Kubernetes version of the cluster.
-
Resize or Auto Scale: Use the Resize or Auto Scale button to modify the cluster’s node configuration.
-
Stop or Delete Cluster: Manage cluster lifecycle by stopping or deleting the cluster directly from the portal.
