Deleting a Shared File Service (SFS)
This section provides a complete guide on how to safely delete an existing Shared File Service (SFS) from your cloud account using the Cloud Management Portal. Deletion is permanent and irreversible, so it’s important to follow the instructions carefully to avoid unintentional data loss.
Important Pre-Deletion Considerations
Before deleting an SFS instance, please ensure the following conditions are met:
-
All Virtual Machines (VMs) previously attached to the SFS must be detached.
-
You have backed up any critical data, as deletion will permanently erase all files stored in the shared file system.
-
You are authorized to perform deletion actions in your cloud account.
-
If an SFS is still attached to any VM, the system will block the deletion and display an error message:
Error: There are still 1 VMs attached to this shared file system. Please detach them before proceeding with the deletion.
Step-by-Step Instructions to Delete an SFS
1. Log in to the Cloud Management Portal
- Use your valid user credentials to sign in.
2. Navigate to the SFS Management Section
- From the left-hand navigation menu, go to:
Add-on > SFS Service
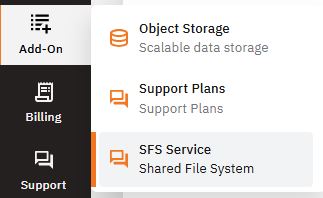
- This page displays the list of all active Shared File Services provisioned under your cloud account.
3. Locate the SFS to Delete
-
Find the SFS instance you want to remove.
-
Ensure the “Attached VM(s)” count is 0 before proceeding.
-
If any VMs are still attached, detach them by:
-
Clicking on the SFS name.
-
Navigating to the VM List tab.
-
Selecting the attached VMs and clicking “Detach”.
-
4. Initiate Deletion :
-
Once no VMs are associated with the SFS, return to the SFS list view.
-
Under the “Action” column for the selected SFS, click the “Delete” button.
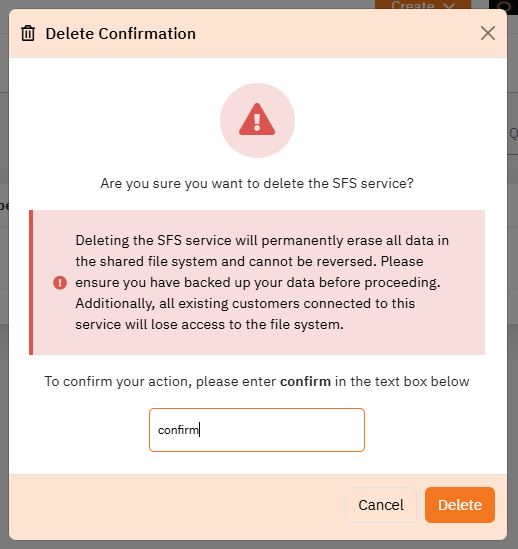
5. Confirm Deletion :
-
A confirmation dialog box will appear with the following warning:
“Deleting this SFS service is irreversible and will permanently erase all data stored in the shared file system.”
-
In the text box provided, type:
confirm -
Then click on the “Delete” button to proceed.
6. Completion
-
The deletion process will begin.
-
Within a few minutes, the selected SFS will be permanently removed from your account.