Accessing Shared File Service (SFS) from a Windows Virtual Machine
This section provides step-by-step guidance on how to mount and access a Shared File Service (SFS) from a Windows-based virtual machine deployed via the Cloud Management Portal. This enables seamless file sharing between multiple instances using NFS protocol, now accessible from within your Windows VM environment.
Prerequisites
Before proceeding, ensure the following:
-
You have an active Windows VM provisioned under your Cloud Management Portal.
-
An SFS (Shared File Service) has been successfully created and is available within your account.
-
You have administrative access to the Windows VM.
1. Attach the SFS to Your Windows VM
-
Log in to the Cloud Management Portal.
-
From the left-hand menu, navigate to:
Add-on > SFS Service
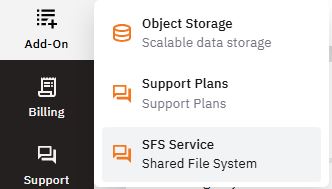
- You will be directed to a list of all available SFS services under your account.
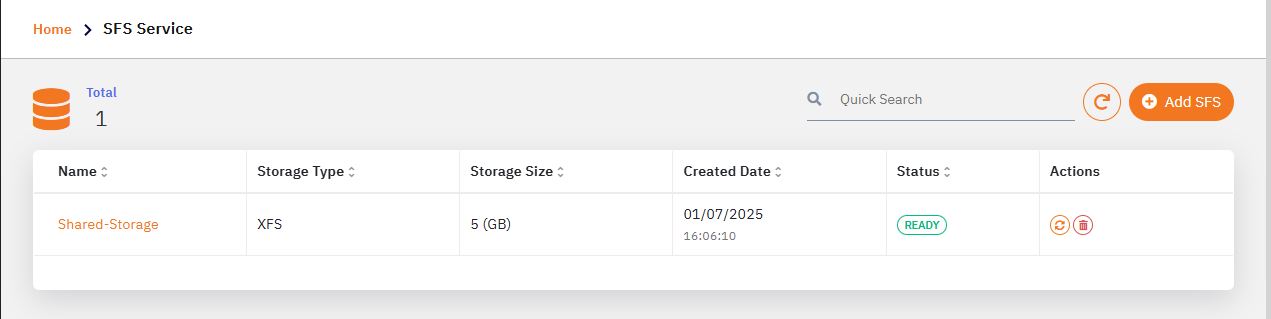
-
Click on the SFS Service Name you wish to connect to the Windows VM.
-
Inside the SFS details view, click on the VM List tab.
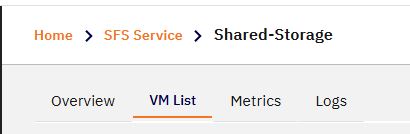
-
Click on the “Add VMs” button.
-
From the list of available VMs, select the Windows VM you want to attach.
-
Click “Attach” to link the SFS to the selected VM.
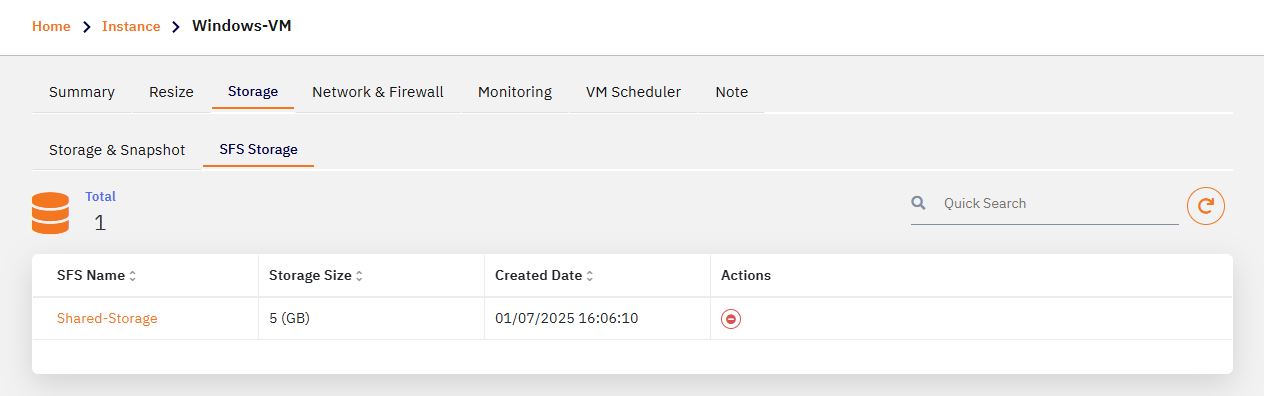
-
After a few seconds, the attachment process completes. You can also verify the attached SFS from the Storage section in the respective VM's detail page.
2. Install NFS Client on the Windows VM
NFS support is not enabled by default on Windows. Follow the instructions below to install the required components using a PowerShell script.
-
Log in to your Windows VM using Remote Desktop or the preferred remote access method.
-
Open a browser inside the VM and download the NFS installation PowerShell script from the below link:
https://sfs-scripts.s3.us-west-1.amazonaws.com/nfsinstall.ps1
-
Save the script file, e.g., in:
C:\Users\Administrator\Downloads -
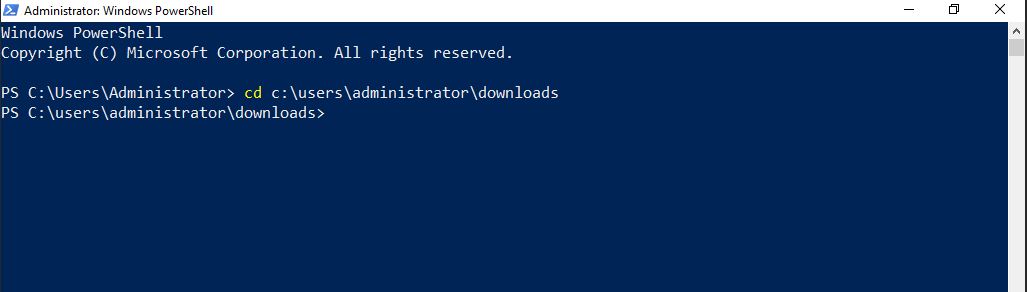
Launch PowerShell with Run as Administrator.
-
Navigate to the folder where the script is downloaded:
cd C:\Users\Administrator\Downloads
-
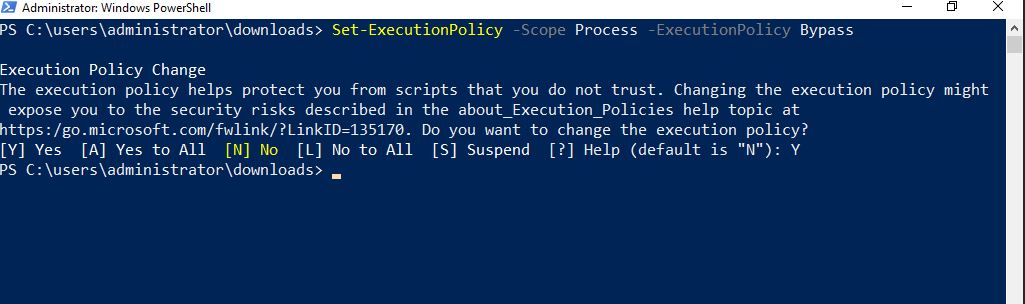
Temporarily allow script execution in your current session
Set-ExecutionPolicy -Scope Process -ExecutionPolicy Bypass -
When prompted for confirmation, type
Yand press Enter.
-
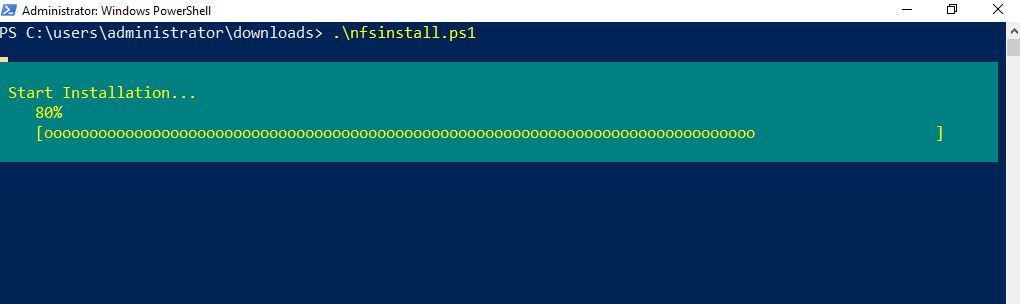
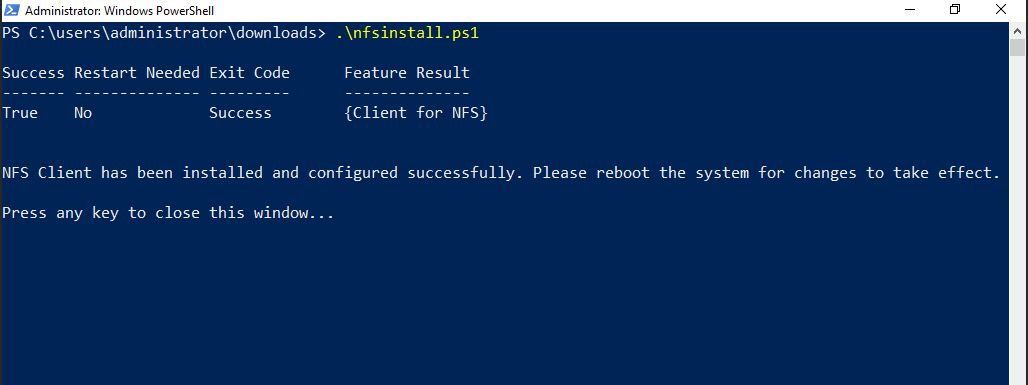
Run the script to install the NFS client:
.\nfsinstall.ps1
- Once the script finishes, restart the Windows VM to apply the changes.
3. Map the SFS Volume as a Network Drive
After rebooting the system and enabling NFS support:
-
Open File Explorer (My Computer).
-
In the top menu, click the Computer tab, then click “Map Network Drive.”
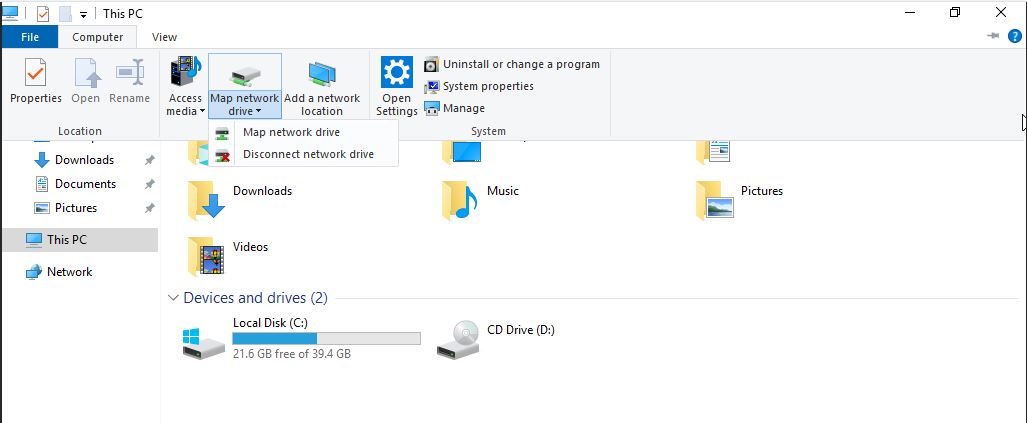
-
Choose a drive letter (e.g.,
Z:) from the dropdown. -
In the Folder field, enter the NFS mount path using the format:
\\<SFS_IP>\exportExample:
If your SFS mount point IP is
172.27.117.34, the folder path will be:\\172.27.117.34\export -
Ensure that the option “Reconnect at sign-in” is checked if you want the drive to persist after reboot.
-
Click the Finish button
4. Verify the NFS Mount
-
The system will take a few moments to establish the connection.
-
Once connected, a new drive will appear in This PC with the label corresponding to the assigned drive letter (e.g.,
Z:).
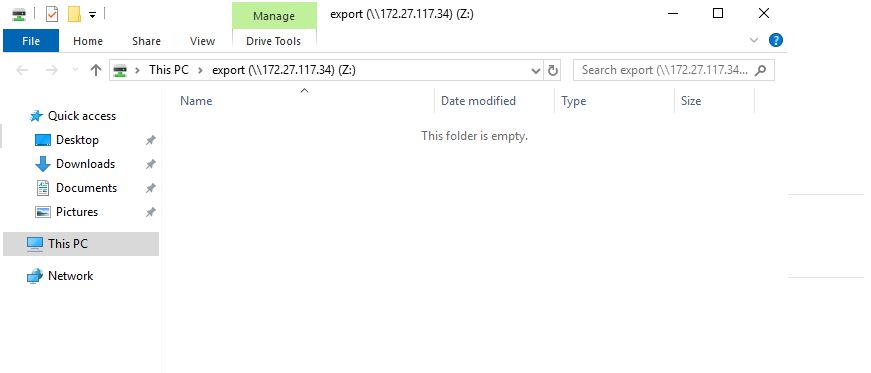
-
You can now access the shared file system just like any other local drive.
-
Copy, edit, or manage files that will be stored in the shared NFS volume and accessible by other connected VMs.