Configuring Alerts
Overview
Setting up alert notifications for your virtual machines (VMs) involves a simple two-step process:
-
Create an Alert Notification Group.
-
Assign the Notification Group to a Monitoring Service.
Creating an Alert Notification Group
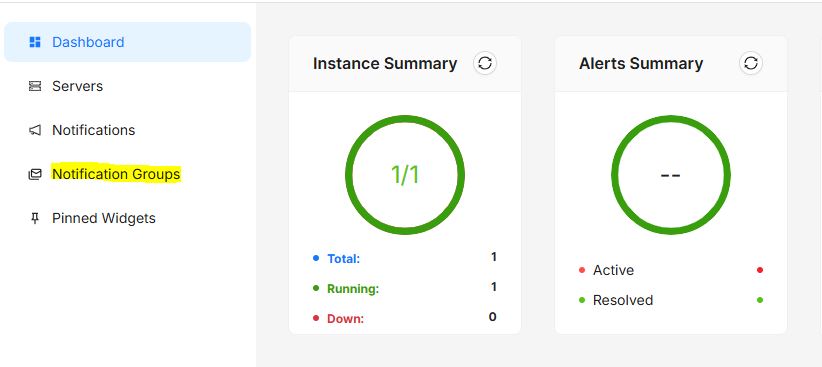
- Navigate to the Monitoring window and click on the 'Notification Group' icon in the left-hand menu.
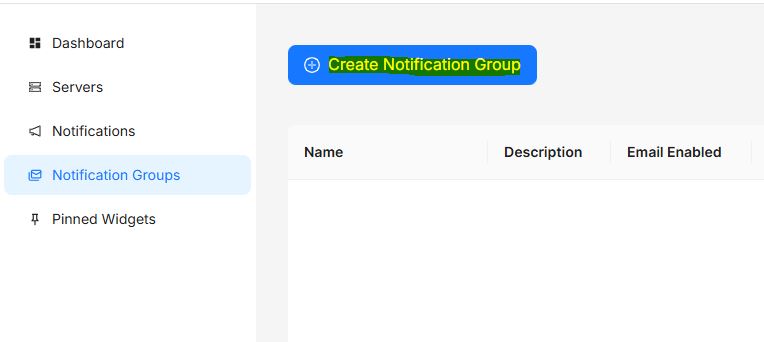
- Click the 'Create Notification Group' button.
-
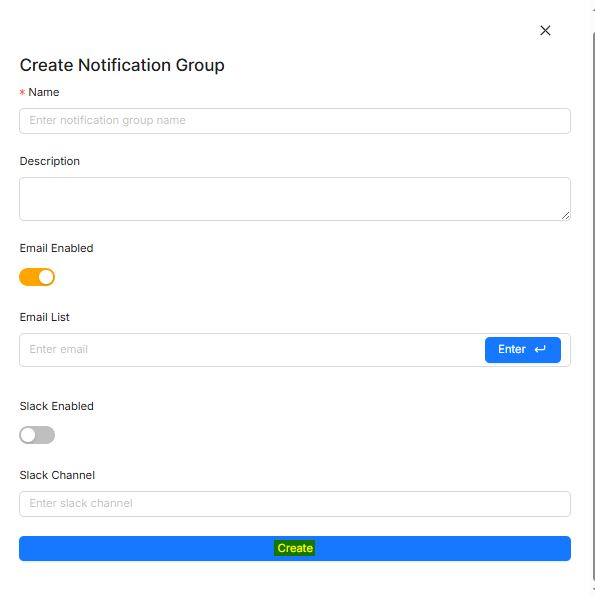
Enter a Name and Description for the notification group.
-
Enable or disable email alerts using the toggle button in the E-mail Enabled section.
-
Provide a list of email addresses that will receive notifications whenever an issue occurs based on the configured alert rules.
-
To receive alerts via Slack, enter your Slack channel address in the designated section to get VM service notifications directly in that channel.
-
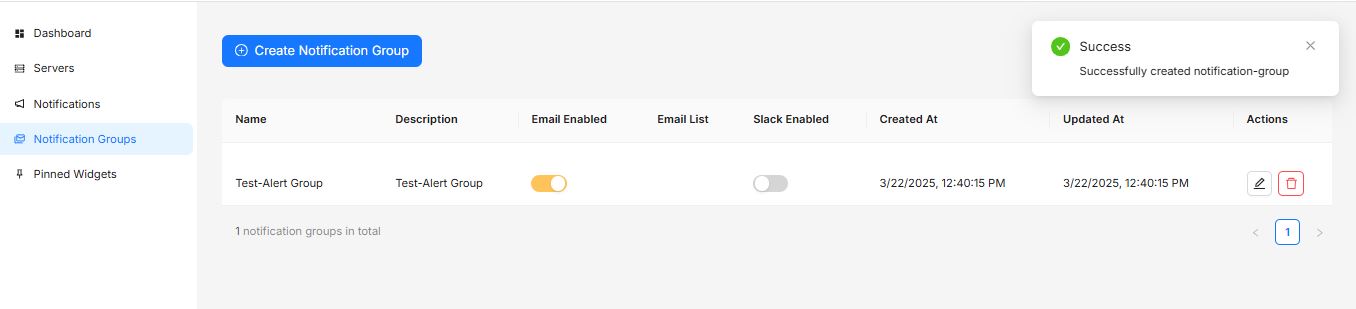
Click 'Create' to finalize the setup.
- The notification group is now successfully created.
Configuring Alerts
-
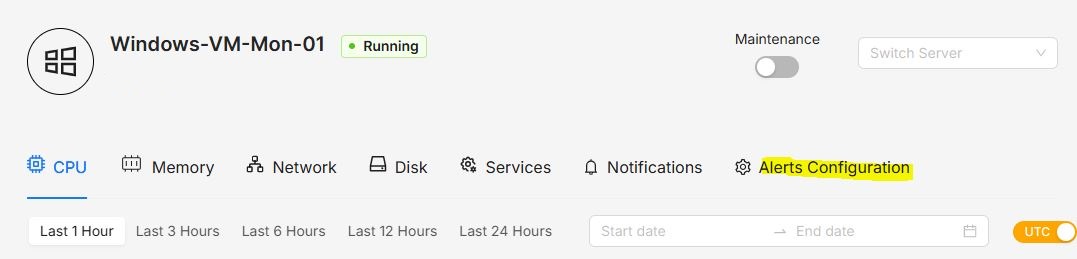
Once the notification group is created, select the appropriate VM from the Server List.
-
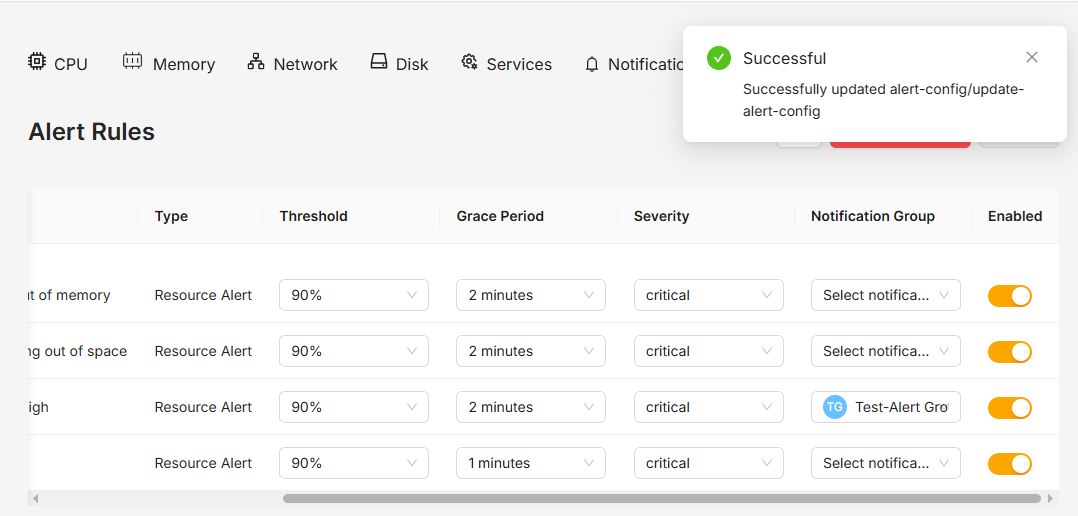
In the VM Monitoring Dashboard, navigate to the 'Alerts Configuration' tab.
-
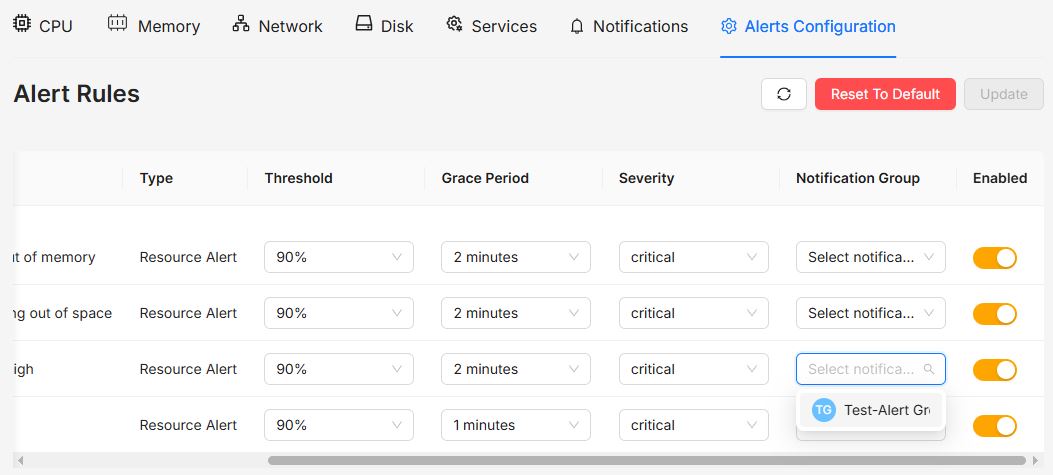
There are four types of alerts available:
-
Memory Utilization
-
Disk Usage
-
CPU Load
-
Host Down Status
-
-
Select the VM for which you want to configure alerts, then choose the appropriate Notification Group from the drop-down list under the 'Notification Group' section.
- Click the 'Update' button to save the changes.
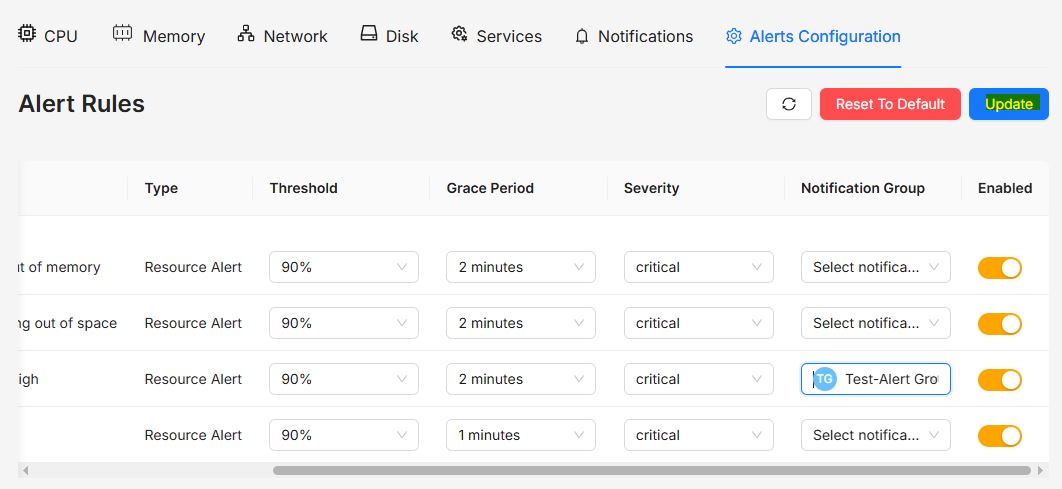
- Alert settings have been successfully configured.
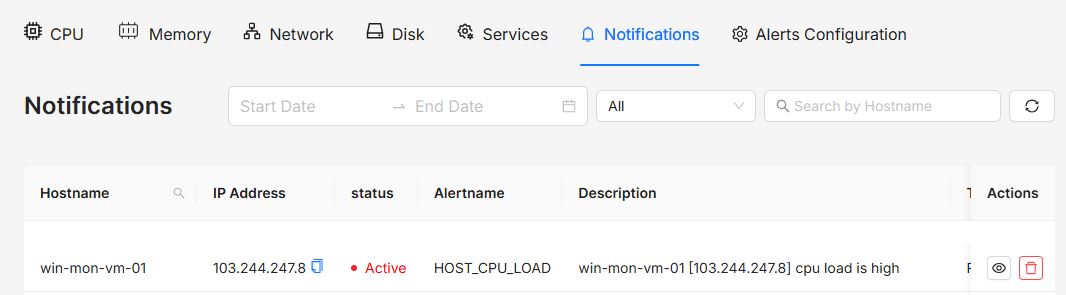
- Whenever an alert is triggered, you will receive an email notification, and the alert status will be visible under the 'Notifications' tab.