Bucket Options
The Bucket Options section of the Cloud Management Portal empowers users to perform essential file operations and control access, visibility, and organization of objects stored within buckets. This module allows you to rename, move, download, delete, share, and update access policies of your stored files, as well as modify bucket-specific settings.
This section outlines the available actions and configuration options to help you effectively manage your buckets and their contents.
Accessing the Buckets Section
-
Log in to the Cloud Management Portal.
-
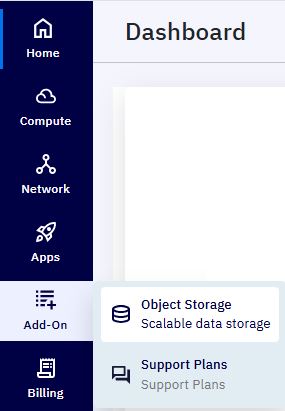
Navigate to Add-on > Object Storage in the left-hand menu.
-
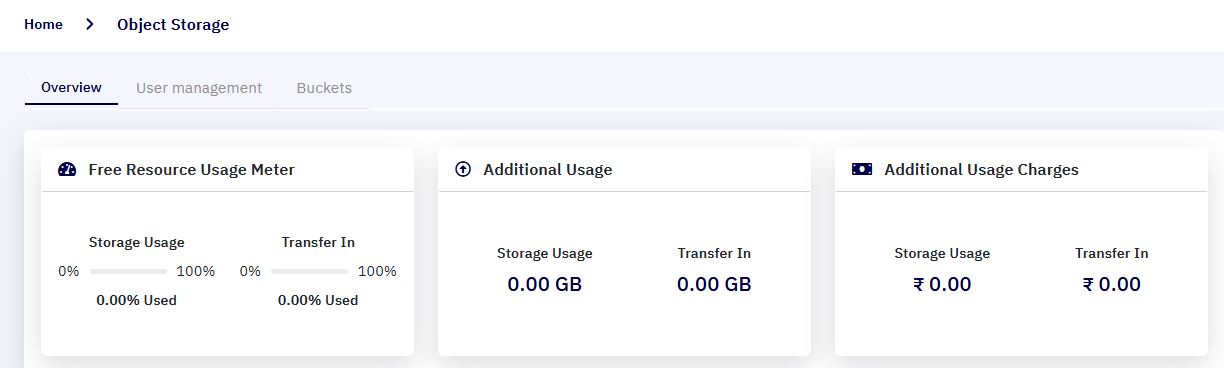
You’ll be redirected to the Object Storage Dashboard.
-
Click on the Buckets tab to view all existing buckets under your account.
File Management Options
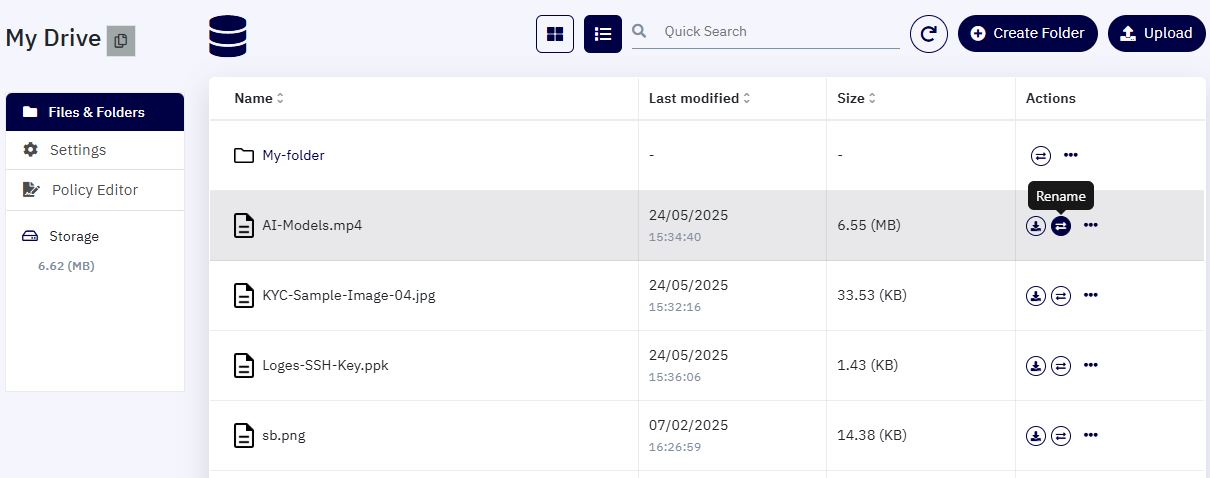
Once inside the selected bucket, you’ll see a list of all files and folders stored in that bucket. Here are the operations you can perform on individual files:
1. Rename a File :
- Click the Rename icon next to the file you want to rename.
-
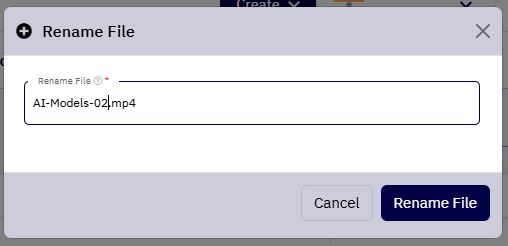
A popup will appear showing the current file name.
-
Enter the new name in the input field.
-
Click Rename File to apply the change.
- Upon success, the file name will update immediately in the list.
2. Download a File :
- Click the Download option next to the desired file.

-
Your system will prompt you to choose a destination folder on your local device.
-
Click Save to complete the download.
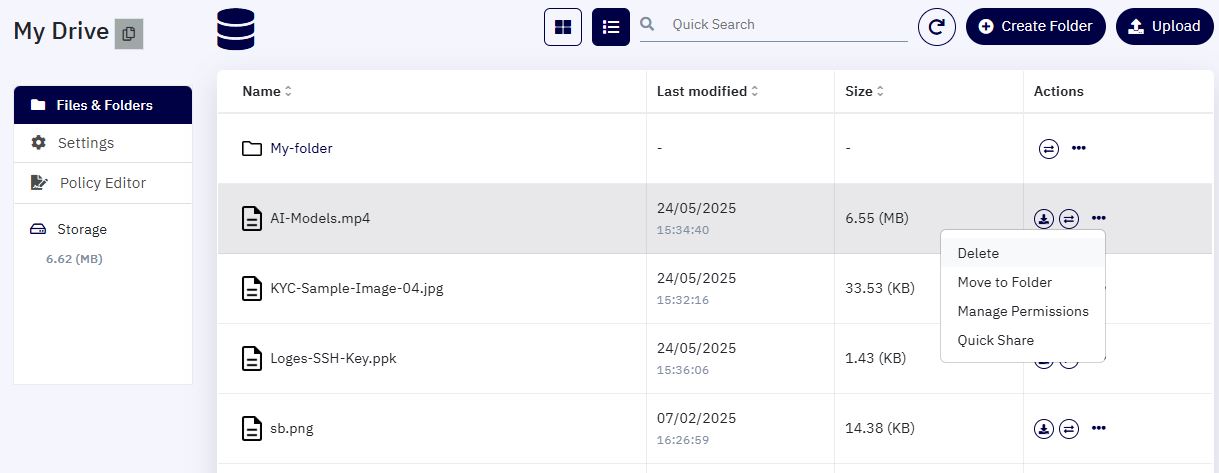
3. Delete a File :
- Click the Delete icon to remove a file from the bucket.
-
A confirmation dialog will appear with the message: "Are you sure you want to delete this file?"
-
Click Confirm Delete File to proceed or Cancel to abort the action.
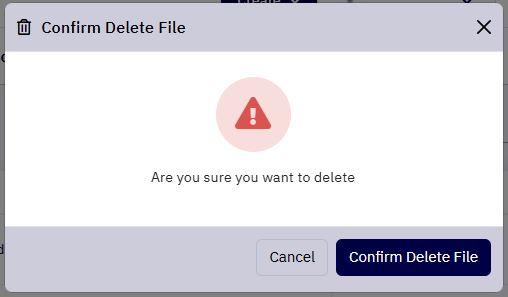
Caution: Deleted files cannot be recovered.
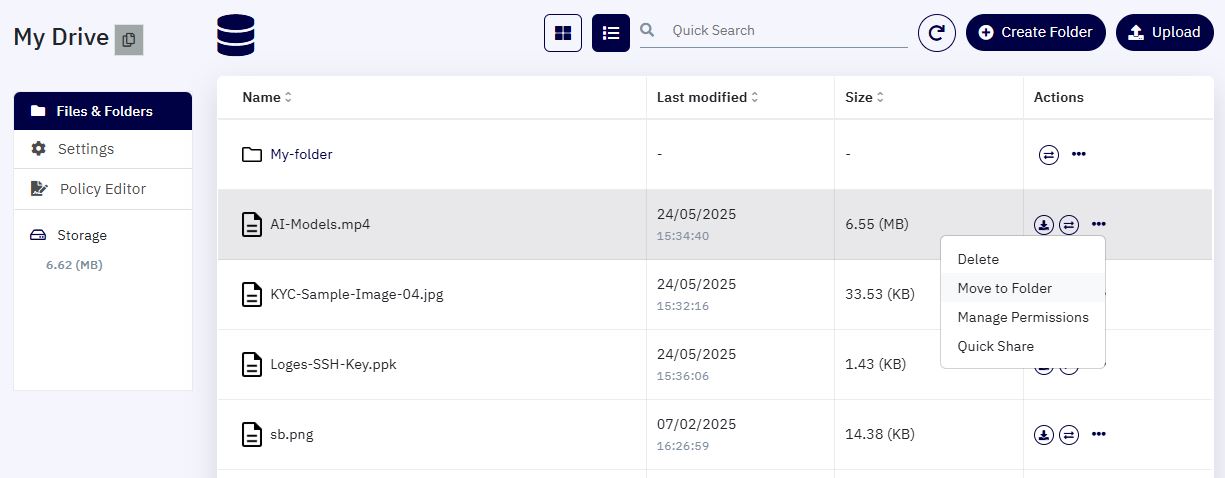
4. Move a File to a Folder :
- Click Move to Folder from the file action menu.
-
A popup will display a list of available folders in the same bucket.
-
Select the target folder and click Move.
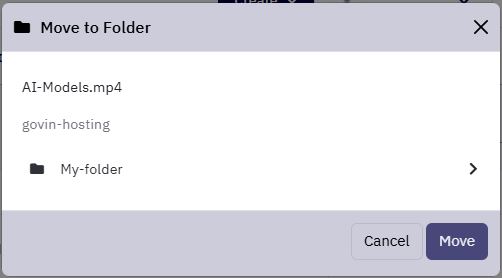
- After successful operation, the file will be relocated to the selected folder.
5. Change File Permissions :
- Click on the Manage Permission option.
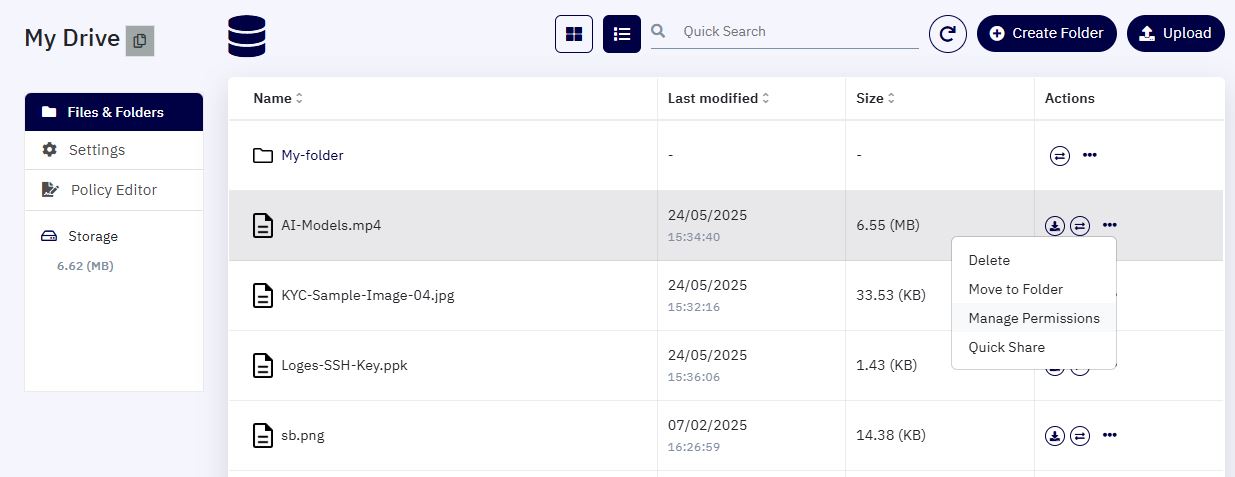
-
A dialog will appear where you can set the file to be:
-
Private – Not accessible through the public bucket URL.
-
Public – Can be accessed by anyone using the direct link.
-
-
After selecting the desired setting, click Update to save changes.
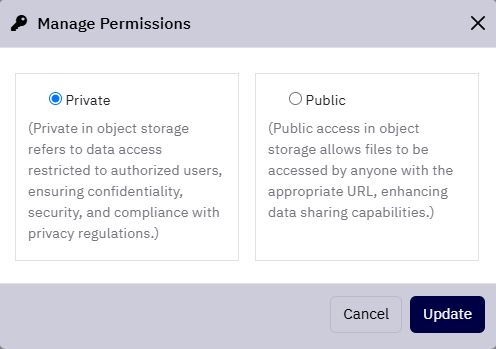
Note: Choose "Private" for sensitive files that should not be publicly accessible.
6. Quick Share (Temporary Public Access):
- Click the Quick Share option to generate a time-limited public URL.
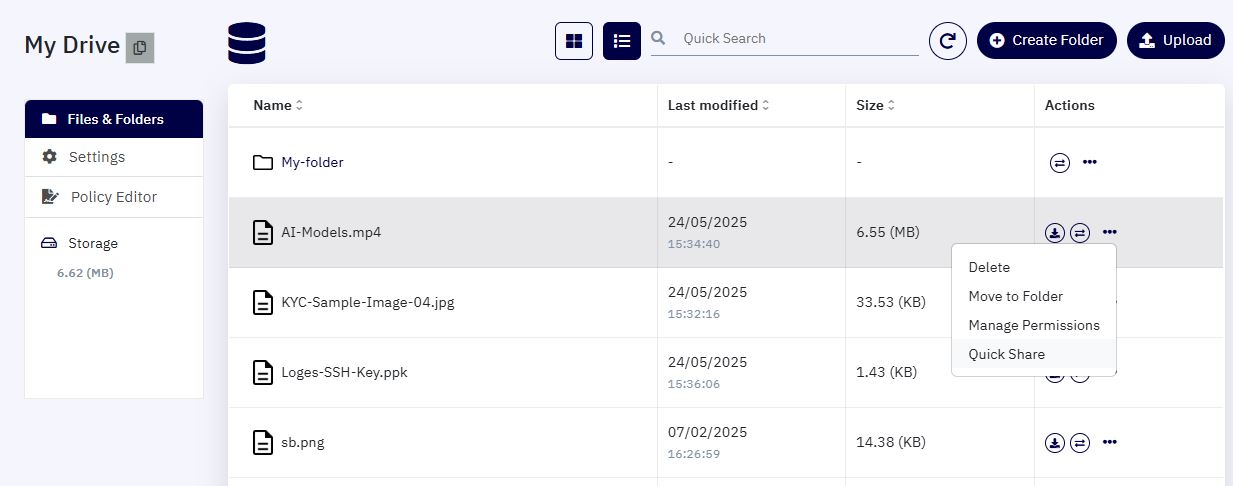
-
In the popup, select the duration for which the file should be accessible (e.g., 1 hour).
-
Click OK to generate the link.
-
A shareable URL will be provided, which you can copy and send to external users.
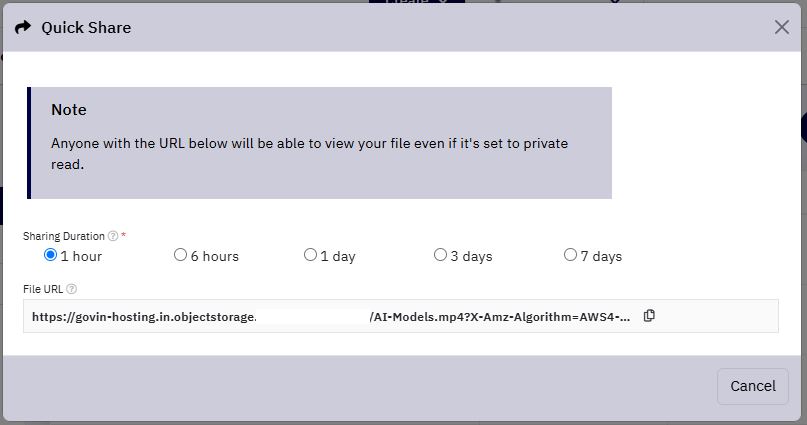
Note: After the selected time expires, the shared link will no longer be accessible.
Managing Bucket Settings
To manage settings at the bucket level:
- In the Bucket Dashboard, click the Settings tab from the left-hand sidebar.
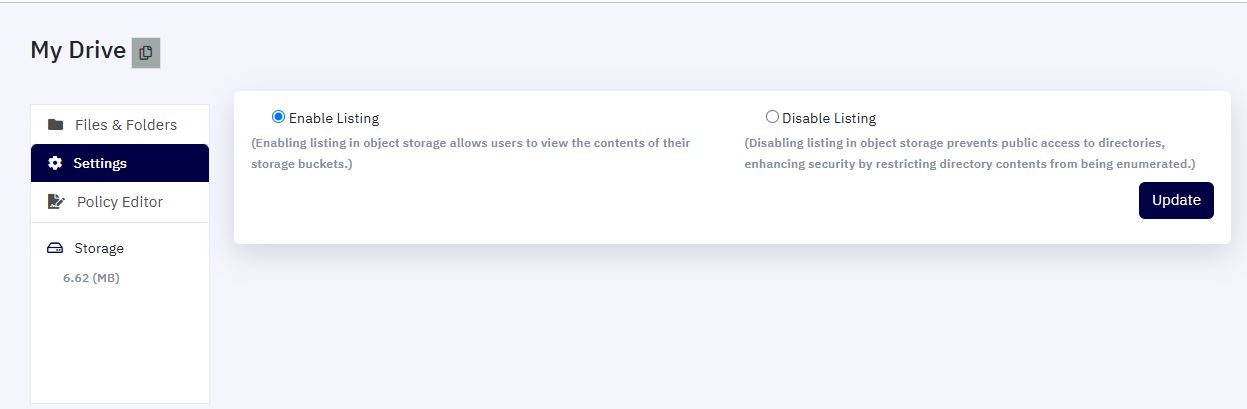
-
This section displays the Directory Listing Option that was configured during bucket creation.
-
You can toggle between the following options:
-
Enable Listing – Files in the bucket are visible when browsing the bucket URL.
-
Disable Listing – Files are hidden when accessing the bucket URL; a generic “Access Denied” error will appear unless specific permissions are applied.
-
-
After selecting your desired setting, click on the update to save the changes.