Add SSH Key
The SSH Key feature in the Cloud Management Portal allows you to securely access your virtual machines (VMs) without requiring a password. This guide walks you through the steps to generate and manage SSH keys, and how to assign them to new or existing virtual machines.
Secure Shell (SSH) keys are a pair of cryptographic keys used to authenticate access to a VM. By adding your public key to a VM, you can log in using the corresponding private key without entering a password—ensuring both convenience and security.
Important Note
-
Your VM must be in a stopped state to attach a new SSH key.
-
The SSH key feature is supported only for Linux-based virtual machines. It is not applicable to Windows VMs.
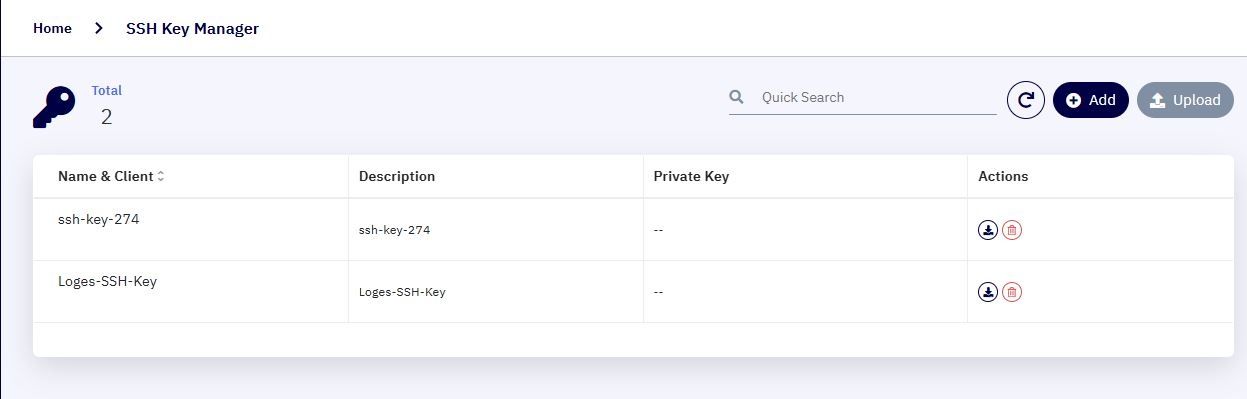
1. Accessing the SSH Key Manager Section :
-
Log in to your Cloud Management Portal using your authorized credentials.
-
From the left navigation pane, go to:
Compute → SSH Key Manager
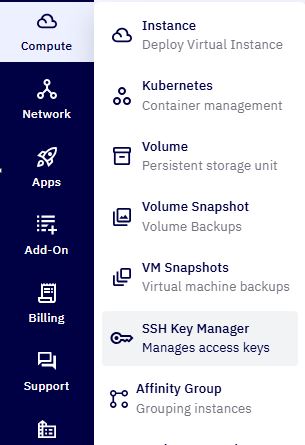
- Here, you’ll find a list of all SSH Keys available under your account.
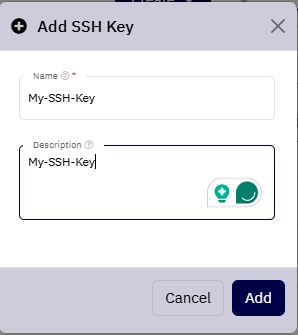
2. Create a New SSH Key :
-
Click the Add button to initiate SSH key creation.
-
A popup window will appear prompting you to provide:
-
Key Name – A unique identifier for the SSH key.
-
Description – (Optional) A note for future reference.
-
-
Click Add to generate the new SSH key.
3. Copy and Save the Private Key :
-
Once the key is created successfully, your private key will be displayed under the Private Key column.
-
Click the Copy button to save the private key securely on your local machine.
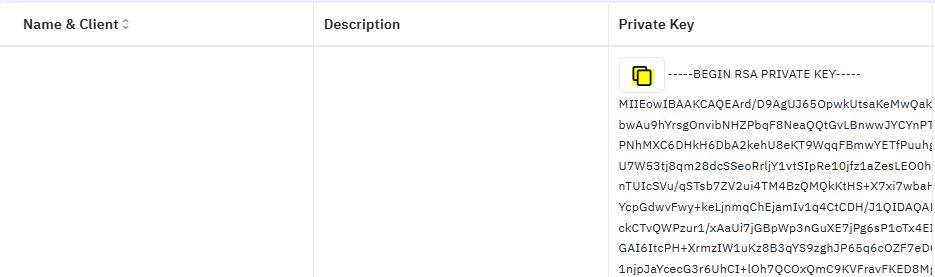
Important: The private key is shown only once. Make sure to store it securely as you’ll need it to log in to your VMs.
4. Attaching SSH Key to a Virtual Machine :
To Attach to an Existing VM :
-
Navigate to: Compute → Instances
-
Locate and select the instance you want to update.
-
Click on the Access & Security tab.
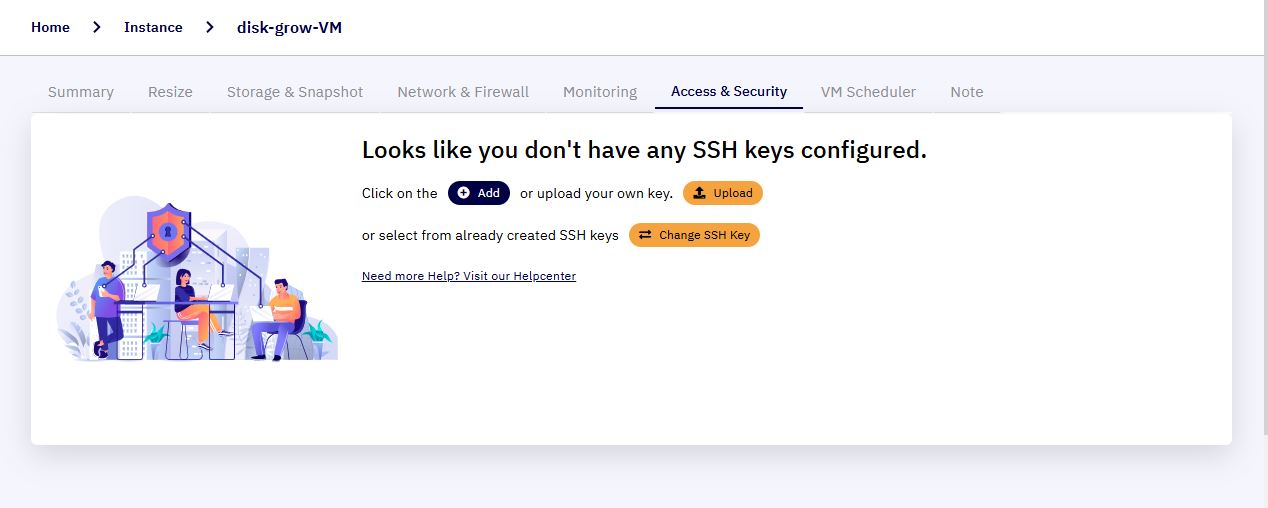
- Click on the Change SSH Key option to add a SSH key to the VM
Note: Ensure the VM is in a Stopped state before attaching the SSH key.