VM Scheduler
The VM Scheduler feature allows users to automate the start and stop operations of virtual machines (VMs) based on a predefined schedule. This functionality helps in optimizing cloud usage, improving operational efficiency, and reducing unnecessary resource consumption—especially in non-production environments or during off-business hours.
Creating a VM Scheduler
To create a new schedule, click on the "Create" button on the top-right corner of the VM Scheduler tab. This action opens the VM Scheduler Time configuration window, where you can define the scheduling parameters.
1. Scheduler Name :
- Provide a unique and descriptive name to identify the scheduler.
2. VM Action :
-
Choose the action to be scheduled:
-
Start: Automatically powers on the VM at the specified time.
-
Stop: Automatically shuts down the VM at the specified time.
-
3. Status Toggle :
- Enable or disable the scheduler using the status toggle switch. This allows you to temporarily suspend scheduling without deleting the configuration.
4. Weekdays :
- Select the days of the week on which the scheduler should run. Multiple days can be selected to create a recurring schedule.
5. Time :
- Set the exact time (HH:MM AM/PM) at which the selected action should be executed.
6. Cost :
- Displayed at the bottom of the scheduler form, this shows the current cost associated with VM scheduling.

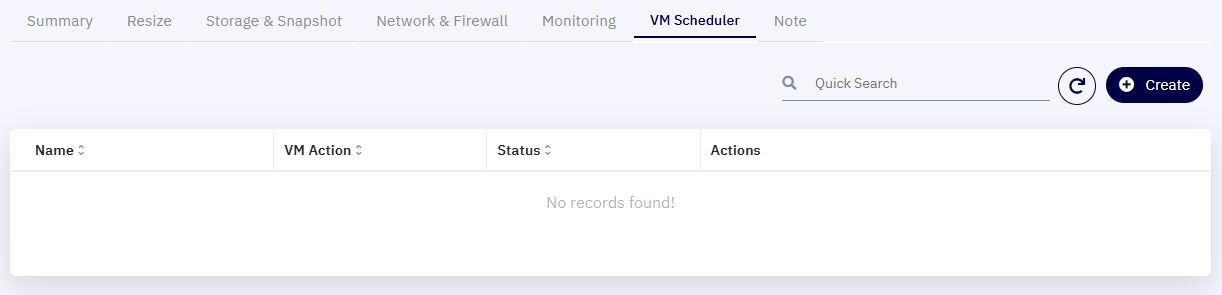
Scheduler Management
Once created, all VM schedules are listed in a tabular format with the following columns:
-
Name – The identifier of the schedule.
-
VM Action – Indicates whether the scheduler is configured to start or stop the VM.
-
Status – Displays whether the scheduler is currently active.
-
Actions – Provides options to edit, enable/disable, or delete the existing schedule.
If no schedules are currently created, the table will display:
"No records found!"