Deploying a Linux Instance using Quick Deploy
Overview
This guide provides a step-by-step process for deploying a Linux virtual machine (VM) using the Cloud Management Portal. Users can configure the instance based on their business requirements, including network settings, firewall rules, SSH authentication, and cost estimation.
1. Portal Login
-
Navigate to the Cloud Management Portal.
-
Enter your credentials and log in to your account.
2. Access the Compute Section
-
From the main dashboard, navigate to Compute.
-
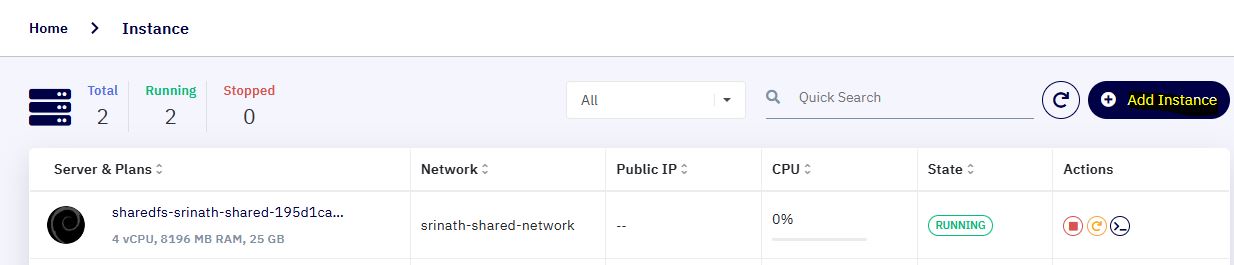
Click on Instances to view the existing instances.
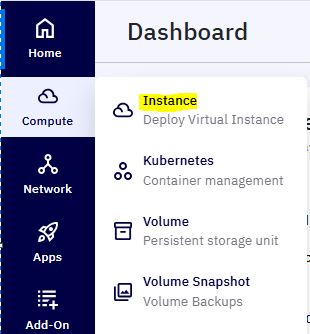
- Click the Add Instance button to initiate a new VM deployment.
3. Choose Deployment Type
- Select Quick Deploy as the deployment type.
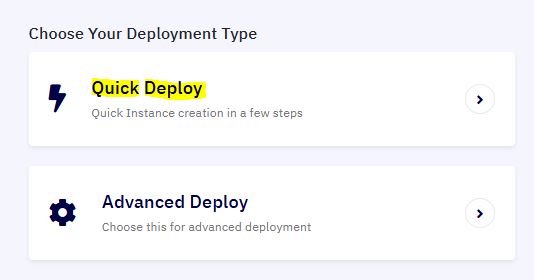
- It will redirects to the VM creation page.
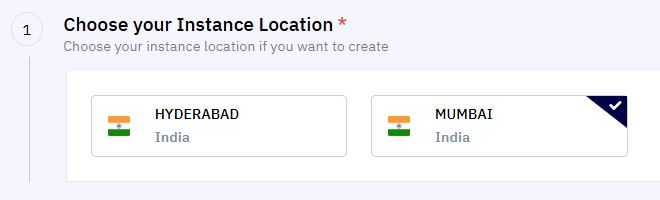
4. Select Instance Location :
- Choose the desired Instance location where the VM will be deployed.
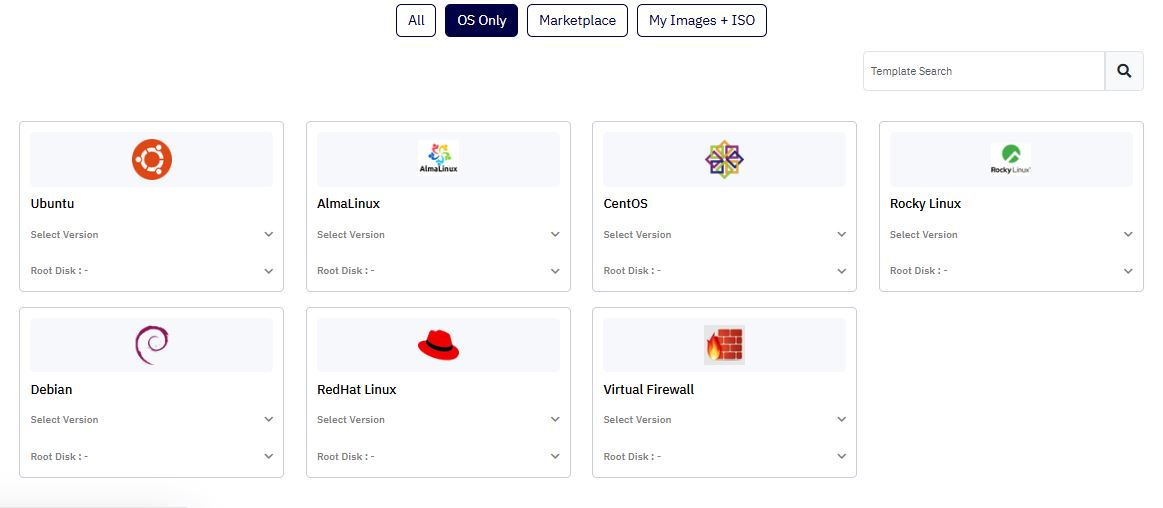
5. Choose the Platform and Operating System
- Select Linux as the preferred platform.

- Choose the appropriate OS version based on your business requirements.
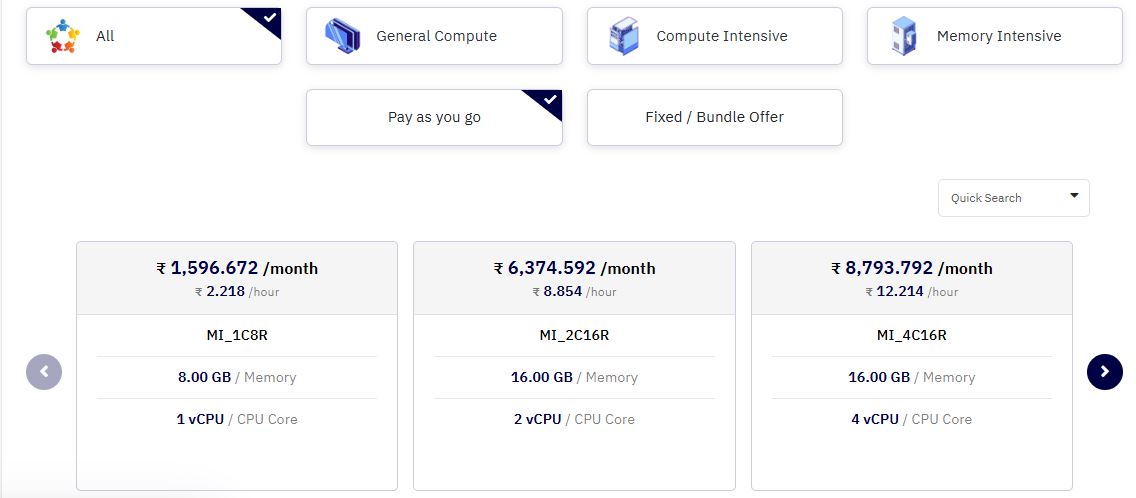
6. Select an Instance Plan
-
Pick an instance configuration that meets your resource requirements.
-
Available options include various CPU, RAM, and storage configurations.
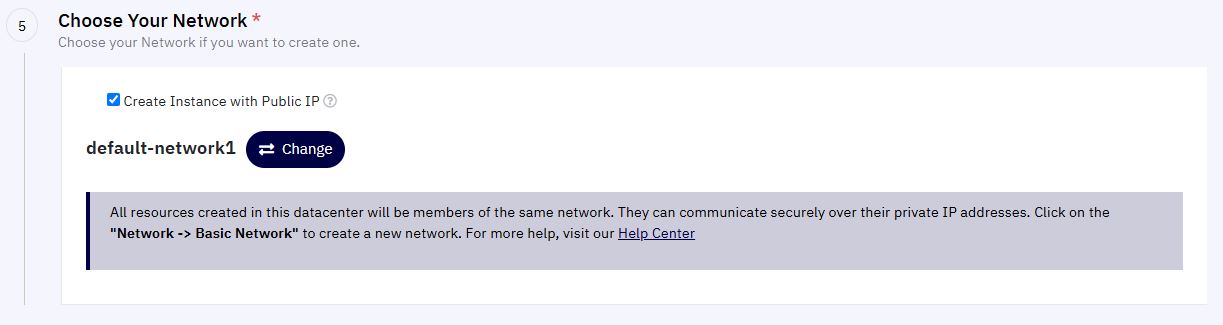
7. Configure Network Settings
-
Under the Network section, you will find the option "Create Instance with Public IP".
-
If checked, a new public IP will automatically be assigned to the VM.
-
If unchecked, you must manually assign a public IP after the VM is created.
-
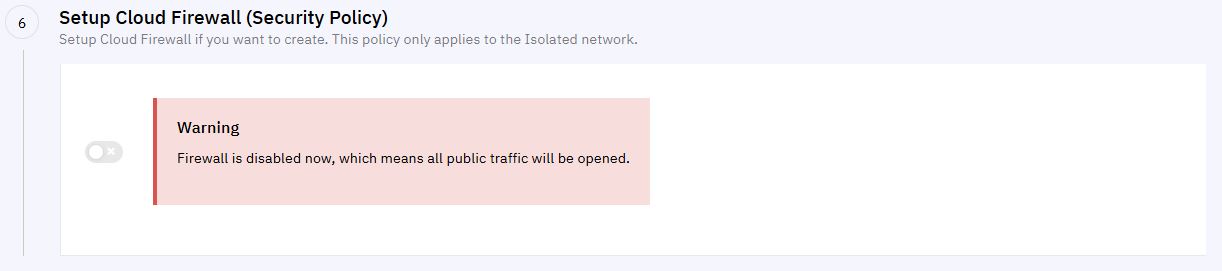
8. Configure Firewall Settings
-
If the "Create Instance with Public IP" option is enabled, the Cloud Firewall section becomes available.
-
Select a built-in firewall template to pre-configure port rules for the VM.
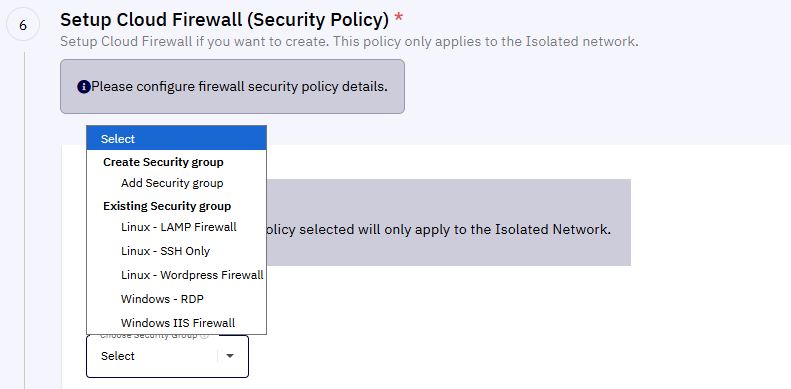
- Additionally, if the firewall is disabled, all ports will be open for your VM by default.
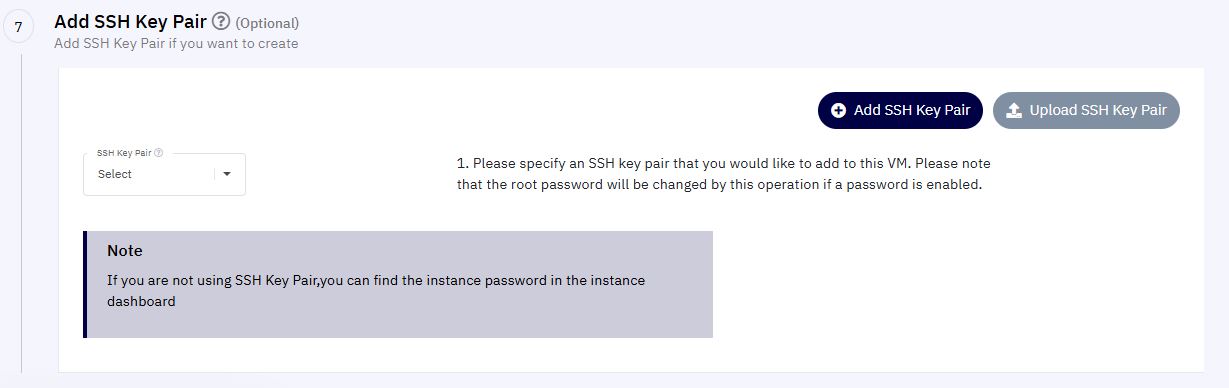
9. Assign an SSH Key (Optional)
- Under the SSH Keypair section, you can assign an SSH key for additional authentication security.
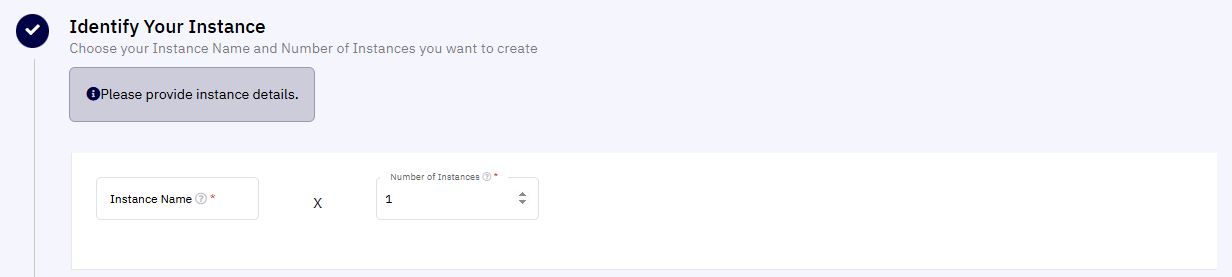
10. Define Instance Name and Quantity
-
Enter a name for the VM.
-
Specify the number of instances to deploy (default is 1).
11. Review Cost Estimation
- Click Total Estimate to view an approximate cost estimation for deploying the VM.
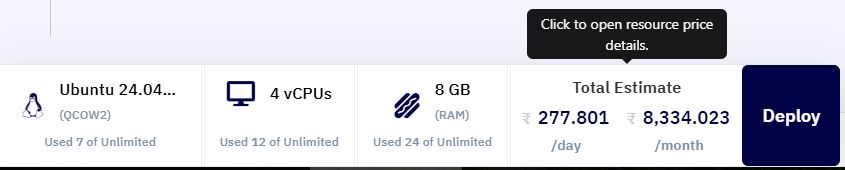
12. Deploy the Instance
-
Click the Deploy button to create the instance.
-
The provisioning process may take 5-10 minutes to complete.
13. Monitor Instance Status
-
Navigate back to the Instances list.
-
Click the Console button to access and monitor the status of your VM.
