My Template
The My Images & ISO – Templates section in the Cloud Management Portal allows users to manage their own custom VM templates. These templates can be created from existing instances or uploaded externally, giving users full control over how their virtual machines are deployed and replicated across zones.
This section walks you through how to access, manage, and utilize your custom templates for efficient cloud operations.
Accessing the My Templates Section
-
Log in to your Cloud Management Portal using your account credentials.
-
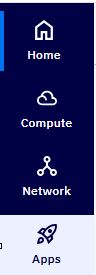
From the left-hand navigation panel, click on the Apps link.
-
You will be taken to the Apps Marketplace page.
-
Select the My Images & ISO tab.
-
Within this section, click on the My Templates sub-tab.
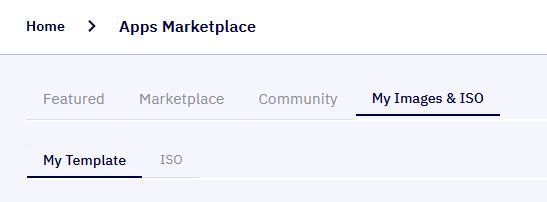
- Here, you will see a list of all VM templates uploaded under your cloud account.
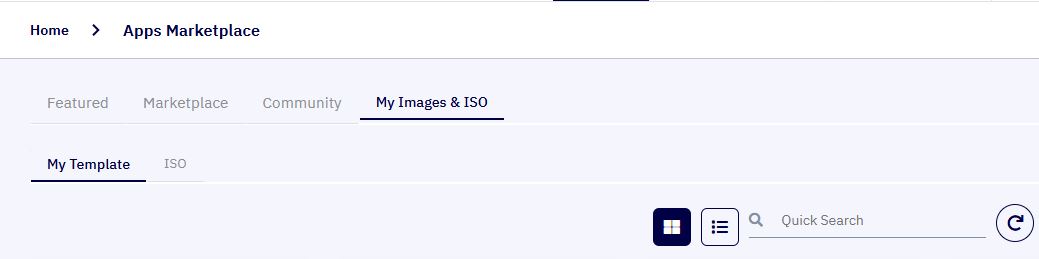
View Options
To help you browse and manage templates efficiently, two display modes are available:
-
Grid View: Displays templates as cards with quick actions and summaries.
-
List View: Provides a tabular format for detailed comparison and batch operations.
You can switch between these views using the icons in the top-right corner of the section.
Rename Template
- Click the Edit icon next to the template name to rename it. This is helpful for better organization, especially if you manage multiple custom templates.
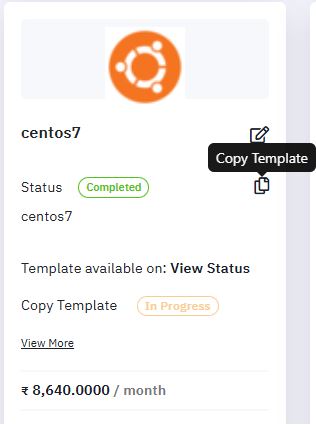
Copy Template Across Zones
You can replicate templates across different zones by using the Copy Template feature:
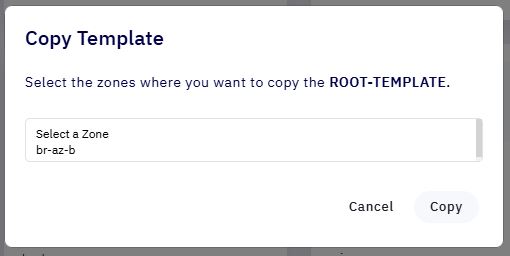
- Click on Copy Template.
-
A popup window will appear prompting you to select one or more target zones.
-
Select the desired zones and click Copy.
-
The system will begin the template duplication process.
-
You can monitor the progress directly on the selected template entry.

Note: This feature is useful for deploying the same template in multiple regions without re-uploading or rebuilding it.
Uploading Your Own OS Templates
You can upload custom VM templates from your local system to use them across your cloud environment.
- Click the Upload OS Template button.

-
A popup window will appear prompting for the following details:
-
Choose your preferred upload method:
Upload from Local :
-
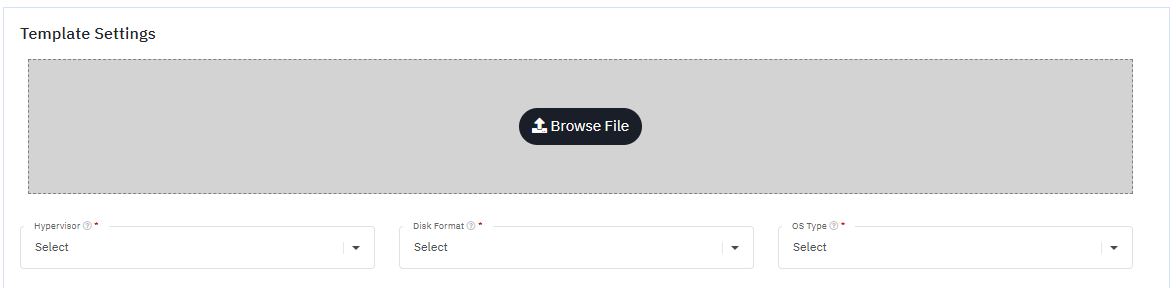
Click Browse under the Local Upload section.
-
Select the template image file from your local computer.
-
Supported file types typically include
.qcow2,.raw,.vhd,.vmdk.
Upload from URL :
-
Provide a direct download link to the template hosted on a secure file-sharing or cloud storage service.
-
Ensure the URL is publicly accessible.
-

-
In the Template Settings section, configure:
-
Hypervisor Type – Choose the hypervisor compatible with your image (e.g., KVM, Xen).
-
Disk Format – Select the image format: QCOW2, RAW, VHD, or VMDK.
-
OS Type – Choose the operating system type (e.g., Linux, Windows).
-
-
Select any additional properties based on your template's capabilities and desired behavior:
-
Routing – Indicates the template supports routed networking.
-
Public – Makes the template accessible to other users.
-
Featured – Tags the template as a "featured" image in the portal.
-
Password Enabled – Enable if the image will have password auto-generating functionality.
-
Extractable – Allow the image to be extracted.
-
-
Under the Basic Settings section:
-
Name – Provide a unique name for the template.
-
Description – Enter a brief summary describing the purpose and content of the image.
-

-
After filling all required fields, click the Upload button.
-
The upload process may take some time depending on the file size and network speed.
-
Once the upload is complete, the new template will appear in your My Templates list and can be used like any other image.
Launch an Instance
To deploy a new virtual machine using a selected template:
-
Click the Launch button.
-
You will be redirected to the VM Creation Wizard.
-
Configure your instance (CPU, RAM, disk, network, zone, etc.).
-
Complete the setup to launch the VM with the selected template.
Delete Template
To remove a template from your cloud account:
-
Click the Delete button next to the template entry.
-
Confirm the deletion in the popup dialog.
-
The template will be permanently removed from your account.
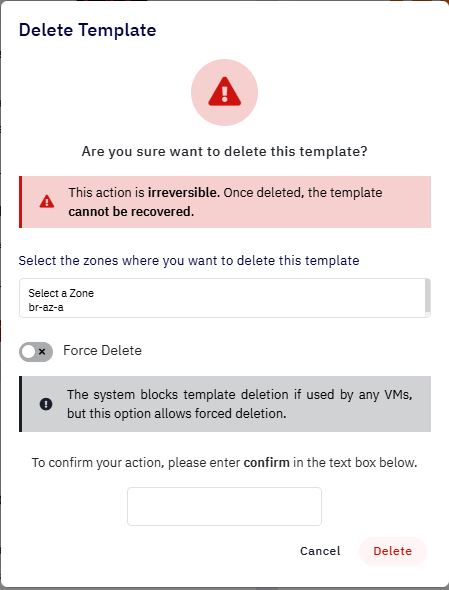
Note: This action is irreversible. Deleted templates cannot be recovered.
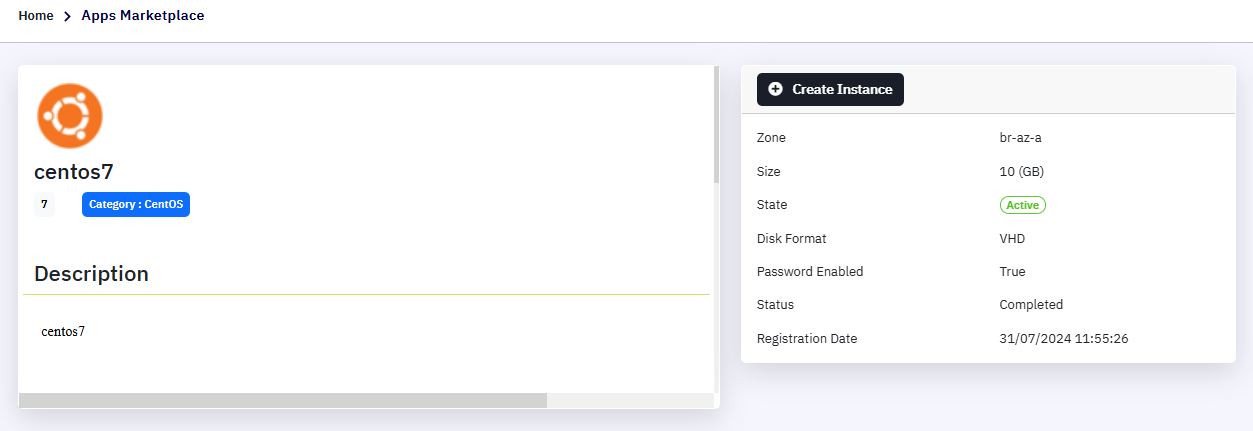
View More Details
To explore more information about a particular template:
-
Click on the View More link associated with the template.
-
You will be redirected to a detailed view page that displays the following metadata:
| S. No. | Field | Description |
|---|---|---|
| 1 | Zone | The zone where the template can be deployed. |
| 2 | Size | The image size required of the template |
| 3 | State | Indicates state of the template |
| 4 | Disk Format | The format of the image (e.g., QCOW2, RAW, VHD). |
| 5 | Password Enabled | Specifies whether the VM will have password auto-generating functionality |
| 6 | Status | Current availability status of the template. |
| 7 | Registration Date | The date the template was added to the portal. |