ISO
The ISO section under My Images & ISO in the Cloud Management Portal allows users to upload, manage, and deploy operating system ISO images directly within their cloud infrastructure. This feature is ideal for users who want to install operating systems from scratch or use custom bootable ISOs for installation, recovery, or specialized environments.
Accessing the ISO Management Section
-
Log in to your Cloud Management Portal
-
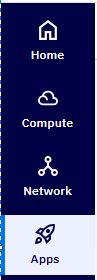
Click on Apps in the left-side navigation menu.
-
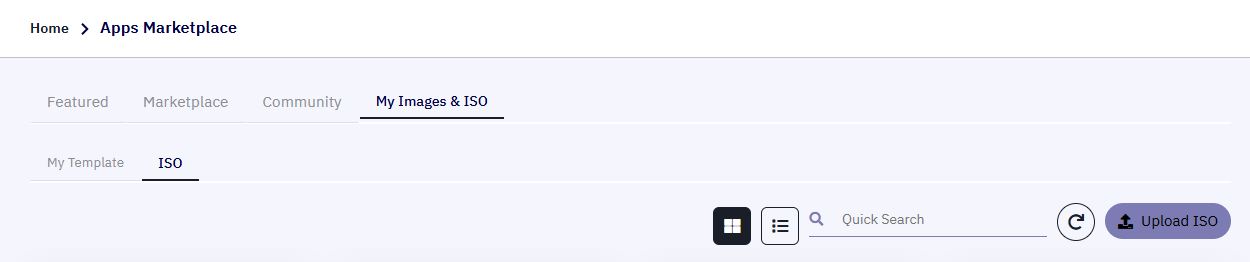
Navigate to the My Images & ISO tab at the top of the Apps Marketplace screen.
-
Select the ISO sub-tab.
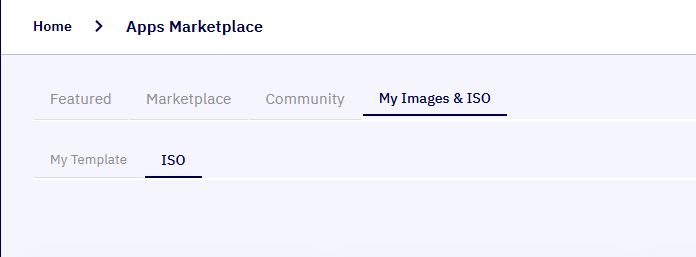
- You will be presented with a list of all ISO images currently available in your account.
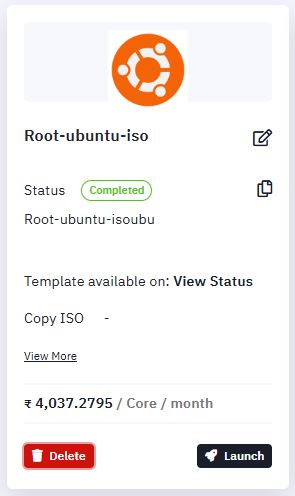
ISO List View & Actions
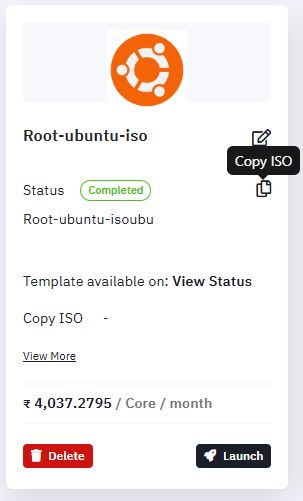
1. Rename ISO :
- Click the Edit icon next to the ISO name to rename it for easier identification.
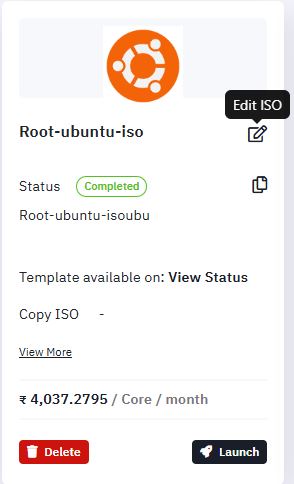
2. ISO Pricing :
- If an ISO has pricing configured, you will see the associated cost displayed alongside the entry.
3. Copy ISO Across Zones :
- Click the Copy ISO button.
-
In the popup window, select the zones where you want to replicate the ISO.
-
Click Copy to start the process.
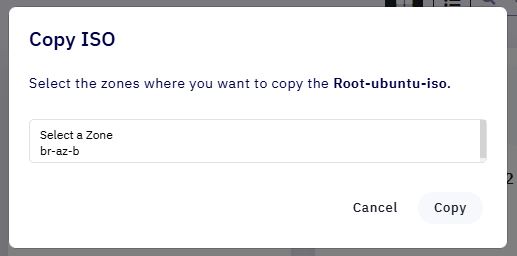
- The status of the copy operation will be visible in the ISO list.
Uploading a New ISO
1. Access the Upload Screen :
- Click on the Upload ISO button.
-
You will be redirected to the ISO Upload screen, where you can choose between:
-
Upload from Local
-
Select the ISO file directly from your local machine.
-
Supported formats include
.iso
-
-
Upload from URL
-
Enter a publicly accessible URL (e.g., hosted on AWS S3, Google Drive with public access, or any HTTP/HTTPS server).
-
Ensure the link is valid and does not require authentication to download.
-
-

2. ISO Settings :
-
Under the ISO Settings section:
- OS Type: Select the operating system type that the ISO represents (Linux, Windows, BSD, etc.).

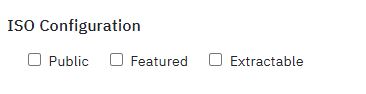
3. ISO Configuration :
- Based on your requirements, select one or more of the following checkboxes:
-
Public: Makes the ISO accessible to other users in the environment.
-
Featured: Marks the ISO as a featured image in the portal (typically admin-configured).
-
Extractable: Allows the ISO to be exported or copied externally.
-
4. Basic Info :
-
Fill in the basic details:
-
Name: Enter a descriptive and unique name for your ISO.
-
Description: Optionally, provide details about the ISO's purpose or contents.
-

5. Account Quota Display :
- The upload screen will also display your current ISO quota, showing how many ISO files you can upload based on your account limits.

6. Start Upload :
-
After verifying all the fields, Click the Upload button.
-
The upload process will begin, and the time required will depend on your file size and internet speed.
7. Post-Upload Actions :
-
Once the upload is complete, The new ISO will appear in the ISO List under your account.
-
You can now use this ISO to deploy a new VM or manage it using available actions.
Launch VM Using ISO
-
In the ISO list, click the Launch button next to the desired ISO.
-
You’ll be redirected to the VM Creation Wizard, where the ISO will be attached as the boot media.
-
Proceed with the instance configuration and deployment steps.
View More ISO Details
-
To view extended information about an ISO, Click View More on the desired ISO entry.
-
You’ll be redirected to a detailed page that includes the following metadata:
| S. No. | Field | Description |
|---|---|---|
| 1 | Size | Disk size of the ISO file |
| 2 | State | Current status (e.g., Ready, In Progress) |
| 3 | Disk Format | Typically shows ISO as the format |
| 4 | Password Enabled | Specifies whether the ISO will have password auto-generating functionality included |
| 5 | Status | ISO availability status |
| 6 | Registration Date | Date the ISO was uploaded |
- From this page, you can also click Create Instance to initiate a VM deployment using the selected ISO.

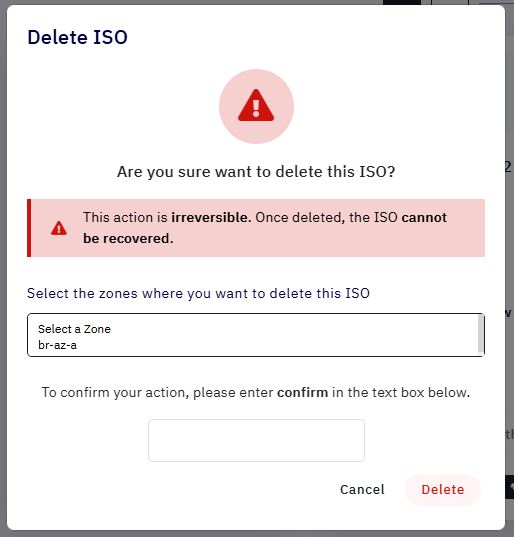
Deleting an ISO
- To delete an ISO, Click the Delete button next to the ISO entry.
-
A popup will prompt you to select the zones where the ISO should be deleted.
- For example, if the ISO exists in three zones, you can choose to delete it from one or all zones.
-
Type the word confirm in the textbox to authorize the deletion.
-
Click Delete to finalize.