Delete an Affinity Group
The Affinity Group Deletion functionality allows you to remove unused or outdated affinity groups from your cloud environment, helping you maintain a clean and organized resource structure.
This guide walks you through the step-by-step process to safely delete an affinity group through the Cloud Management Portal.
Important Pre-Deletion Considerations
-
Irreversible Action: Once an affinity group is deleted, it cannot be recovered. Ensure you are certain before proceeding.
-
VM Association Check: An affinity group must not be assigned to any active or stopped VMs before deletion. Remove the group from all associated VMs first.
1. Accessing the Affinity Group Section :
-
Log in to your Cloud Management Portal using your authorized credentials.
-
From the left navigation pane, go to:
Compute → Affinity Group
-
Here, you’ll find a list of all affinity groups available under your account.
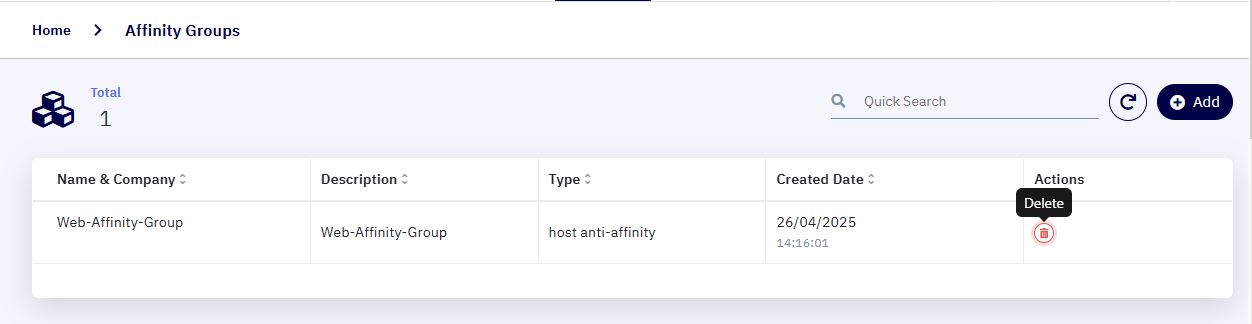
2. Locate the Affinity Group :
- Browse the list or use the search functionality to find the specific affinity group you wish to remove.
3. Initiate the Deletion Process :
- Once identified, click the Delete icon under the Actions section corresponding to the selected affinity group.
4. Confirm the Deletion :
-
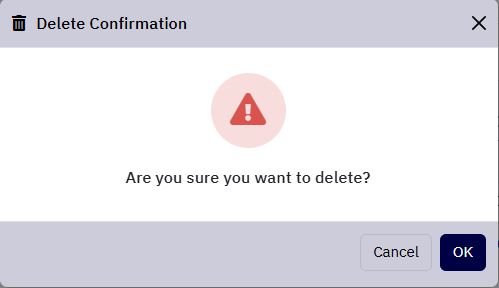
A confirmation popup window will appear with the message:
"Are you sure you want to delete?" -
If you are certain, click on the OK button to proceed.
-
If you wish to abort the deletion, click on the Cancel button to exit without making changes.