Creating Autoscale Group
The Autoscale feature allows you to automatically adjust the number of running virtual machines (VMs) based on your application's demand, ensuring optimal performance and cost efficiency. This guide walks you through the detailed steps required to create a new Autoscale group using the Cloud Management Portal.
Prerequisites
-
A valid Cloud Management Portal account with required permissions.
-
A dedicated Load Balancer already created within your target network.
Important: Ensure that the Load Balancer is not already associated with other services before proceeding.
1. Accessing the Native Auto scale Section :
-
Log in to your Cloud Management Portal using your authorized credentials.
-
From the left navigation pane, go to:
Compute → Native Auto scale
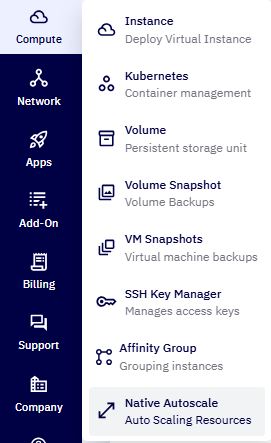
- Here, you’ll find a list of all auto scale groups available under your account.
2. Initiate the Autoscale Creation Process :
- Click on the Add Native Autoscale button.

- You will be redirected to the network selection page.
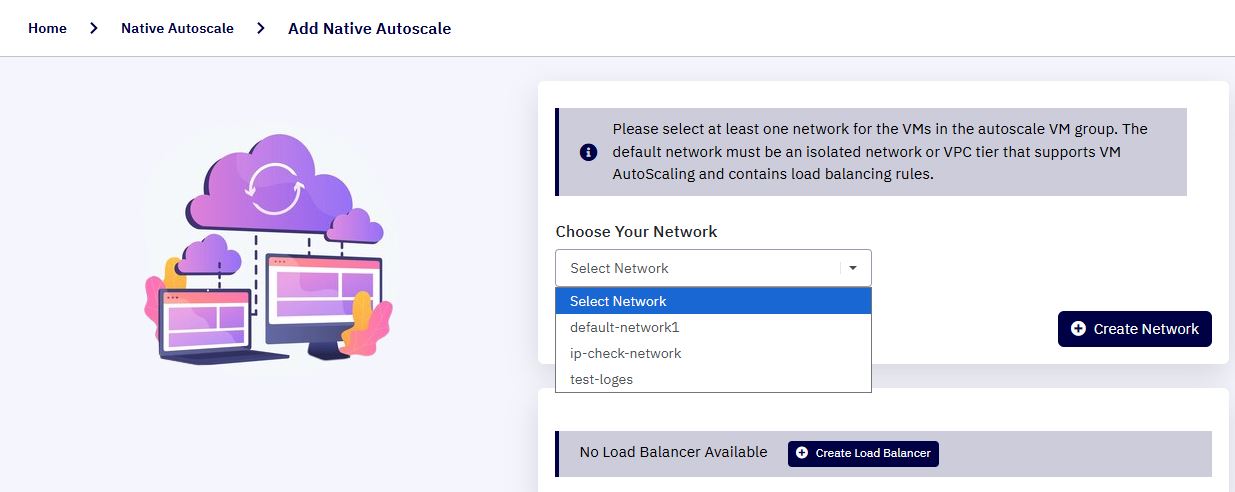
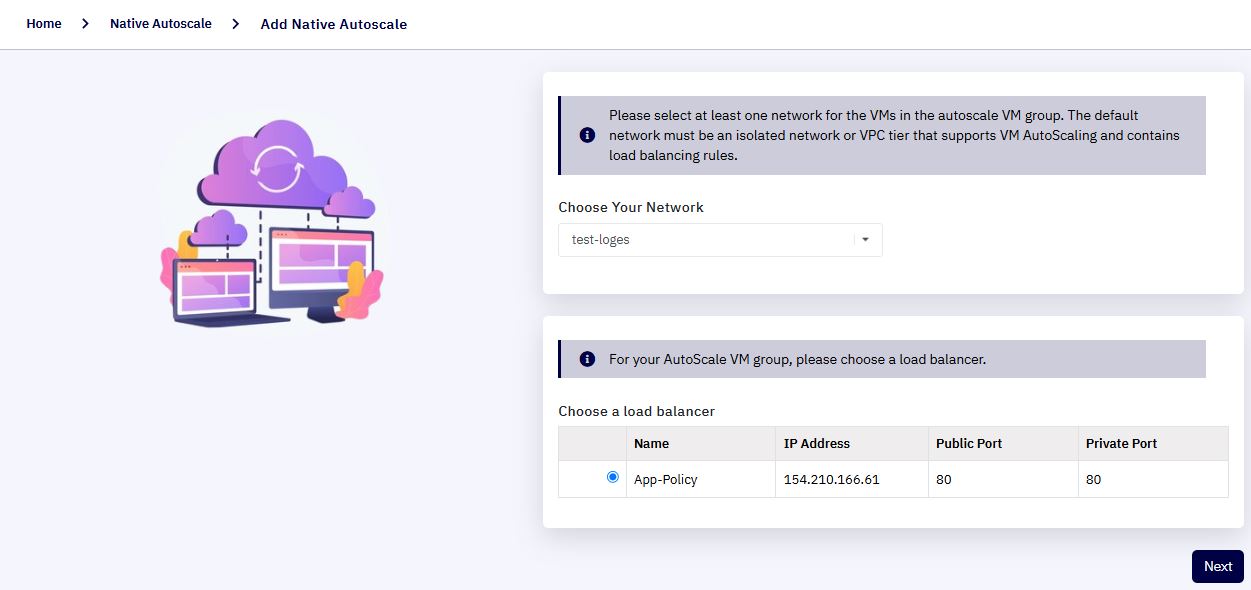
3. Select the Target Network :
-
From the dropdown list, select the network in which you want to deploy the Autoscale group.
-
Ensure a valid Load Balancer is available under the selected network.
- If no Load Balancer exists, you can create one by clicking the "Create Load Balancer" link provided.
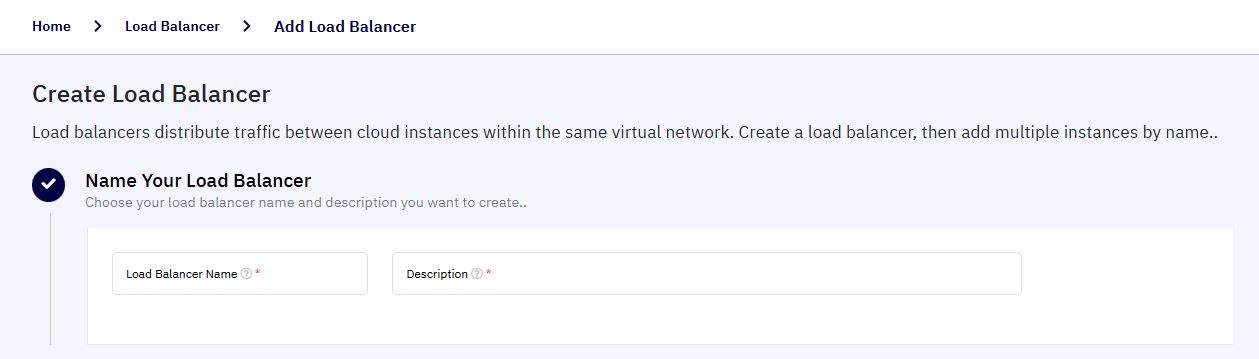
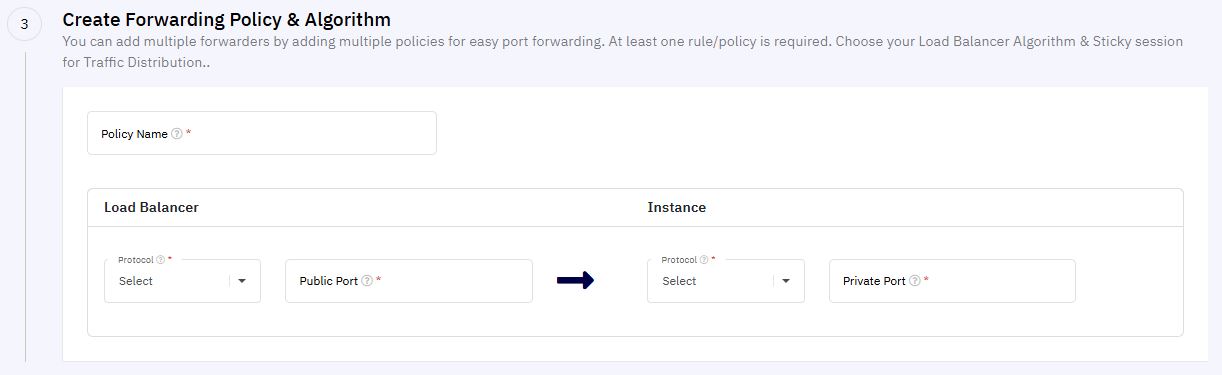
4. Configure Load Balancer :
When creating a new load balancer:
- Load Balancer Name : Provide a unique name for the load balancer.
-
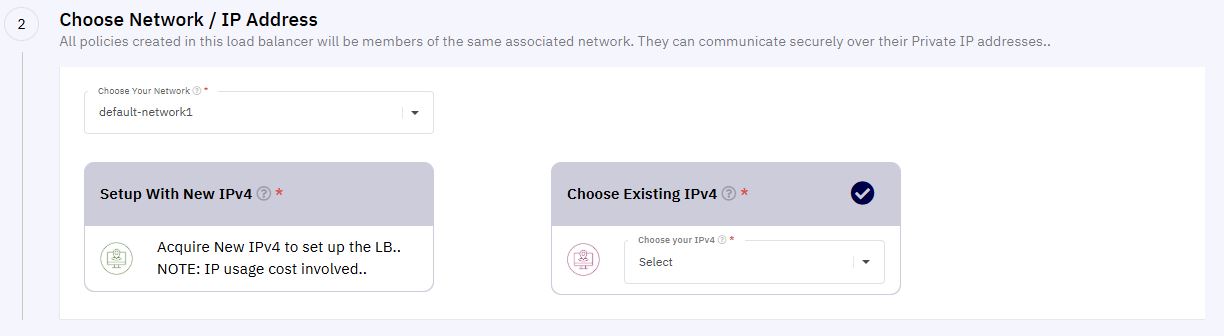
Select Network and IP Address:
-
Choose a network from your available networks.
-
Select an associated IP address.
-
-
Define Forwarding Rules:
- Set Public Port and Private Port to route external traffic to internal instances.
-
Select Load Balancing Algorithm:
-
Round Robin: Distributes requests sequentially.
-
Least Connection: Directs traffic to the VM with the fewest active connections.
-
Source: Ensures clients are consistently routed to the same VM.
-

-
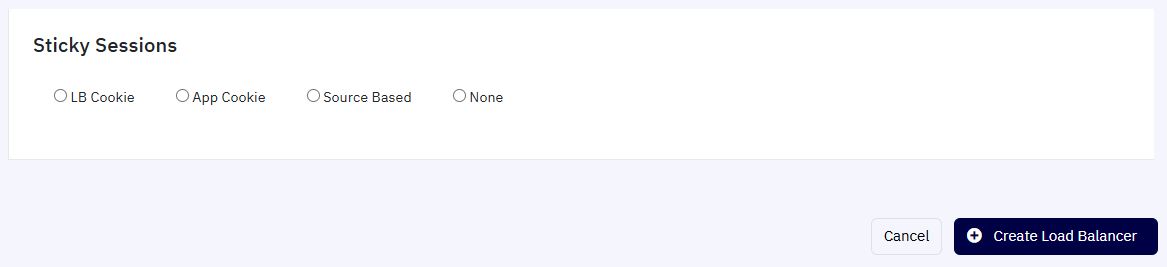
Enable Stickiness (optional):
- Sticky sessions bind a user session to a specific VM based on selected methods.
Click Create Load Balancer once completed.
5. Proceed to Autoscale Configuration :
-
After selecting the network and Load Balancer, click the Next button.
-
You will be navigated to the Native Autoscale Creation page.
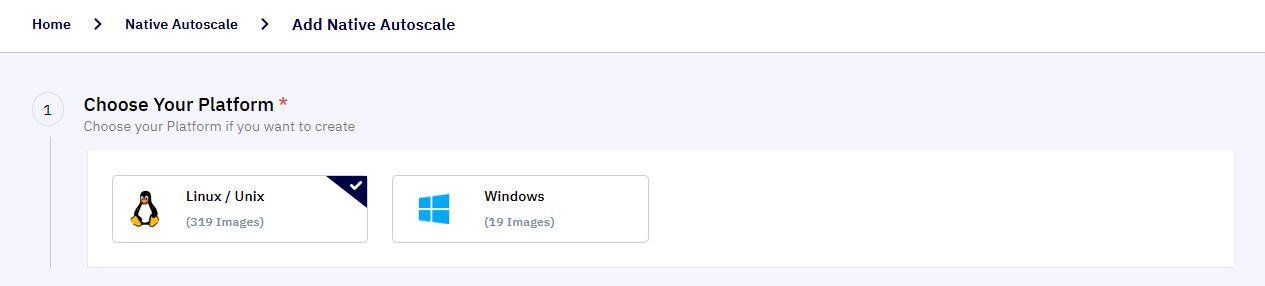
6. Configure Basic Settings :
-
Platform Type
- Select the operating system type: Linux or Windows.
-
Distribution
-
Based on your selected OS type, choose the appropriate distribution:
-
Example: For Linux, select distributions like Ubuntu, CentOS, etc.
-

-
Instance Plan
- Choose an instance plan specifying CPU and memory configurations based on your workload requirements.

-
Network Information
- The network you selected earlier will be automatically displayed.

-
Load Balancer
- The associated Load Balancer details will also be pre-filled.

7. Define Scaling Policies :
-
Scaling Up Policies
-
Autoscale groups must have at least one scale-up policy.
-
A scale-up event will occur when all conditions defined within a policy are met.
-
To create additional scale-up policies, click Add Policy.
-
To remove an unnecessary policy, click Remove Policy.
-
Multiple conditions can be added within a single policy.
-
Duration : Specify the time period, in seconds, during which the scaling conditions must continuously remain true before a scale action is triggered.
-
Quiet Time : Define the cooldown period (in seconds) after an AutoScale action (such as scaling up or scaling down) has been initiated.
-
This duration accounts for:
-
The time required to provision a new instance from its template.
-
The time needed for the application on the instance to become fully operational and ready to handle traffic.
-
Quiet Time ensures system stability before any new scaling actions are evaluated or executed.
-
-
Conditions : Each scaling policy must contain at least one condition. These conditions determine when the scaling action should be triggered based on resource usage or custom metrics.
-
Counter :
Counters are performance metrics that monitor the state of your instances.
The Cloud Management Portal provides the following counters specifically for AutoScale configurations:-
Instance CPU – Average Percentage: Monitors average CPU utilization across instances.
-
Instance Memory – Average Percentage: Monitors average memory usage across instances.
-
Public Network – Mbps Transmitted per Instance: Measures outgoing network traffic in megabits per second per instance.
-
Load Balancer – Average Connections per Instance: Tracks the average number of active connections per instance managed by a load balancer.
-
-
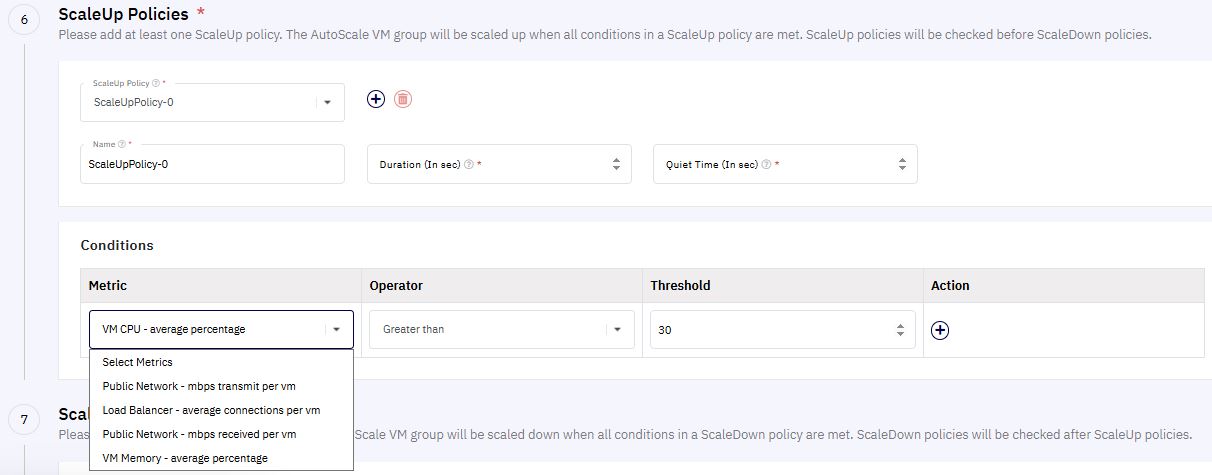
Note: A specific counter (e.g., "VM CPU – average percentage") can only be used once per policy but can be reused across different policies.
-
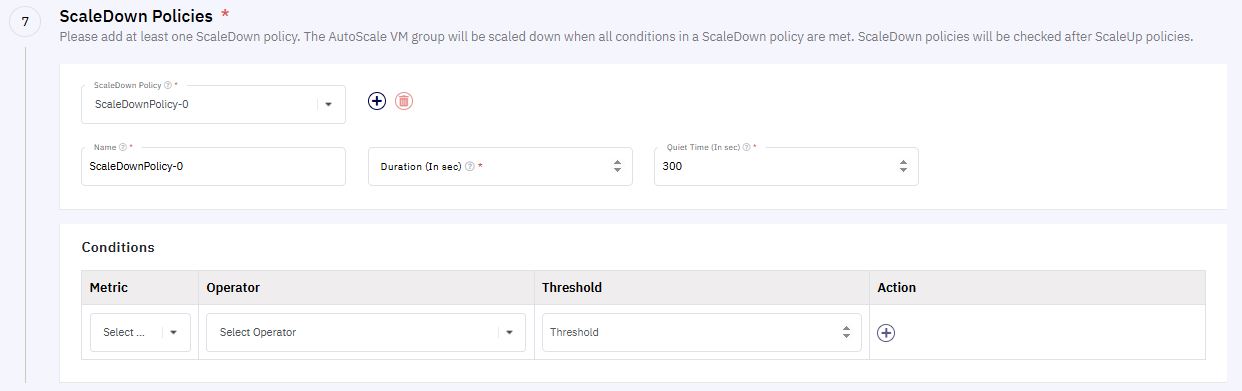
Scaling Down Policies
-
Similar to scaling up, you must define at least one scale-down policy.
-
Scale-down events are triggered when all conditions in a scale-down policy are satisfied.
-
Scaling down policies are evaluated after scaling up conditions.
-
Follow the same rules as with scale-up policies for setting conditions and counters.
-
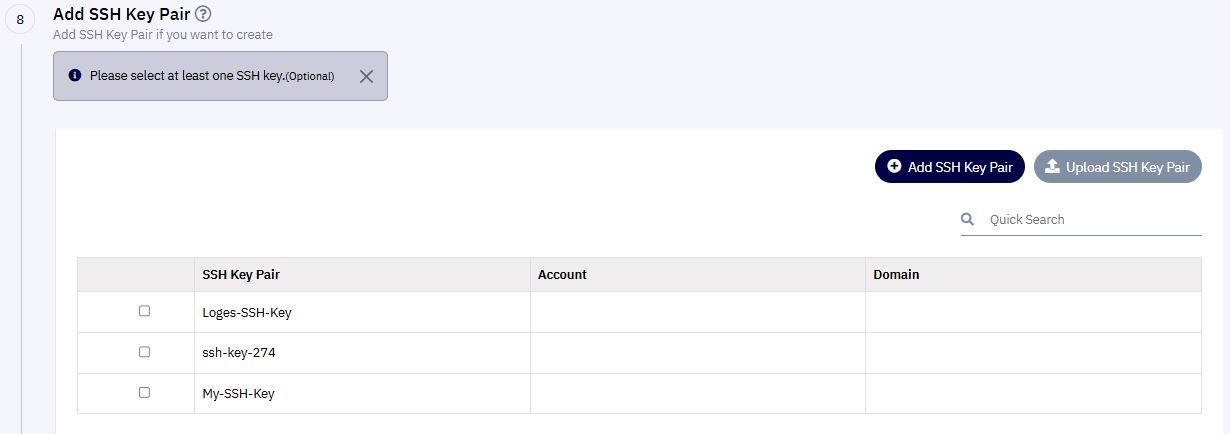
8. Configure SSH Key (Linux Only) :
-
If you are creating Linux-based instances, you must select an SSH Key Pair.
- You can choose from existing SSH keys or create a new one.
-
The selected SSH key will be injected into every autoscaled VM, enabling secure access for troubleshooting purposes.
Important: Ensure you retain access to the selected SSH key.
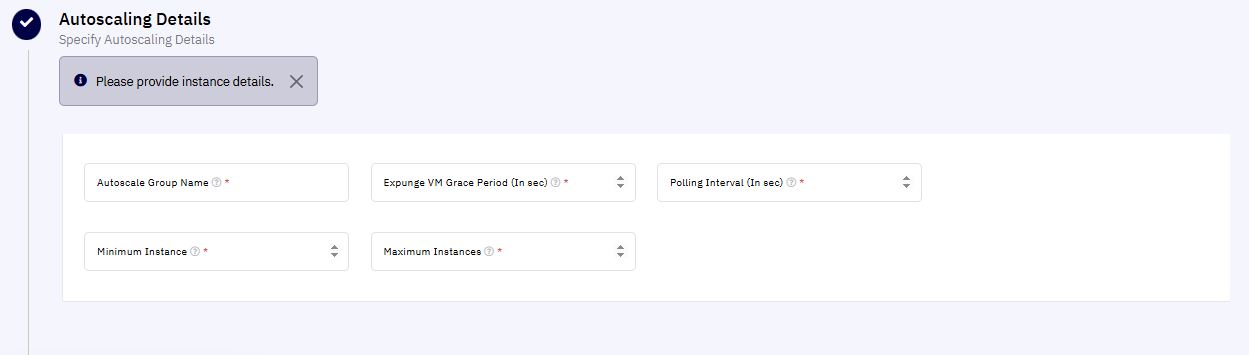
9. Enter Autoscaling Details :
Provide the following details:
-
Autoscale Group Name: A unique name for your Autoscale group.
-
Expunge VM Grace Period:
-
The duration (in seconds) to wait after initiating a scale-down action before a VM is fully deleted (expunged).
-
Default: 120 seconds.
-
-
Polling Interval:
-
How often (in seconds) the system checks scaling conditions.
-
Default: 30 seconds.
-
-
Minimum Instances:
- The minimum number of active instances that should always be running under the Load Balancer.
-
Maximum Instances:
- The maximum number of instances that can be spun up under the Load Balancer.
10. Review and Finalize :
-
Carefully review all the provided configurations and settings.
-
Once confirmed, click the Create button to initiate the Auto scale group creation.
Creating an Auto scale group through the Cloud Management Portal enables your applications to dynamically handle varying traffic loads, ensuring consistent performance without manual intervention. Always ensure proper planning of scaling policies and SSH key management for smooth operations.