Installing MYSQL
Introduction
MySQL is an open-source relational database management system (RDBMS) that uses Structured Query Language (SQL) for managing and organizing data. It is widely used for web applications, enterprise solutions, and other database-driven software systems. Known for its reliability, scalability, and ease of use, MySQL supports multi-user access and is designed to handle large amounts of data efficiently.
Installing and configuring MYSQL
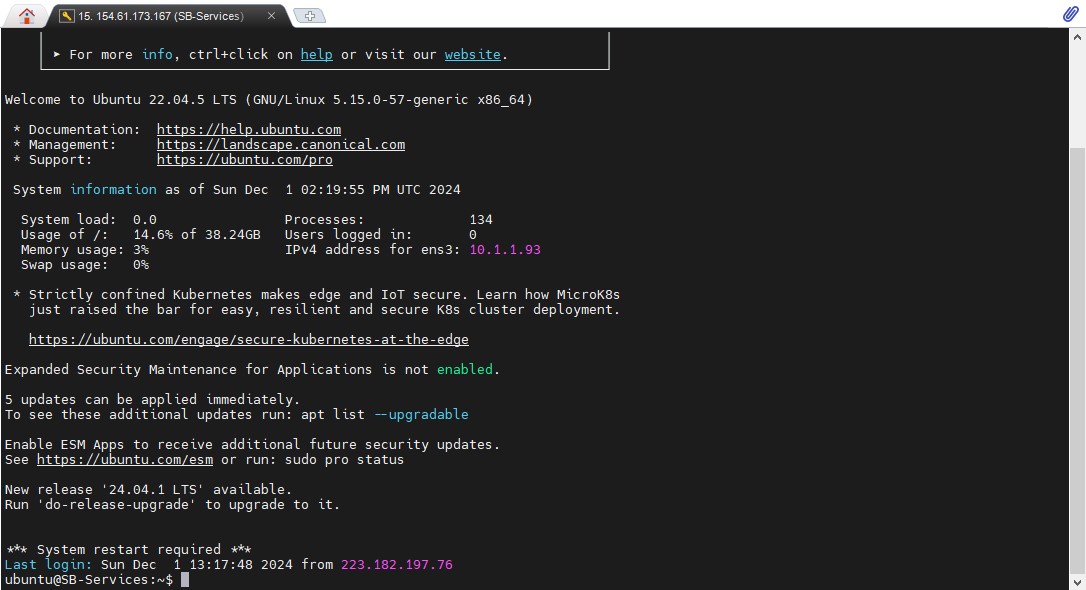
- Connect to the MYSQL virtual machine (VM) using the SSH credentials specific to your environment. For Stackbill, the default operating system for VMs is Ubuntu 22.x, and the default username is ubuntu
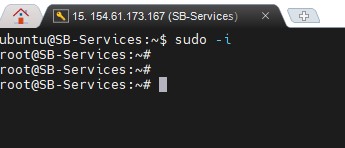
- Once logged in as the ubuntu user, switch to the root account for elevated privileges. Use the following command.
sudo -i
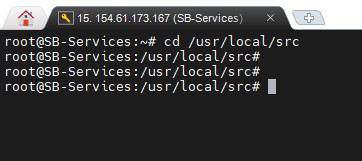
- Go to the /usr/local/src directory, where all scripts will be stored as temporary location.
cd /usr/local/src
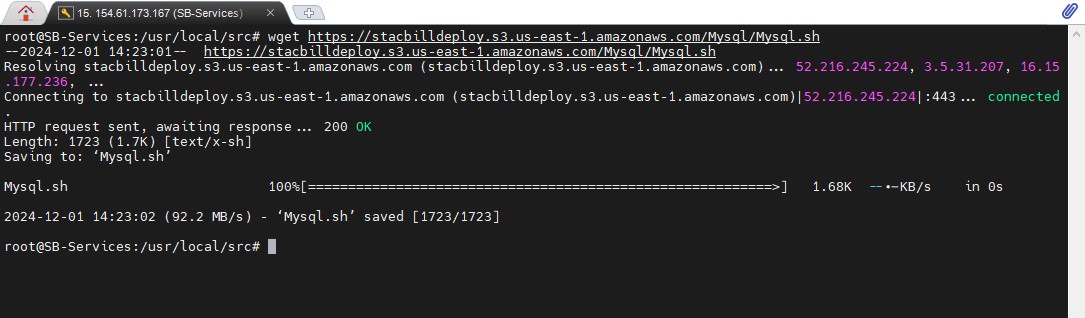
- Download the MySQL installation script from the centralized repository.
wget https://stacbilldeploy.s3.us-east-1.amazonaws.com/Mysql/Mysql.sh
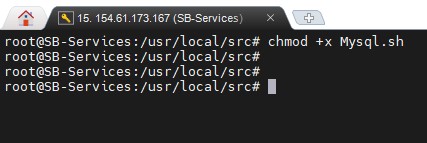
- Run the installation script to initiate the MySQL setup.
chmod +x Mysql.sh
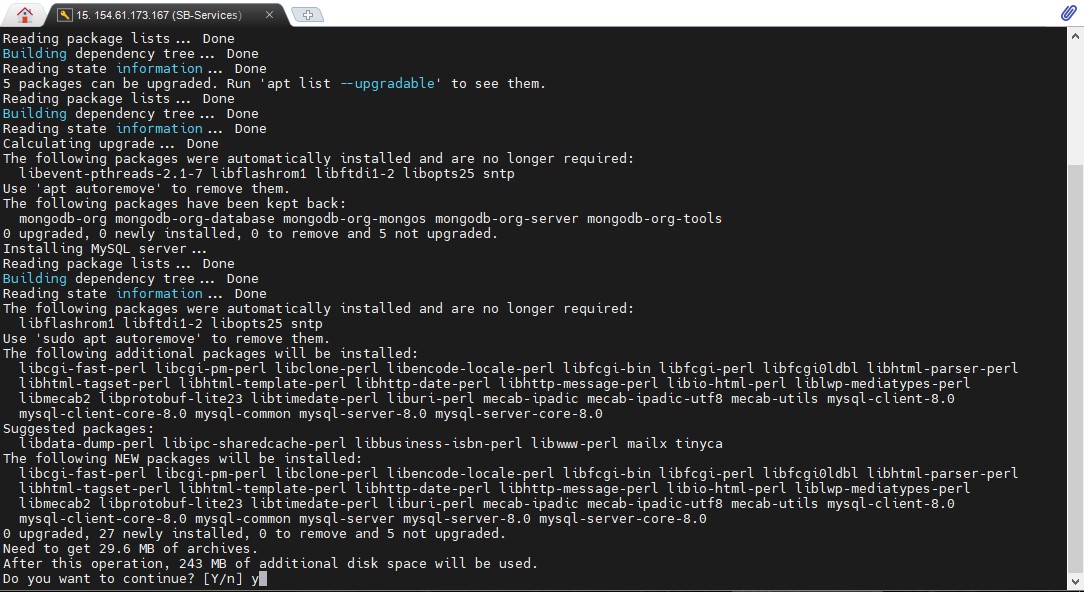
- During installation, the script will prompt to install MYSQL. Simply type Y and press Enter to proceed with the installation.
- The script will prompt you to set up the MySQL administrator username and password. For our demo environment, we user username as stackbill and password MuyUzRc7t32R

- After completing the configuration and admin user creation, the script will display the message "MySQL setup completed"

MYSQL Cluster Configuration
When setting up a production-grade Stackbill environment, it is recommended to use a MySQL cluster to achieve high availability, fault tolerance, and scalability. This involves configuring two virtual machines (VMs), one as the primary server (MYSQL-01) and the other as the secondary server (MYSQL-02).
- Login to both MYSQL-01 and MYSQL-02 VMs, Update and upgrade the system packages using below command.
apt update && apt upgrade -y
-
Reboot both VMs after the updates are complete.
-
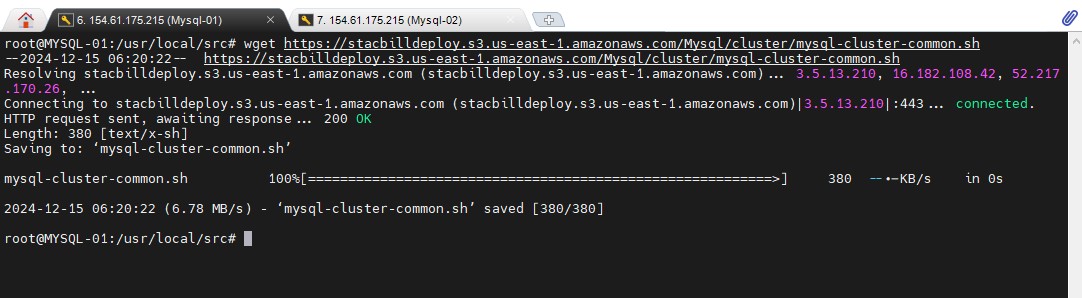
On both VMs, download the MySQL cluster common script
wget https://stacbilldeploy.s3.us-east-1.amazonaws.com/Mysql/cluster/mysql-cluster-common.sh
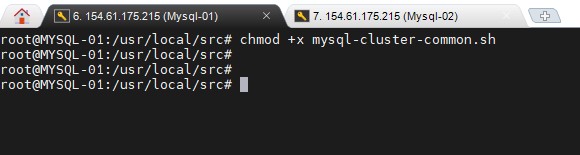
- Grant execution permissions to the script.
chmod +x mysql-cluster-common.sh
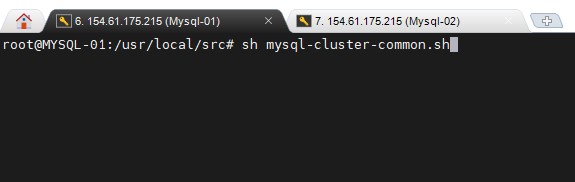
- Run the script on both VMs.
sh mysql-cluster-common.sh
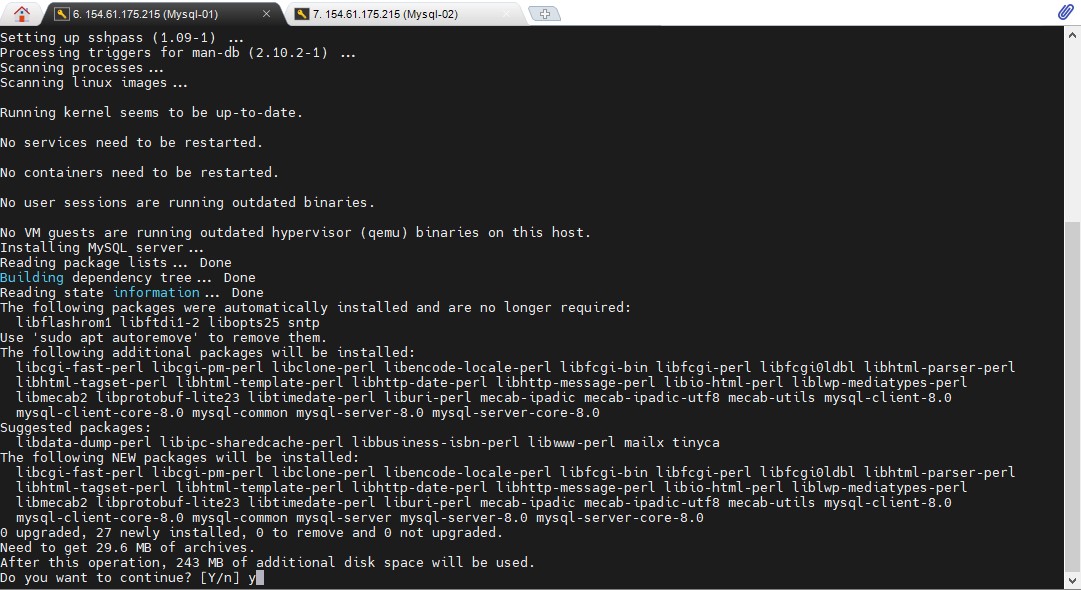
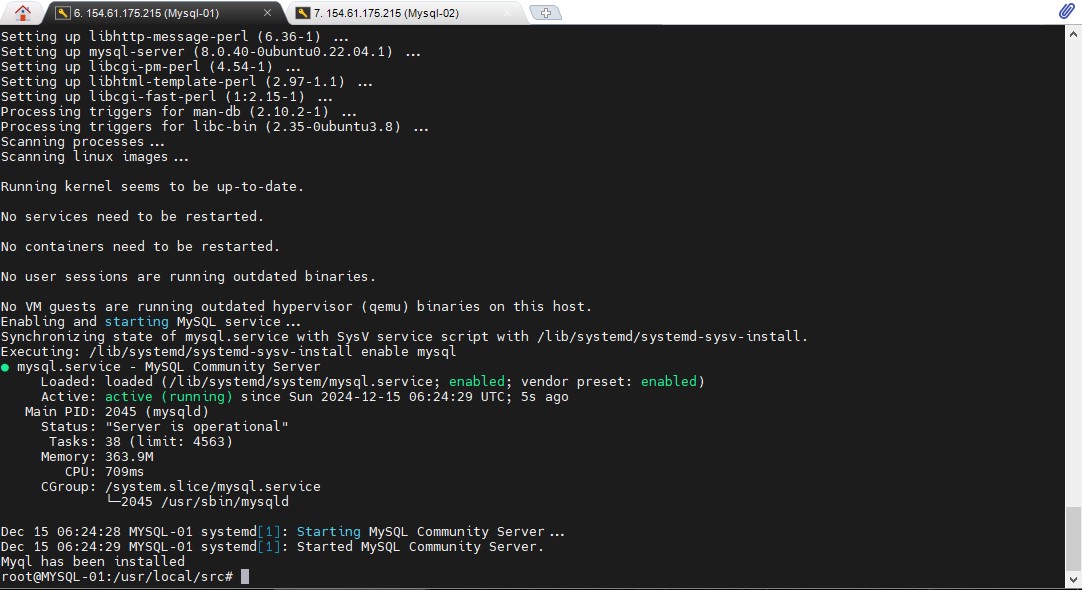
- During installation, confirm the process by typing "Y" when prompted. After successful installation, a message will display: "MySQL has been installed."
Configure the MySQL Cluster
-
Log in to the primary VM (MYSQL-01).
-
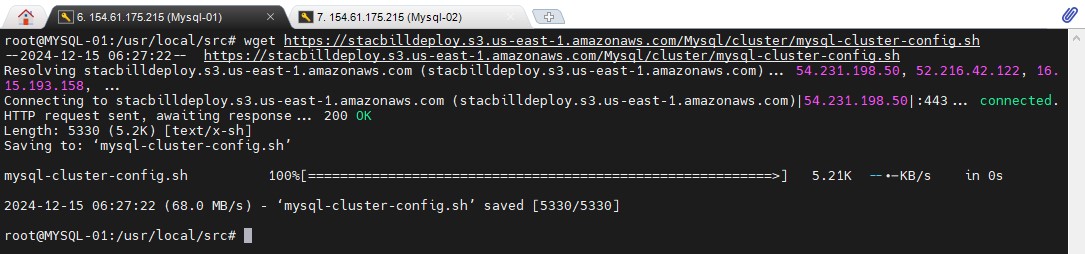
Download the MySQL cluster configuration script
wget https://stacbilldeploy.s3.us-east-1.amazonaws.com/Mysql/cluster/mysql-cluster-config.sh
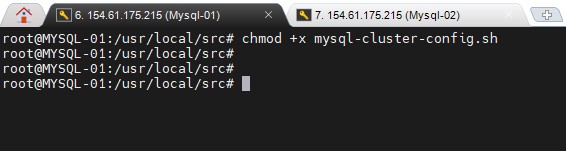
- Grant execution permissions to the script
chmod +x mysql-cluster-config.sh
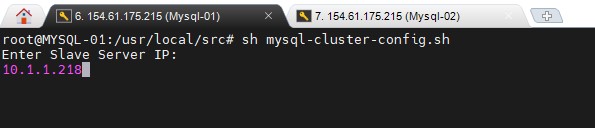
- Run the script
sh mysql-cluster-config.sh
- During the script execution, provide the IP address of the slave (secondary) VM. For example, in the demo environment: 10.1.1.218.
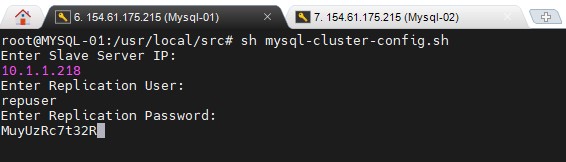
- Specify a username and password for MySQL replication. For our demo environment, we specify username as repuser and password as MuyUzRc7t32R
- Enter the credentials for the slave VM (MYSQL-02) to allow the script to copy the cluster configuration.

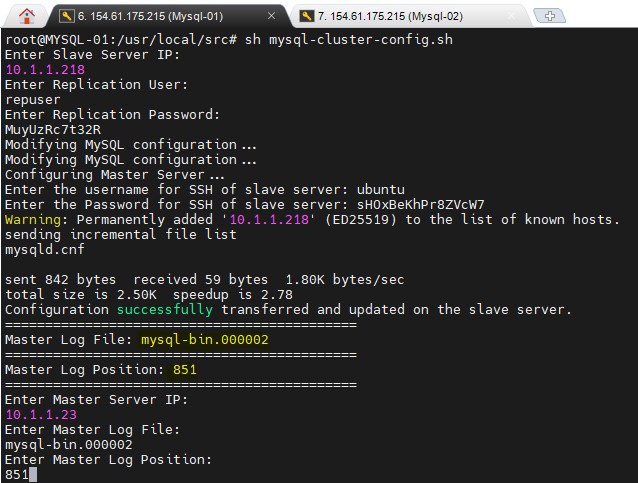
- Provide the primary VM's IP address, In our demo environment the IP is 10.1.1.23.
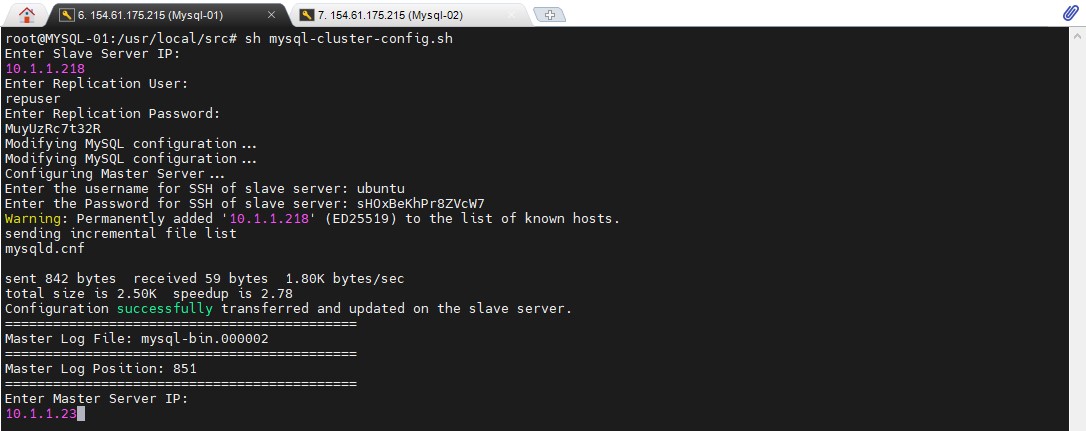
- The script will display the master log filename and log position. Copy and paste these values when prompted.
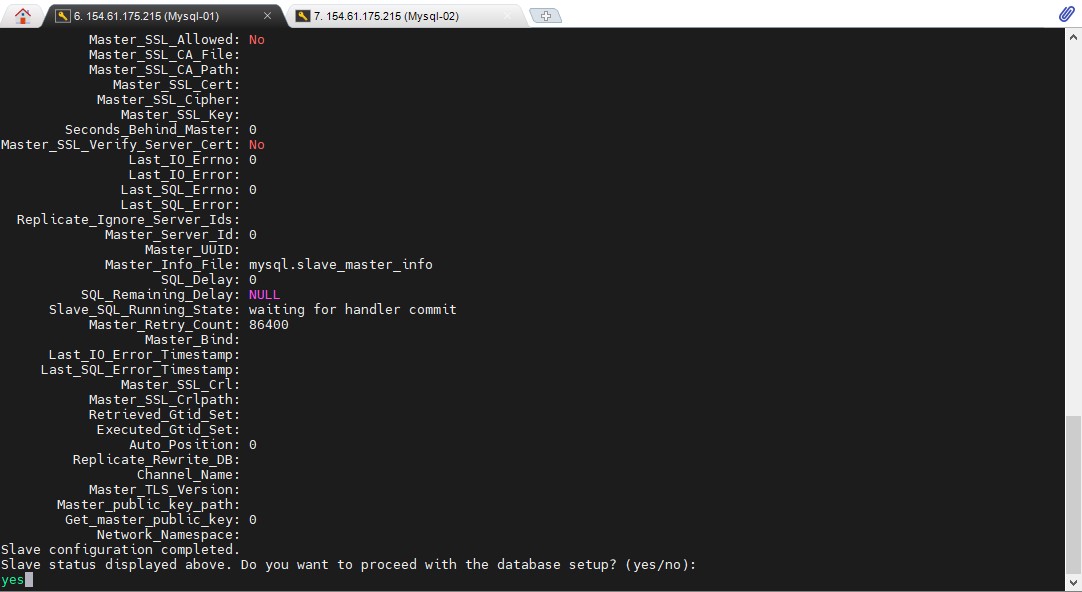
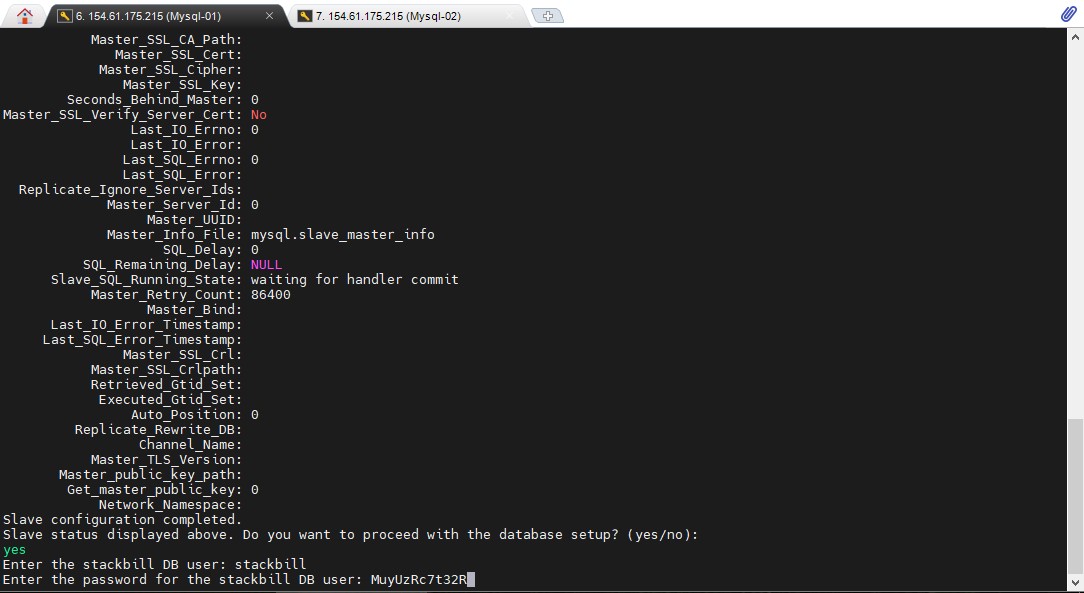
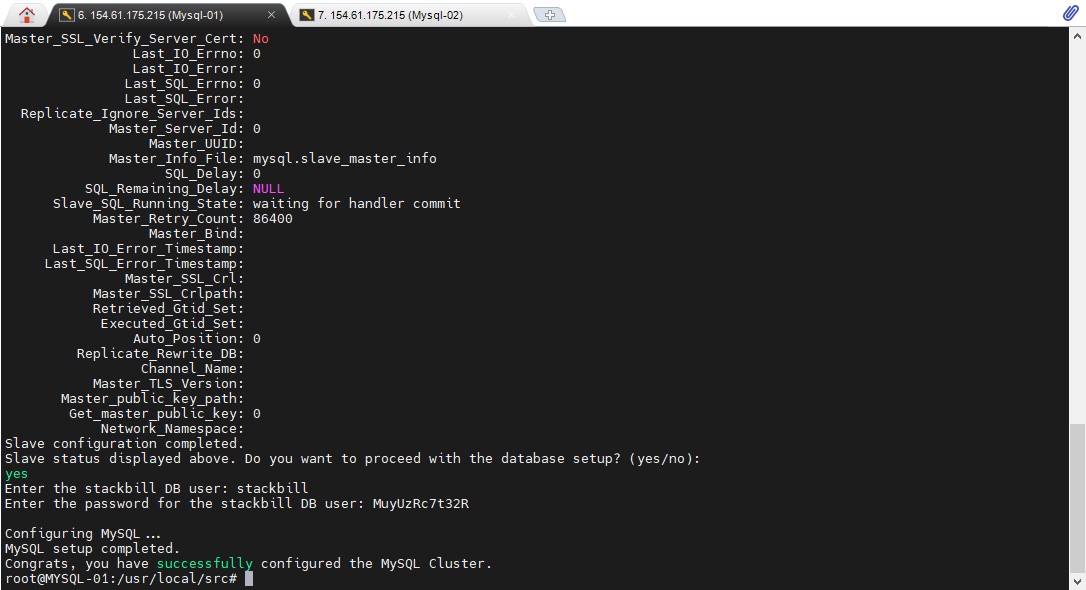
- Verify the displayed slave configuration details for any errors. Once confirmed, proceed with the database setup by typing "yes" when prompted.
- Provide the database username and password for the application. For our demo environment, we provide username as stackbill and password as MuyUzRc7t32R
- After successful configuration, a message will appear “Congrats, you have successfully configured the MySQL Cluster”
-
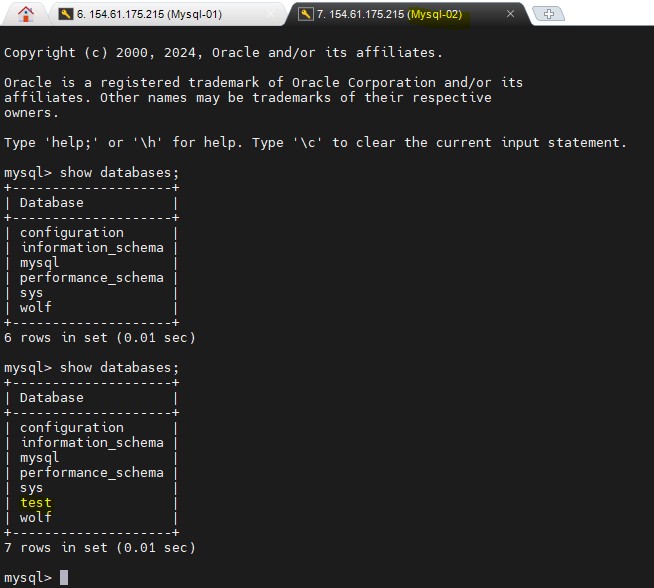
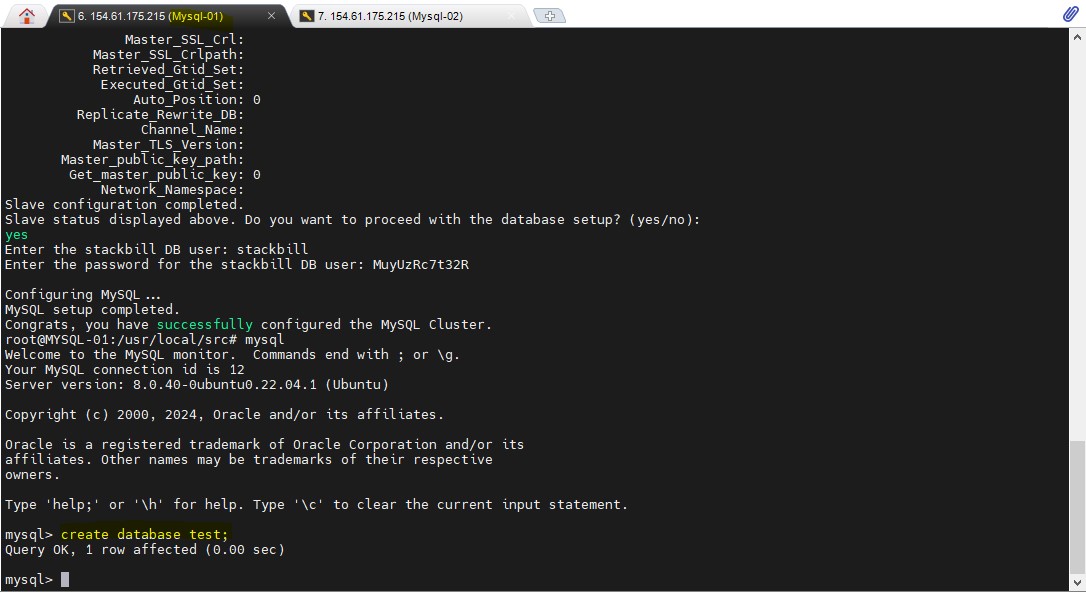
To verify the MYSQL replication, Login into MYSQL from the primary server and create a database. You can able to see that database from the Secondary server.
Primary Server
Secondary Server