Installing Kubernetes
Introduction
Kubernetes is an open-source platform designed to manage, deploy, and scale containerized applications automatically. It provides features such as container orchestration, load balancing, self-healing, and resource management, enabling efficient and reliable application deployment. Kubernetes works across different environments, including on-premises, cloud, and hybrid, making it a versatile tool for modern software development and operations.
Installing & configuring Kubernetes Master Node(s)
Note: These steps cover both small-scale and large-scale deployments. Ensure you follow the appropriate steps based on your environment.
-
First, access the master node via SSH
-
Use the credentials for your environment. For Stackbill, the default OS is Ubuntu 22.x, and the default username is ubuntu.
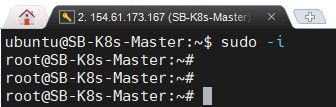
- Once logged in as ubuntu, switch to the root account using the below command.
sudo -i
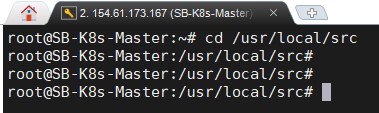
- Go to the /usr/local/src directory, where all scripts will be stored as temporary location.
cd /usr/local/src
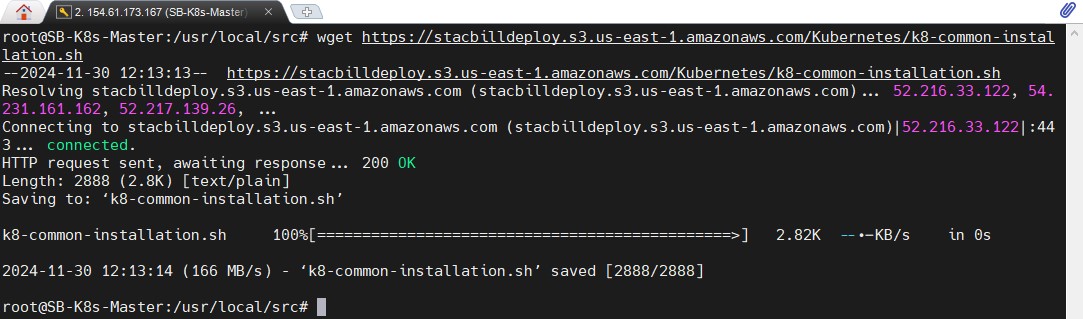
- Download the k8-common-installation.sh script using the below command.
wget https://stacbilldeploy.s3.us-east-1.amazonaws.com/Kubernetes/k8-common-installation.sh
- Provide execution permission for the downloaded script.
chmod +x k8-common-installation.sh

- The script will request you for the Kubernetes version. Install the version that is one release behind the current version. For example, if the current version is 1.31, specify 1.30. While we are creating this document, the Kubernetes -1 version is 1.30. So we set 1.30 in our demo environment. Press Enter to begin the installation.

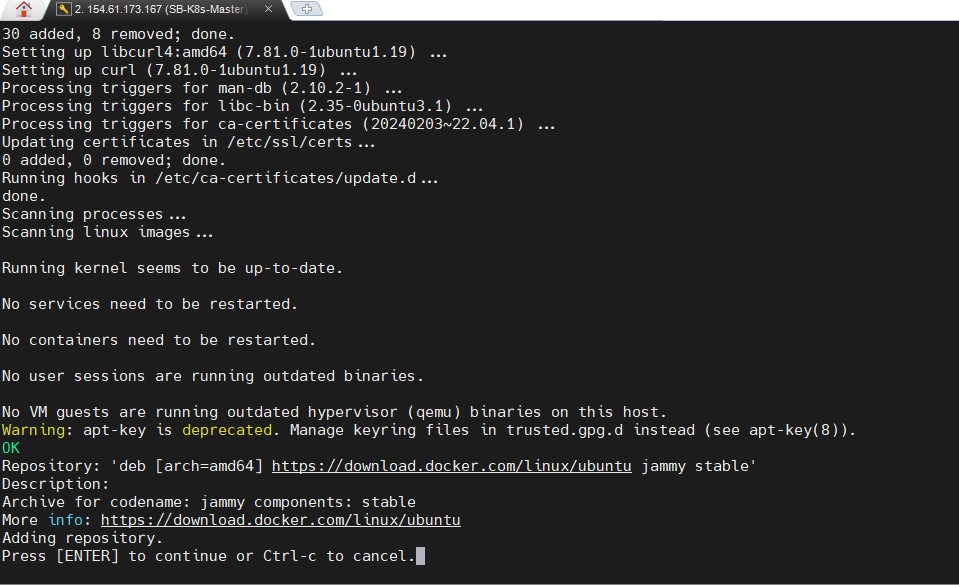
- The install will be initiated and the script will request confirmation to add necessary repositories. Press Enter to proceed.
- Once the installation is complete, the script will display “ Kubernetes packages installed successfully. “

- Perform the same steps on all Kubernetes worker nodes to ensure consistency across the cluster. To setup the Kubernetes worker nodes, see the Installing and Configuring Kubernetes Worker Node(s) section.
Configuring Kubernetes Master Node(s)
-
Kubernetes API listens on port 6443. Before proceeding with the configuration, ensure this port is allowed in your public firewall settings to enable communication between nodes.
-
Add port 6443 to your load balancer settings to direct traffic to the Kubernetes master node. This step ensures that requests to the Kubernetes API are correctly routed to the master server.
-
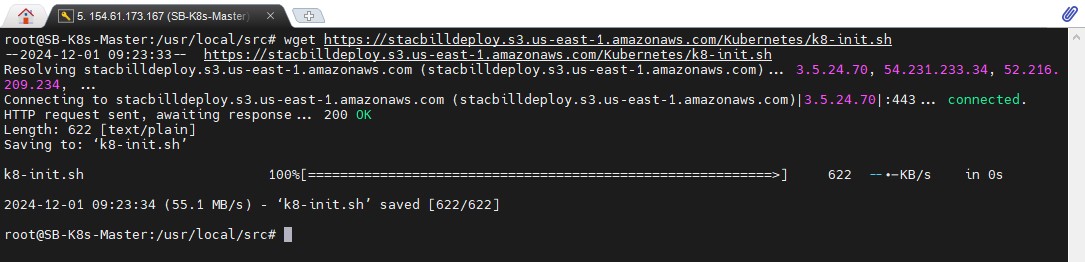
To configure the kubernetes master download the initialization script using below command.
wget https://stacbilldeploy.s3.us-east-1.amazonaws.com/Kubernetes/k8-init.sh
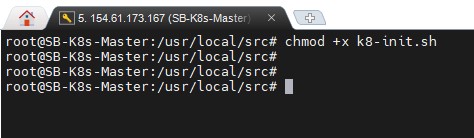
- Grant execution rights to the script using the below command.
chmod +x k8-init.sh
- Execute the script to begin the initialization
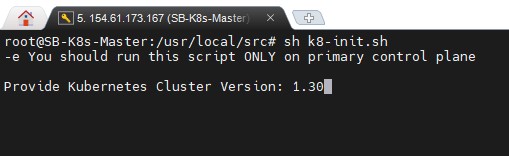
sh k8-init.sh
- During execution, the script will prompt you to enter the Kubernetes version. Use the version previously installed during the setup. For example, if Kubernetes 1.30 was installed, enter 1.30 when prompted. Ensure that the version you specify matches your setup for consistent configuration.
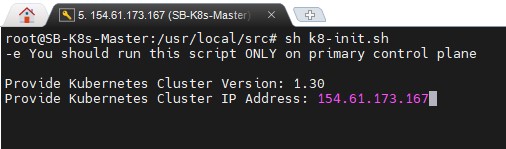
- The script will also ask for the Kubernetes Cluster IP, Enter the public IP address of your load balancer, as it serves as the entry point for external communications. In our demo environment, the public IP is 154.61.173.167. So, we provide this IP. Verify the accuracy of the IP address to avoid connection issues.
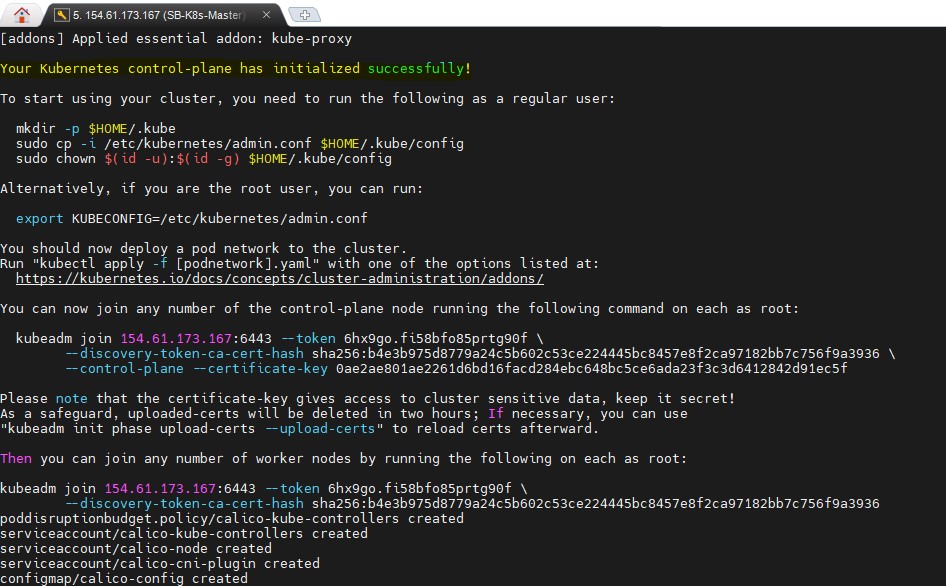
- Once the script completes, the message “Your Kubernetes control-plane has initialized successfully!”
-
After initializing the master node, the script will display a command to add worker nodes to the cluster. Copy the provided command and run it on each worker node to link them to the Kubernetes cluster.
-
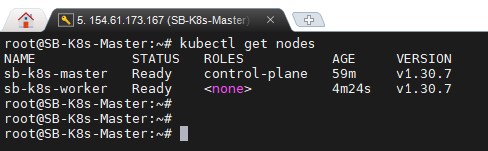
Once the worker node(s) have joined the cluster, run the following command to ensure that all of the worker nodes have joined the cluster.
Kubectl get nodes
Installing & configuring Kubernetes Worker Node(s)
-
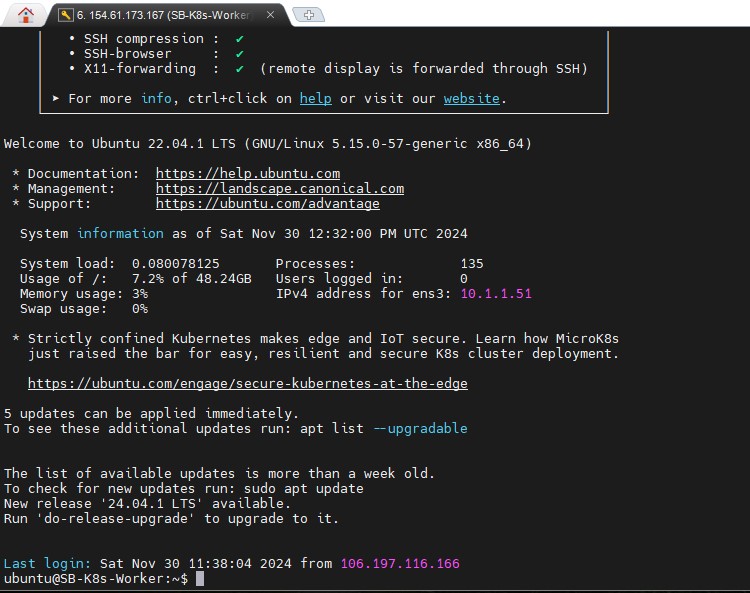
Access the worker node via SSH
-
Use the credentials for your environment. For Stackbill, the default OS is Ubuntu 22.x, and the default username is ubuntu.
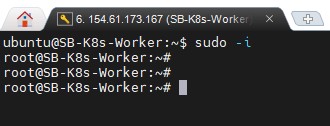
- Once logged in as ubuntu, switch to the root account using the below command.
sudo -i
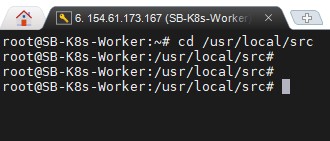
- Go to the /usr/local/src directory, where all scripts will be stored as temporary location.
cd /usr/local/src
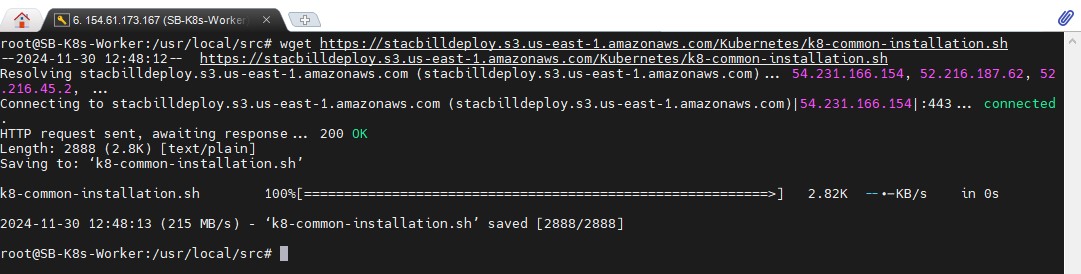
- Download the k8-common-installation.sh script using the below command.
wget https://stacbilldeploy.s3.us-east-1.amazonaws.com/Kubernetes/k8-common-installation.sh
- Provide execution permission for the downloaded script.
chmod +x k8-common-installation.sh

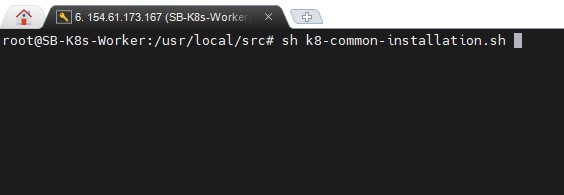
- Execute the Installation Script using below command.
sh k8-common-installation.sh
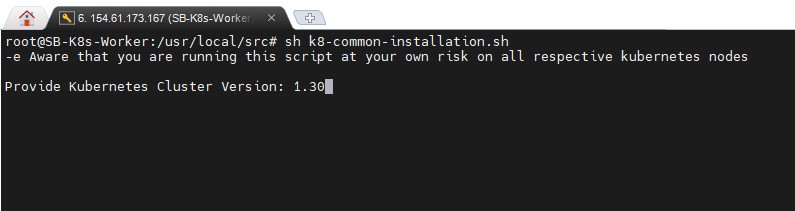
- The script will prompt you for the Kubernetes version. Make sure you've installed the same version as the Kubernetes master server. In this demo, we installed the Kubernetes 1.30 version on the master. So, we type 1.30 as the Kubernetes version and hit Enter.
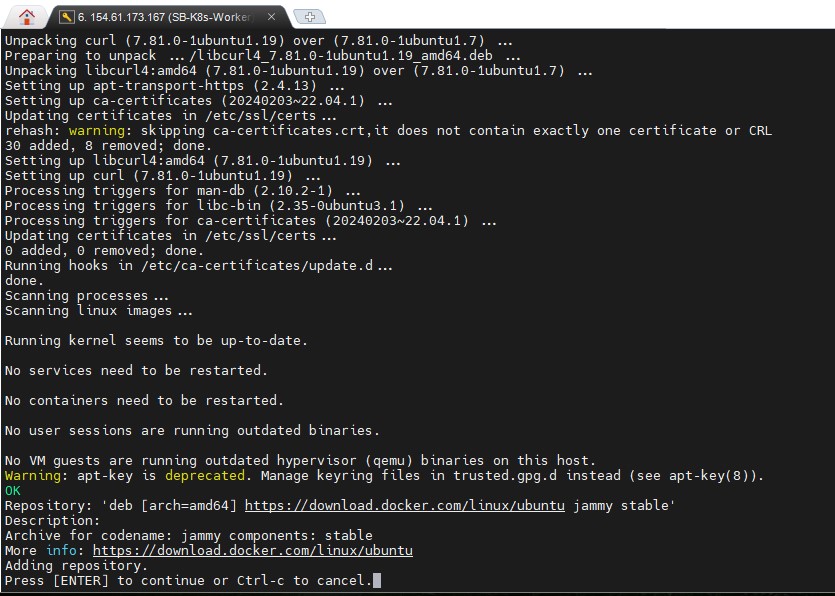
- The install will be initiated and the script will request confirmation to add necessary repositories. Press Enter to proceed.
- Once the installation is complete, the script will display "Kubernetes packages installed successfully."

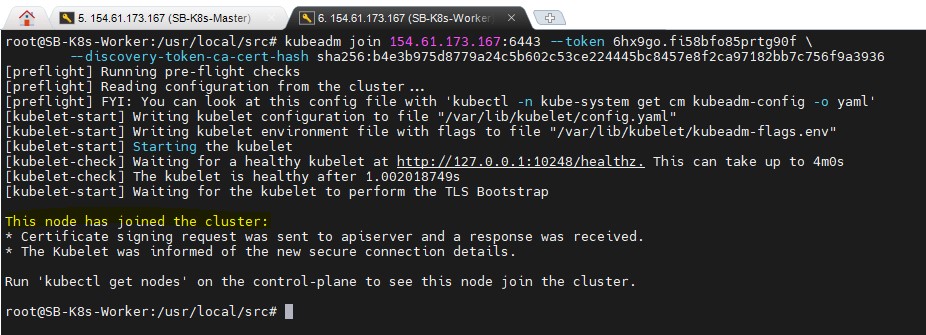
- Once the Kubernetes master node is configured, it will generate a join command. Obtain the command from the master server and execute it on the worker node(s).

- After a few seconds, the notification "This node has joined the cluster" appears, indicating that the worker nodes have successfully joined the Kubernetes cluster.