Installing HELM
Introduction
Helm is a powerful package manager for Kubernetes that simplifies the process of deploying, managing, and updating applications within a Kubernetes cluster. It uses "Helm Charts," which are pre-configured templates that define how an application should be deployed. These charts contain Kubernetes manifests, allowing users to easily configure and deploy complex applications with minimal effort.
Installing & Configuring Helm
-
Connect to the NFS VM using the SSH credentials specific to your environment. For Stackbill, the default operating system for VMs is Ubuntu 22.x, and the default username is ubuntu
-
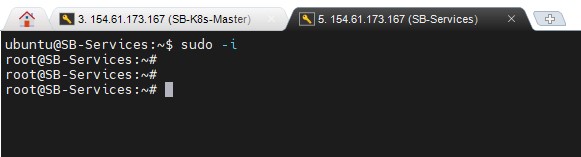
Once logged in as the ubuntu user, switch to the root account for elevated privileges. Use the following command.
sudo -i
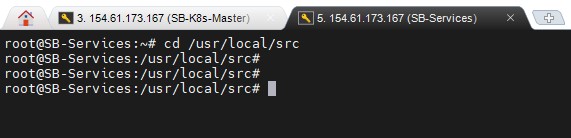
- Go to the /usr/local/src directory, where all scripts will be stored as temporary location.
cd /usr/local/src
- Use the following command to download the installation script for Helm.
curl -fsSL -o get_helm.sh https://raw.githubusercontent.com/helm/helm/main/scripts/get-helm-3

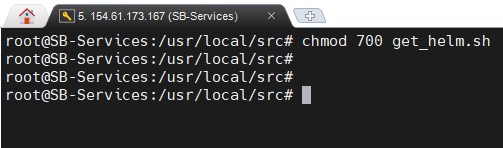
- Make the downloaded script executable
chmod 700 get_helm.sh
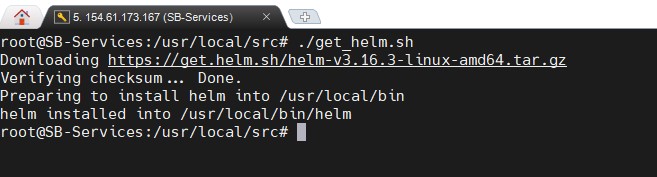
- Execute the script to install Helm
./get_helm.sh
The script downloads and installs the latest version of Helm, making it available for Kubernetes management tasks.
- Contact the Stackbill support team for the latest deployment chart URL. This URL contains the package needed to deploy Stackbill applications.
Syntax: helm install sb-deployment-controller <Deployment chart URL> Example: helm install sb-deployment-controller https://sb-deployment-controllers.s3.ap-south-1.amazonaws.com/charts/sb-deployment-controller-0.1.0.tgz
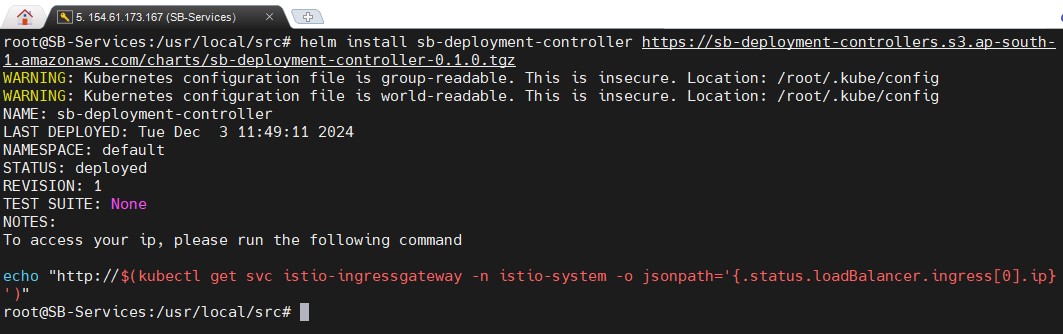
- Once the chart is deployed successfully, access the application via the public IP of your Kubernetes load balancer. Example: Open a web browser and navigate to http://<LoadBalancerIP>. In the demo environment, the IP is http://154.61.173.167.